Adjusting these settings can transform how your door operates, allowing for customized responses to your unique needs. You’ve probably heard of terms like “sync,” “code,” and “reset,” but what do they really mean? Understanding these advanced options can improve safety, convenience, and performance. Let’s break it down step by step, so you feel empowered to make your garage door work even better for you.
Understanding the Circuit Board Basics
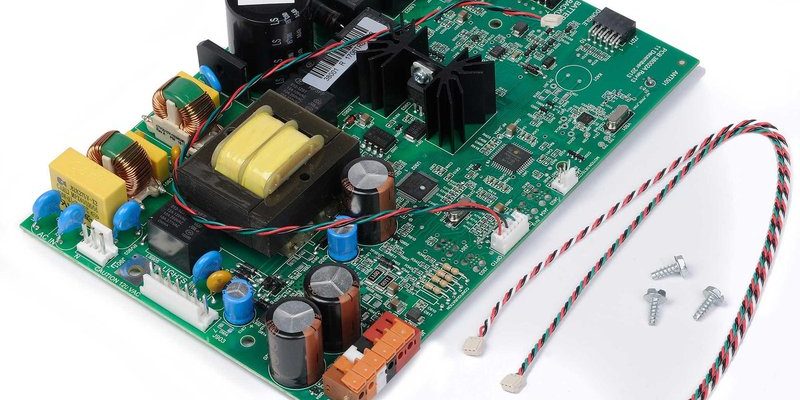
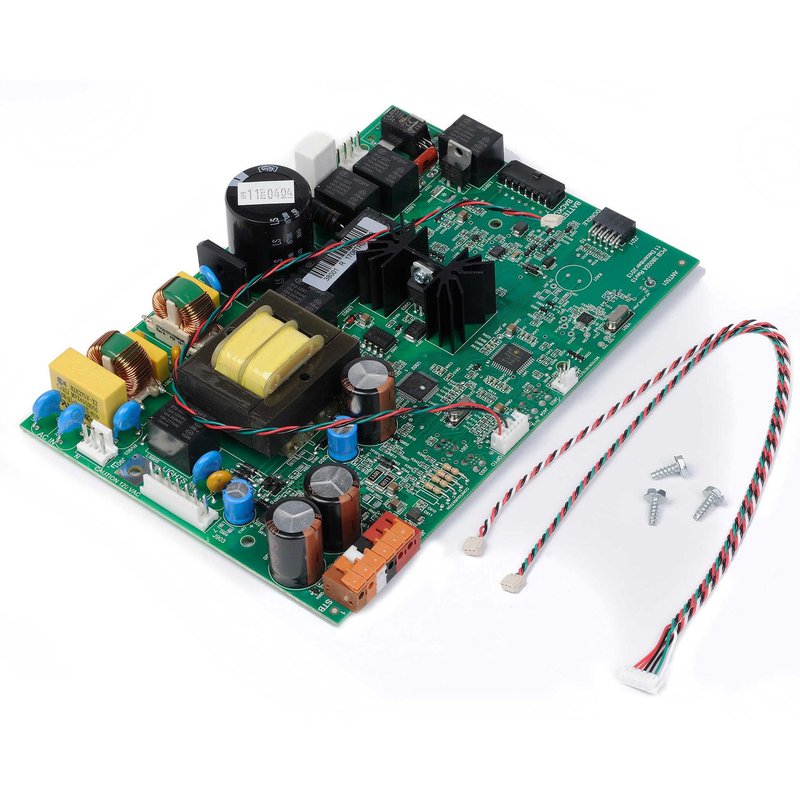
To make adjustments, it’s important to know how your circuit board functions. At a basic level, the circuit board receives signals from your remote control or wall switches, which tell it what action to take, like opening or closing the door. This board processes the commands and communicates with various components like the motor, sensors, and limit switches.
Think of your circuit board as a radio receiver. When you press a button on your remote, it sends a frequency that the circuit board tunes into. If you ever find that your garage door isn’t responding, the issue often lies with this little brain. Troubleshooting circuits may seem daunting, but if you take it one step at a time, you’ll be surprised at how manageable it is.
If you’re considering diving into the advanced settings, familiarize yourself with these key terms: code, sync, reset, and pair. Each plays a critical role in how smoothly your overhead door operates. Let’s explore these settings further.
Syncing Your Remote with the Circuit Board
You might be thinking, “How do I get my remote to sync properly?” Syncing your remote with your circuit board may seem tricky, but it’s quite straightforward. Most remote controls have a button that you press in conjunction with a sequence on the circuit board. This process ensures your remote and the door opener ‘talk’ to each other without interference.
Here’s a simple way to sync your remote:
- Locate the “Learn” or “Program” button on the circuit board.
- Press and hold the button until an LED light starts blinking.
- Within 30 seconds, press the button on your remote control that you want to use.
- When the LED light stops blinking, you’ve successfully synced your remote!
If you’re using a universal remote, the steps may vary slightly, but the concept remains the same. Remember, syncing often resolves common issues where your remote seems unresponsive.
Resetting the Circuit Board Settings
Life can get complicated, and sometimes, you just need a fresh start. Resetting your garage door opener’s circuit board can fix various issues you might face, from unresponsive remotes to programming errors.
To reset your circuit board, follow these steps:
- Power down the opener by unplugging it from the outlet.
- Wait for at least 30 seconds—this helps the memory clear.
- Plug it back in and locate the “Reset” button if available (consult your manual if unsure).
- Press the “Reset” button and hold it until you hear a click or see an LED flash.
Here’s the thing: a reset clears all codes, so you’ll need to re-sync your remotes after. This might sound like an inconvenience, but it often resolves the nagging problems that can come from years of uneven usage and programming mix-ups.
Advanced Coding Features for Enhanced Control
Once you feel comfortable with the basics, you can dive into advanced coding features if your overhead door opener supports them. Many modern circuit boards allow users to adjust settings like the door’s opening and closing speed, safety settings, and even integrate smart technology.
Let’s look at some advanced options:
– Speed Adjustment: Some models let you control how quickly your garage door opens and closes. Slower speeds can minimize wear and help prevent accidents, especially if you have pets or small children around.
– Safety Settings: Ensuring your door stops when it encounters an obstacle can prevent injuries or damage. Check if your circuit board has adjustable sensitivity settings.
– Smart Features: If your opener supports smart home integration, it may have options for setting codes for guest access or connecting it with home automation systems.
These features can really enhance your experience, ensuring your overhead door is customized to your lifestyle.
Troubleshooting Common Circuit Board Issues
Sometimes, things don’t go according to plan, and your circuit board may throw a wrench in your garage door operations. Honestly, troubleshooting can feel overwhelming, but here are a few outlets to consider before seeking professional help.
1. Non-Responsive Remote: Check the remote battery first; if it’s weak, replace it. If that doesn’t work, try the syncing process again.
2. Door Stops Randomly: This issue often arises from the safety sensors being blocked or misaligned. Clear away any debris and ensure the sensors face each other directly.
3. Inconsistent Response: Your door should respond to commands reliably. If you find that it sometimes doesn’t respond, double-check the distance of your remote from the circuit board.
Being proactive about troubleshooting can save you time and money. The more you familiarize yourself with your circuit board, the more efficient your garage door will be.
Choosing the Right Circuit Board for Your Needs
If you’re considering a new opener or circuit board, it’s vital to pick one suited for your specific needs. Different homeowners have varied requirements depending on the size and weight of their doors, frequency of use, and additional features they want.
When shopping, bear these aspects in mind:
- Size Compatibility: Ensure the circuit board you choose can handle the weight of your garage door.
- Features: Look for features that suit your needs—smart technology, security options, and advanced settings.
- Brand Reliability: Stick with reputable brands like Chamberlain or Genie that have long-standing warranties and customer support.
Choosing the right equipment can elevate your garage door experience and extend its life.
Understanding the advanced settings of overhead door circuit boards doesn’t just make you a savvy homeowner; it provides peace of mind. With a few adjustments and tweaks, you can enhance the performance and safety of your garage door, all while feeling in control.
Whether you’re syncing your remote, resetting the circuit board, or exploring advanced features, each step empowers you to keep your overhead door in peak condition. The journey might seem technical, but remember, every homeowner can handle it with patience and curiosity. So, roll up your sleeves, dive into those settings, and take charge of your garage door—you’ve got this!