When you get a LiftMaster garage door opener, you typically rely on the standard settings for routine operations. However, understanding the advanced settings can help you tailor the functionality to better suit your needs. Whether you’re trying to control multiple doors, sync different remotes, or troubleshoot minor issues, having a solid grasp on these settings can transform your interaction with the opener. It’s like knowing the difference between just making a phone call and exploring all the cool apps your smartphone can run.
Getting Familiar With Your LiftMaster Control Panel
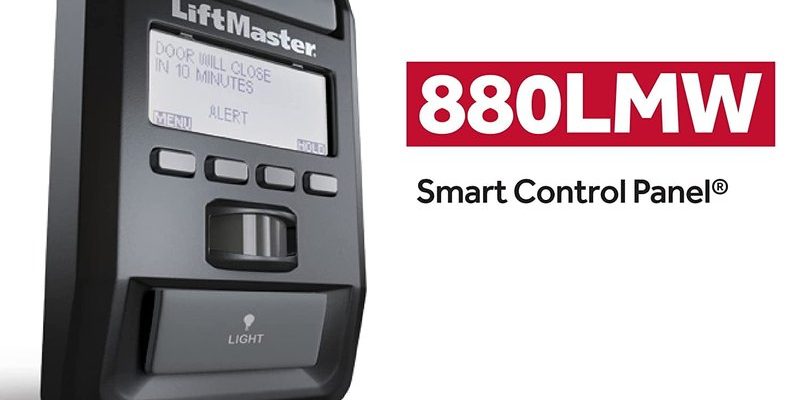
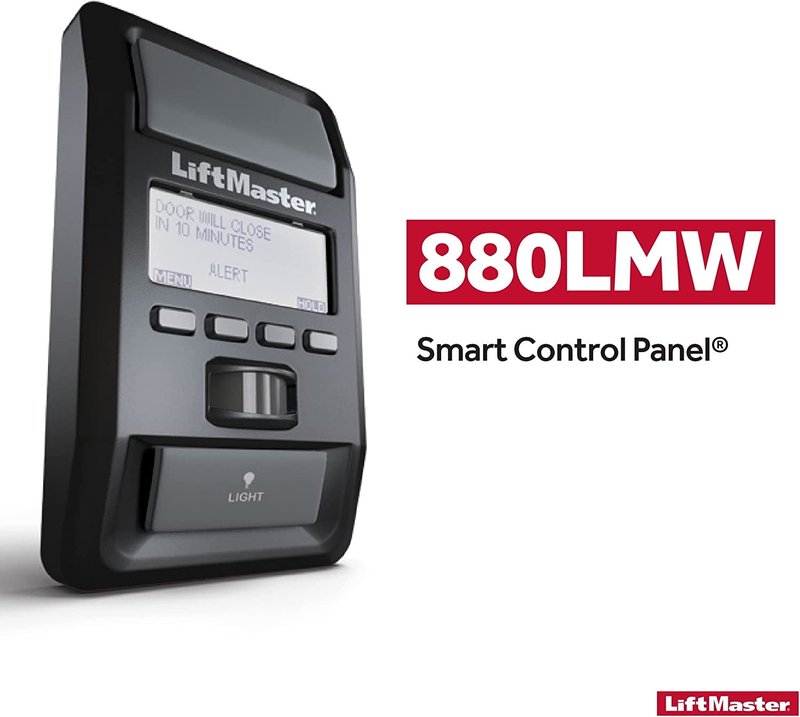
Before we dive into the advanced settings, let’s get to know the control panel a bit better. Your LiftMaster control panel is where the magic happens—it’s the hub that connects your garage door opener with your remote and other smart features. This panel typically includes a few buttons, an LCD screen, and sometimes even learning buttons.
The key feature you’ll be using for customization is undoubtedly the “Learn” button. This small yet mighty button allows you to pair new remotes or even delete access for older ones. It’s essential for managing who can open your door and when—especially if you share your garage with family or friends.
Understanding your control panel also includes recognizing any indicator lights that inform you about the status of the door. For example, blinking lights often signal something is amiss, and it’s your control panel’s way of communicating that it needs your attention. So, take a moment to familiarize yourself with these features before we go deeper into the settings.
Pairing New Remotes with Your LiftMaster Opener
One of the most useful advanced settings is the ability to pair new remotes. This is especially handy if you’ve bought a new remote or need to replace a lost one. Pairing is straightforward, but it can feel intimidating if you’ve never done it before.
Here’s a simple step-by-step guide to get things going:
- First, find the Learn button on your LiftMaster opener (it’s usually located near the antenna).
- Once you’ve found it, press that button once. You should see the LED light turn on, which means it’s ready to learn.
- Now, grab your new remote and press the button you wish to program. You should see the LED light flash—you’re doing everything correctly!
- Finally, test the remote by pressing the button again to check if the door opens. Voila! You have successfully paired a new remote.
Honestly, if you’ve ever set up a new Bluetooth speaker, you’ll find this process pretty similar. Just remember, if you have multiple remotes to pair, you can repeat the above steps for each.
Adjusting Open and Close Limits
Another advanced setting that many users overlook is adjusting the open and close limits of your garage door. This feature is vital for ensuring your door opens to the right height and closes securely.
Picture this: If your door opens too high, it might hit the ceiling, and if it closes too low, it could damage your floor or leave a gap for pests to sneak in. To adjust the limits, follow these steps:
- Locate the limit adjustment screws on your opener motor unit. These are usually labeled “Open” and “Close.”
- Use a flathead screwdriver to turn these screws gently. Clockwise generally increases the limit, while counterclockwise decreases it.
- After making adjustments, always test your door by operating it to see if it now opens and closes as desired.
- Repeat the adjustments as necessary, remembering that it might take a few tries to get it just right.
This is also a good point to remember that routine maintenance is essential for keeping your LiftMaster in top-notch shape. Always check the limits after a power outage or if someone accidentally pushes on the door during operation.
Setting Up MyQ for Smart Features
Many LiftMaster models support the MyQ technology, which allows you to operate your garage door from your smartphone or tablet. If you’ve never set it up, you’re missing out on a level of convenience that can dramatically enhance your garage experience.
Setting up MyQ is relatively simple. Here’s how to do it:
- Start by downloading the MyQ app from your device’s app store.
- Follow the prompts to create a MyQ account. Make sure to jot down your login details—trust me, you’ll need them later.
- The app will guide you to connect your garage door opener by pressing the Learn button on the control panel.
- Once connected, you can control your door right from your smartphone, receive alerts when it opens or closes, and even set schedules.
Here’s the thing: with MyQ, you’ll never have to wonder if you left your garage door open again. You can check from anywhere, making it not just convenient but also a security boost.
Troubleshooting Common Issues
Even the best technology can throw a curveball now and then. Fortunately, many common issues can be resolved using the advanced settings we’ve discussed. For instance, if your remote suddenly stops working, you might need to re-sync it using the Learn button as we covered before.
You could also face issues like the garage door reversing unexpectedly. This could indicate that the safety sensors are misaligned. To fix this, simply check that the sensors on either side of the door opener are facing each other and have no obstructions. Adjust them as needed.
Here’s something to keep in mind: regular maintenance can prevent most of these problems. Make it a habit to check the sensors and the limit settings every few months to ensure everything’s operating smoothly.
Changing the Battery in Your Remote
Batteries that run low may cause your remote to work erratically or stop responding entirely. Changing the battery in your LiftMaster remote is straightforward, but it’s often overlooked. Here’s how you can do it:
- Start by locating the compartment on the back of your remote. You’ll usually find a small tab or slot that you can pry open.
- Remove the old battery and make sure to dispose of it properly—don’t just toss it in the trash!
- Insert a new battery, ensuring you’re aligning it according to the positive and negative indicators inside the compartment.
- Close the compartment, and test your remote to ensure it’s working properly. You’re good to go!
You might be wondering how often you should change the battery. It varies depending on use, but a good rule of thumb is to check it yearly. You could even set a calendar reminder so you don’t forget!
Understanding the advanced settings for your LiftMaster control panel can profoundly enhance your experience with your garage door opener. Whether it’s pairing remotes, adjusting limits, setting up MyQ, or troubleshooting, every bit of knowledge empowers you to take control of your garage entry.
With a little patience and practice, you can navigate these features like a pro. So, don’t shy away from exploring what your LiftMaster can truly do. You’ll find it’s worth the minor effort to enjoy a smoother, smarter, and safer garage door experience.