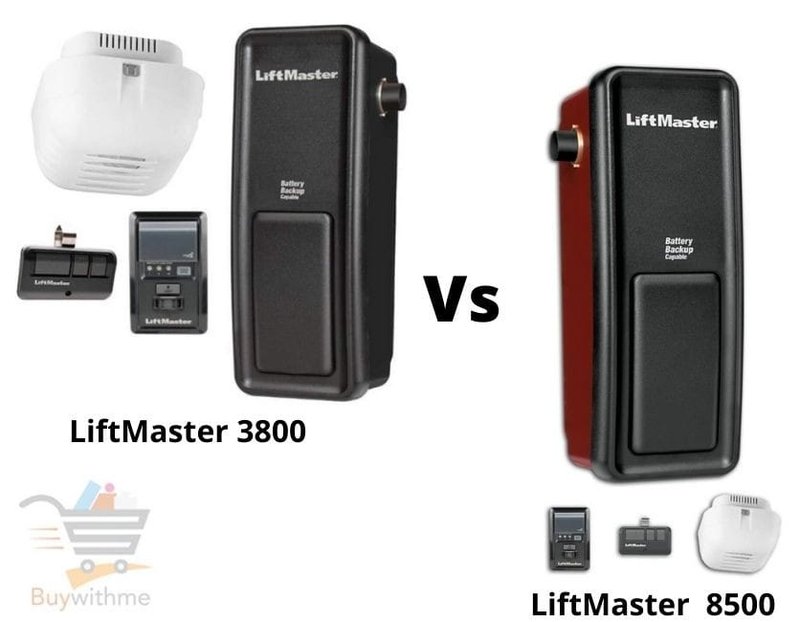
Now, you might feel like it’s a straightforward choice, but let me tell you, there are nuances here. Liftmaster offers different control panels, each with unique features. Picture it like deciding between two smartphones: both allow calling and texting, but one has a better camera, while the other shines in battery life. So, let’s dive into the features and functionalities of the Liftmaster control panels to see which one genuinely stands out in your garage.
Types of Liftmaster Control Panels
To kick things off, let’s clarify what we mean by “control panels.” Essentially, these are the devices you use to operate your garage door opener. Liftmaster offers several types, including wall-mounted control panels and wireless remotes. Each has its benefits and potential downsides.
Wall-Mounted Control Panels: These are installed directly on the wall inside your garage—often near the door. They typically feature buttons for opening and closing the door and may also include options for activating lights or setting timers. Their fixed location can be a blessing if you want to avoid losing a remote.
Wireless Remotes: Liftmaster remotes are small, portable, and can easily fit on a keychain. They give you the freedom to open your garage door without stepping foot inside. Some models come with additional features, like HomeLink compatibility for seamless integration with your car. But keep in mind, they can sometimes be easy to misplace!
Features Comparison: What to Look For
Now that we’re familiar with the types, it’s crucial to consider what features these control panels offer. Some key aspects include security, ease of use, and additional functionalities.
Security: Liftmaster prioritizes your safety. Most of their remotes come equipped with Rolling Code Technology, which generates a new code every time you press the button. This makes it harder for unauthorized access. If your garage door opener is compatible with smart technology, some panels even support secure mobile access through smartphone apps.
Ease of Use: If you’re not tech-savvy, the simplest control panel might be for you. Look for designs with large, clearly labeled buttons that are easy to understand. Also, consider backlit keys if you’re opening the door at night. After all, nobody wants to fumble around in the dark!
Additional Functionalities: Some Liftmaster panels allow you to program multiple remotes, sync with smart home devices, or connect to security systems. Think of these extras as the icing on the cake—they can make your life easier but aren’t necessarily deal-breakers.
Remote Synchronization: How It Works
So, how do you get that shiny new control panel to communicate with your garage door opener? This process is called synchronization or pairing. Here’s the basic rundown on how to do it.
1. Find the Learn Button: Locate the “Learn” button on your Liftmaster garage door opener—it’s often found on the back or side. This is where you’ll create a connection between your control panel and the opener.
2. Press the Learn Button: When you press it, the indicator light will often flash, letting you know it’s active.
3. Push the Remote Button: Within 30 seconds, press the button on your remote (or control panel). If all goes well, you should see the lights on the opener blink again, indicating they’ve paired. And just like that, you’re ready to go!
Getting this right is crucial. If your control panel isn’t synced correctly, you might find yourself standing in the driveway for longer than you want.
Battery Life & Maintenance: Keeping It Running Smoothly
Let’s talk about batteries for a moment—especially since those little power sources can make or break your remote’s functionality.
Battery Type: Most Liftmaster remotes operate on simple lithium or alkaline batteries. You’ll find that these batteries typically last quite a while—anywhere from six months to a couple of years, depending on usage.
Maintenance Tips: Here’s the thing—keeping your control panel in good shape doesn’t just mean replacing the batteries. Regularly check for dirt or grime around the buttons. If the panel becomes unresponsive, a clean, dry cloth can often do wonders. Also, consider operating the remote from close distances now and then to ensure it’s still working properly.
Troubleshooting Common Issues
Even the best control panels can sometimes run into hiccups. Here are a few common problems and what you can do about them.
Unresponsive Remote: If your remote isn’t working despite fresh batteries, check that it has synced with the opener. If it’s still unresponsive, there may be interference from nearby devices. Move closer to the opener and try again.
Door Won’t Close: If your garage door opens but doesn’t close, look for obstructions along the door’s path. Sometimes, debris can block sensors, preventing the door from closing.
Lights Not Working: If the lights on your control panel don’t illuminate, ensure the device has power and isn’t stuck in energy-saving mode. If all else fails, a quick reset might do the trick.
The Final Verdict: Choosing the Right Control Panel
Deciding between two Liftmaster control panels isn’t just about numbers and features; it’s about understanding what works best for your lifestyle. Consider how often you’ll use the device, whether convenience or security is your top priority, and what features genuinely add value to you.
Ultimately, both the wall-mounted controls and wireless remotes have their strengths. If you often forget where you put things, a wall-mounted panel might be your best bet. On the other hand, if you love the freedom of not being tied to one location, go for the remote.
In any case, Liftmaster takes safety and usability into account in their designs. So whichever control panel you opt for, you’re likely to walk away with a solid choice.
Investing in the right control panel could simplify your day-to-day life and enhance your home’s safety. So take your time, think about your needs, and choose the panel that fits you best. Your garage—and your future self—will thank you!
