Understanding how to use the advanced settings can help customize the performance of your LiftMaster opener. Think of it as tuning a fine instrument—you want it to sound just right for your specific needs. In this article, we’ll explore those advanced settings, how to adjust them, and why they matter. Buckle up as we dive into the ins and outs of LiftMaster safety sensors!
What Are LiftMaster Safety Sensors?
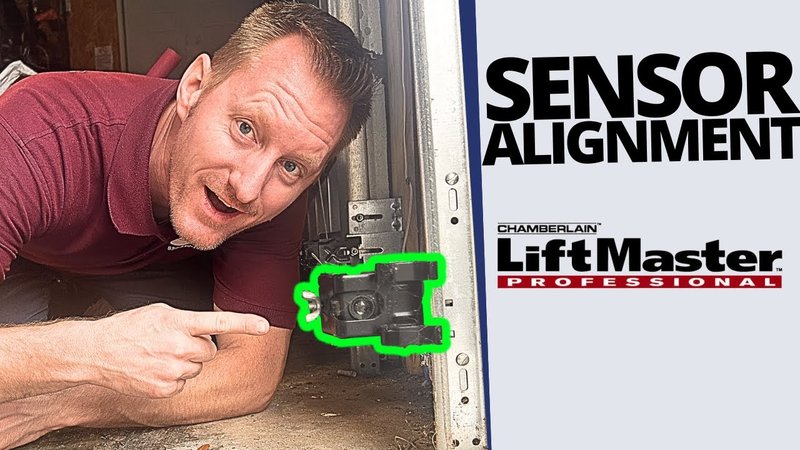
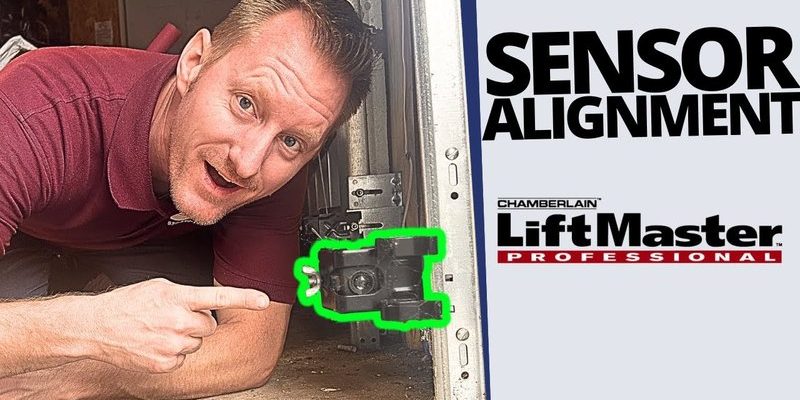
Before we dive into the settings, let’s clarify what LiftMaster safety sensors actually are. These are small devices installed near your garage door’s opening mechanism, designed to detect anything that might obstruct the door’s path. Think of them like the eye of a camera, continuously scanning for anything—or anyone—that might get in the way as the door closes.
Installing these sensors is usually straightforward. They consist of a sending unit that emits a signal and a receiving unit that picks it up. Together, they create an invisible beam across the garage door’s path. If something interrupts that beam, the door stops and reverses, avoiding potential accidents. This isn’t just a feature; it’s a crucial safety measure to prevent injuries or damage.
Moreover, these sensors operate on infrared technology, making them highly reliable. They’re also designed to withstand various environmental conditions, which is perfect for outdoor settings. Overall, they’re a small but mighty addition to your garage door system.
Understanding Advanced Settings
The advanced settings for LiftMaster safety sensors allow you to customize how they operate, improving efficiency and safety based on your environment. You might be wondering, “Why would I need to change the settings?” Well, let’s say you’ve recently installed new flooring that causes reflective surfaces; these adjustments can help ensure that your sensors do their job effectively, despite the changes in your surroundings.
Many users don’t realize that adjusting the sensitivity of these sensors can make a significant difference. Depending on how close or far your sensors are positioned, you might need to fine-tune their responsiveness. For example, if you notice the door reversing unexpectedly, it’s time to consider the advanced settings to mitigate this issue.
Advanced settings can also help with *syncing* the sensors with your LiftMaster opener, ensuring smooth communication between them. If you’ve ever struggled with a remote not working as intended, this is particularly relevant. Setting things right can save you the headache of unnecessary troubleshooting later on.
How to Access Advanced Settings
Accessing the advanced settings for your LiftMaster safety sensors might sound technical, but it’s usually a matter of using the right tools. Most LiftMaster units allow adjustments through their specific control panel or a compatible remote control. Don’t worry if you’re not tech-savvy; we’ll break it down step-by-step.
1. Locate the Control Panel: Most LiftMaster garage door openers have a control panel either on the unit itself or as a remote.
2. Power On the System: Make sure your garage door opener is plugged in and powered on.
3. Enter Programming Mode: Depending on your model, you might need to press a specific button on the control panel to enter *programming mode*. This is often the “Learn” button.
4. Adjust Settings: Follow on-screen prompts or consult the user manual for specifics on what each setting does.
Having your user manual handy can be invaluable at this stage, as it provides hints tailored to your specific model. If you can’t find it, most LiftMaster manuals are available online.
Adjusting Sensitivity Levels
One of the most crucial aspects of the advanced settings is the ability to adjust the sensitivity levels of your safety sensors. Too sensitive, and they might cause your door to reverse frequently; not sensitive enough, and they might fail to respond to actual obstructions. Striking the right balance can be key.
To adjust sensitivity:
– Start Programming Mode: As mentioned before, press the Learn button until you hear a beep.
– Follow the Prompts: If the panel gives you prompts for sensitivity adjustments, follow them carefully. Typically, increasing sensitivity means the sensors are more responsive.
– Test the Changes: After adjusting, test the door operation to ensure it behaves as expected.
Here’s an example: if your garage door tends to reverse when there’s nothing in its path, consider lowering sensitivity. On the flip side, if it fails to respond when children play nearby, you’ll want to enhance sensitivity.
Troubleshooting Common Issues
Sometimes, even the most advanced settings don’t seem to work right. You might experience issues like the garage door refusing to close or constantly reversing. These problems can often be solved with simple troubleshooting steps.
1. Check Alignment: Ensure that both safety sensors are properly aligned. If they’re slightly off, the beam might be disrupted.
2. Inspect for Obstructions: Look around the sensor area for any debris or obstructions. Even small items can cause interruptions.
3. Verify Connection: Make sure the wiring for the sensors is intact. Loose or damaged wires can result in erratic behavior.
These common issues remind us that routine maintenance is crucial. Regularly checking the sensors can prevent malfunctions and extend the life of your garage door system.
Pairing Remotes with Safety Sensors
You might also want to pair your remote control with the safety sensors for seamless operation. The process is relatively straightforward but can vary based on the model. Here’s a brief rundown of how to get started.
– Activate the Remote: Press the button you wish to pair with the safety sensors.
– Access Programming Mode Again: As we discussed, this usually involves pressing the Learn button on your control panel.
– Follow Prompts to Pair: You might need to press the remote button again to finalize the connection.
Once paired, you should be able to control your garage door using the remote without any hitches. Reliable functionality is key, especially when you’re in a hurry and need to get in or out quickly.
When to Seek Professional Help
Though many advanced settings can be adjusted with simple DIY methods, there are times when it’s best to call in the pros. If you find yourself frustrated after repeatedly troubleshooting without success, it may be time to consult a professional.
Consider reaching out for help if:
– You suspect faulty wiring or damaged sensors.
– You’re facing repeated errors or odd behaviors that you can’t fix.
– The manual isn’t providing the guidance you need.
Calling a technician can save you time and energy, ensuring that your safety sensors are tuned perfectly for optimal performance. Plus, it gives you peace of mind knowing the job is done safely and effectively.
In summary, LiftMaster safety sensors are a fantastic feature to keep your garage and family safe, and adjusting the advanced settings can fine-tune their performance to fit your needs perfectly. Whether you’re looking to boost sensitivity or troubleshoot common issues, understanding these settings can make all the difference. Remember, a little maintenance can go a long way!
