Sears offers a variety of garage door openers that can develop syncing issues over time. Whether it’s a keypad or a remote control causing the hiccup, understanding how to reprogram the control panel can save you from calling in a professional. Join me as we explore this process in a friendly and accessible way—no tech jargon or complex instructions here!
Understanding Your Sears Garage Door Opener
Before diving into reprogramming, let’s take a moment to understand what you’re working with. Sears control panels can include several types of remotes and keypads, each with its quirks. One common type is a universal remote, which can work with various brands, but if you have a specific Sears model, you might want to stick with its dedicated remote.
You might be wondering why reprogramming is even necessary. Well, devices can get out of sync for a few reasons. Perhaps someone accidentally pressed the wrong buttons, or maybe the remote’s battery has seen better days. In any event, the good news is reprogramming is usually a quick fix!
Gathering What You Need
Before starting the reprogramming process, make sure you have everything on hand. Here’s a handy checklist:
- Your Sears remote control: The one you want to pair with the garage door opener.
- Access to the garage door opener unit: Usually mounted on the ceiling or a wall in your garage.
- A ladder: If your unit is high up, you might need a ladder to reach it.
- A replacement battery: If the remote is unresponsive, this step is crucial.
Having everything at the ready makes the process smoother. Plus, it saves you from darting off midway to dig through drawers or rummage in the garage.
Steps to Reprogram the Control Panel
Now for the fun part: reprogramming! Let’s walk through this step by step. Remember, pacing is key here. Each step is vital for success.
1. Locate the Learn Button: Find the learn button on your garage door opener. Depending on the model, this could be a shiny button or a small hole. It’s usually on the back or side of the unit.
2. Press the Learn Button: Press and hold the learn button for about six seconds until the light on the opener unit turns on. This indicates it’s in programming mode.
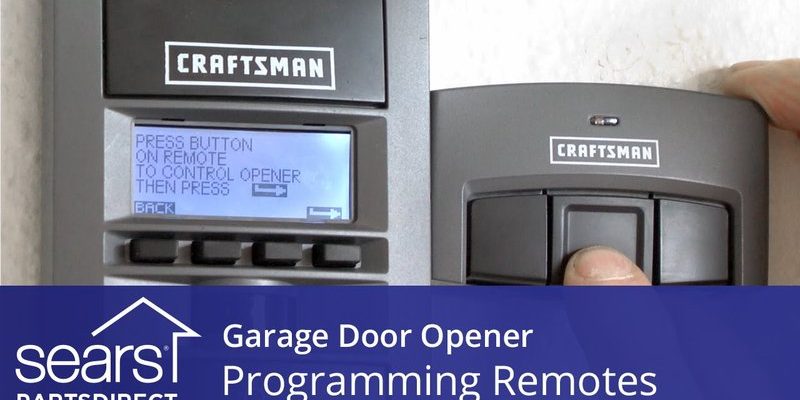
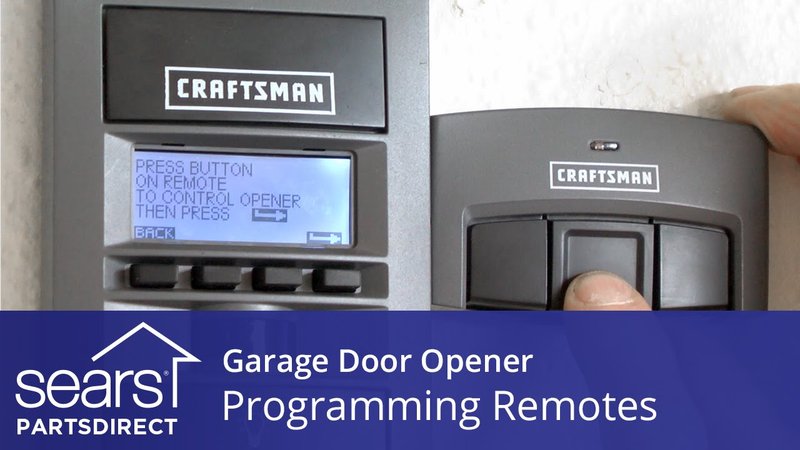
3. Get Your Remote Ready: Take your remote and press the button you want to use to open the garage door. You might notice the light on the control panel blink or go out. Voila! Your remote is now paired with your garage door opener.
Remember, if you have multiple remotes, you’ll need to repeat the process for each one.
Troubleshooting Common Issues
Sometimes, despite your best efforts, things go a bit awry. If reprogramming doesn’t work the first time, here are some common issues and fixes to consider:
– Check the Battery: Make sure the battery in the remote is fresh. A weak battery might not send the right signal.
– Resetting the Opener: If your opener is still unresponsive, try unplugging it for around 30 seconds before reprogramming again. This acts like a reboot for your device.
– Interference: Ensure that there are no electronic devices causing interference. Things like microwaves or even other garage door openers within the vicinity can confuse the signal.
Getting through these bumps can be frustrating, but with a bit of patience, you’ll often find the answer.
Why Reprogramming Matters
So, why take the time to reprogram? First, it restores convenience. A garage door that opens with a simple click is just more pleasant. Think of it as keeping your daily routine hassle-free. Plus, knowing how to reprogram your Sears control panel saves you money on service calls.
It’s also a good piece of knowledge to have for safety reasons. A malfunctioning garage door can be a security risk. Ensuring that your remotes work properly gives you peace of mind that your home is secure.
Exploring Alternatives
If you find yourself struggling with the reprogramming process or your remote is outdated, you might consider alternative solutions. There are universal remotes available that can sync with various opener brands. While the reprogramming steps will differ slightly, having a universal remote can add flexibility as you manage your garage door system.
Another alternative could be replacing the entire unit with a smart garage door opener. These modern marvels come with smartphone apps, allowing you to control your garage door from anywhere. If that sounds appealing, take a good look at your options!
Reprogramming your Sears control panel doesn’t have to be daunting. With the right tools and a little bit of understanding, you can easily tackle this task and get your garage door back in working condition. Hopefully, this guide has cleared up any confusion and made this process feel much more approachable.
Whether you’re looking to maintain a smooth routine or simply need an easy fix to a recurring issue, reprogramming your Sears garage door keypads and remotes is a practical skill to have in your toolkit. So take a deep breath, grab your tools, and get that garage door working like new again!