Now, if you’re using a Raynor garage door opener, it’s important to know that different models may have varying procedures. But don’t worry! We’ll walk through the steps together, so you can easily reprogram your motor unit and get back to using your garage as intended. Just imagine having your garage door respond perfectly every time you press that remote button.
Understanding Your Raynor Motor Unit
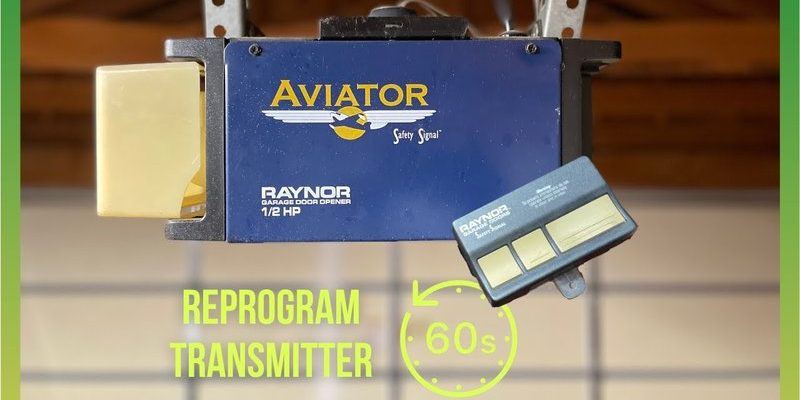
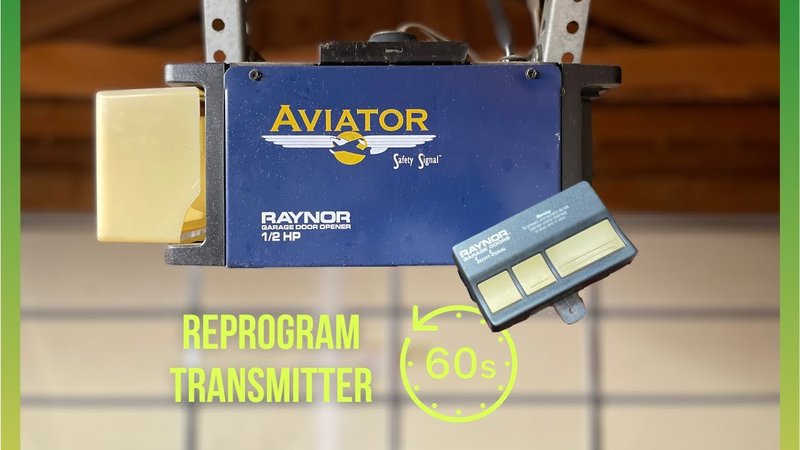
To begin, let’s quickly discuss what the Raynor motor unit actually does. This unit is like the heart of your garage door system, powering the door’s movement and responding to your remote commands. When things get a little off—like if the remote doesn’t seem to trigger the door—this is usually when you’d want to reprogram it.
There are two main types of remotes for Raynor garage doors: the button-style remote and the keypad entry remote. Each one has its own way of pairing with the motor unit. Knowing which remote you have is crucial before diving into reprogramming. If you’re unsure, check your owner’s manual or the manufacturer’s website for specifics.
By understanding the role of the motor unit and the types of remotes available, you’re already ahead of the game. Now, let’s talk about how to get everything set up correctly!
Gathering Your Supplies
Before we start reprogramming your Raynor motor unit, let’s gather everything you’ll need. Honestly, having the right tools simplifies the entire process. Here’s what you should have on hand:
- Your Raynor remote control (make sure it has a working battery).
- The Raynor garage door opener unit, ideally mounted where you can easily reach it.
- A step ladder (if necessary) to access the motor unit.
- Any written instructions specific to your model (found in your manual or online).
You might be wondering why the battery situation is important. A fresh battery is like a good cup of coffee in the morning; it gives you that much-needed boost to get started! If the remote isn’t working, checking the battery should be your first step before reprogramming.
Once you have everything together, we can move on to the fun part: reprogramming your motor unit!
Reprogramming Your Raynor Motor Unit
Now let’s get into the meat of the process. Reprogramming a Raynor motor unit is straightforward, especially when you know the steps. Here’s how to do it.
1. Locate the Learning Button: For most Raynor models, this button is usually found on the back or side of the motor unit. It might be red or yellow, depending on the model. Give it a look—this button is the key to the whole operation.
2. Press the Learning Button: Go ahead and press and hold this button until the small LED light on the motor starts blinking. This indicates that you’re in programming mode, ready to sync with your remote.
3. Prepare Your Remote: Now, take your remote control. Press and hold the button you want to use for that specific garage door. You should keep it pressed until the motor unit beeps. This confirms that the remote and motor unit are communicating properly.
4. Test It Out: After you’ve released the button on the remote, try pressing it again. If the garage door responds, congratulations! You’ve successfully reprogrammed your Raynor motor unit. If it doesn’t respond, don’t panic—just repeat these steps to ensure you’ve done everything correctly.
Remember, timing is important during this process. If you take too long between pressing buttons, you may need to restart the programming sequence.
Troubleshooting Common Issues
Honestly, it’s only natural to face a hiccup here and there. If your Raynor motor unit isn’t responding after reprogramming, there could be a few reasons for this. Here are some common issues and how to troubleshoot them:
– Remote Battery Issues: Ensure the remote battery is charged. If it’s weak or dead, it won’t communicate with the motor unit. Try replacing it with a new battery to see if that resolves the issue.
– Obstructions: Sometimes, a clear line of sight between the remote and the motor unit is crucial. Check if there are any objects blocking the signal, like tools or other equipment.
– Motor Unit Settings: If you’ve got multiple remotes programmed, the system may be expecting commands from a different one. Check if you’ve replaced an old remote with a new one without clearing any previous codes.
With a bit of patience and these troubleshooting tips, you should be able to get your Raynor motor unit back to working order.
Why Reprogramming Matters
So, why does reprogramming your Raynor motor unit matter? Think of it this way: just like we update our phones to fix bugs or improve performance, your garage door system benefits from reprogramming, too. It can enhance security, ensure reliable operation, and make your life a lot easier.
If your remote was lost or damaged, reprogramming is essential to prevent unwanted access. Even without any visible signs of malfunction, regularly refreshing your system can help maintain a smooth operation.
Regular maintenance, including reprogramming, is part of having a functional and secure garage door setup. After all, you wouldn’t want to deal with a stubborn door when you’re in a rush, right?
Alternative Solutions: Universal Remotes
You might be considering using a universal remote instead of your Raynor remote for convenience. Universal remotes can be programmed to work with various garage door openers, including Raynor units. These can be particularly useful if you misplace your remote frequently or want to simplify your setup.
To program a universal remote, follow similar steps as reprogramming your Raynor motor unit. Refer to the universal remote’s instruction manual for specific details on syncing it with your Raynor system.
Keep in mind that while universal remotes can save time, they might not offer all the features of the original Raynor remote. So, weigh the pros and cons based on your needs.
Final Thoughts on Reprogramming Your Raynor Motor Unit
Reprogramming your Raynor motor unit doesn’t have to feel like rocket science. With the right guidance and a little confidence, you can tackle it like a pro. Remember, taking the time to ensure that your system is properly programmed contributes to a safer and more efficient garage experience.
If you follow the steps outlined and address any issues that pop up, you’ll have your garage door opener back in action. So grab that remote and enjoy the convenience of a smoothly running garage door system!
Originally posted 2025-01-29 02:25:37.