Reprogramming the Skylink safety sensor isn’t as daunting as it sounds. In fact, it’s pretty straightforward once you get the hang of it. Whether you’re dealing with a pesky malfunction or just trying to sync a new remote, this guide will walk you through it step by step. So grab a cup of coffee, and let’s dive into the world of garage door tech!
Understanding the Skylink Safety Sensor
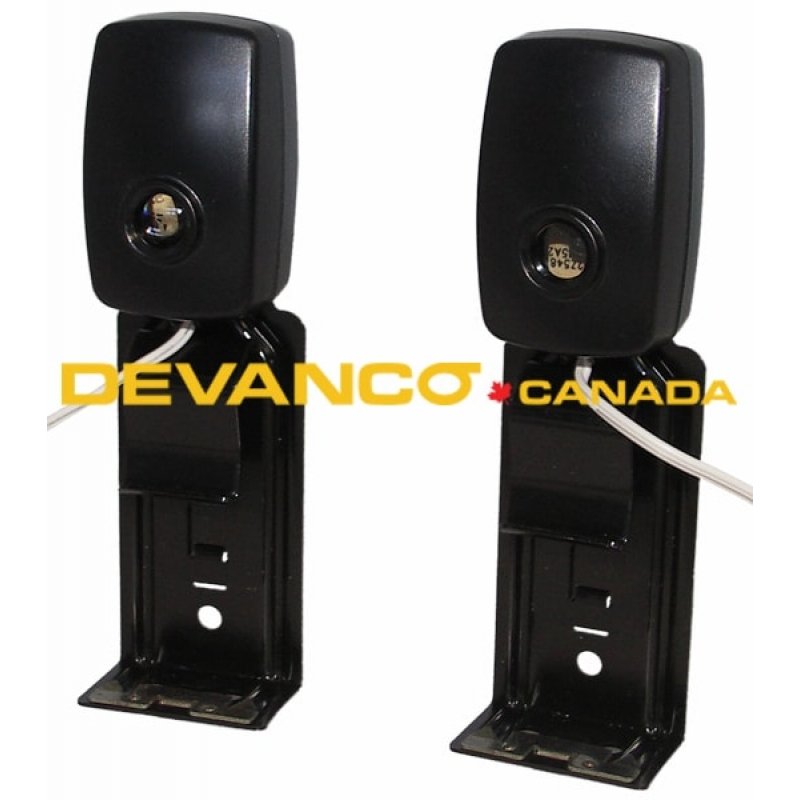
Before we jump into reprogramming, let’s take a moment to understand what the Skylink safety sensor does. This little device is crucial for your garage door’s operation, primarily when it comes to safety. It communicates with your garage door opener to prevent accidents and ensure that you and your vehicles remain safe.
Think of the safety sensor as your garage’s watchdog. It “watches” your garage door’s movements and makes sure everything is working properly. If something gets in the way while the door is closing, the sensor detects it and stops the door from crushing whatever’s in its path. That’s a pretty handy feature, right?
One key aspect is pairing your sensor correctly with your garage door opener. If they lose their connection—often due to battery changes or power outages—you may find yourself frustrated. But no worries; reprogramming will put them back in sync!
Gather Your Tools and Prepare
Before you begin reprogramming your Skylink safety sensor, you’ll need a few essentials. Having everything ready will streamline the process. You’ll need:
- Your Skylink remote control
- The garage door opener
- A step stool (if your sensor is mounted high)
- A fresh battery for the remote (if necessary)
If you’ve noticed any issues like the garage door refusing to open or close properly, this is often a sign that your remote isn’t communicating with the sensor. Ensuring your remote has a fresh battery can make a significant difference.
Once you have these items, find a comfortable spot to work. It’s easier to focus on the task at hand when you’re not distracted. You might want to take a moment to check if the sensor’s wires are intact and the sensor lights are functioning. A little bit of prep can go a long way!
Resetting the Skylink Safety Sensor
Resetting your Skylink safety sensor is often the first step you want to take if things aren’t working as they should. Here’s how you can do this:
1. Locate the Reset Button: This button is usually found on the back of your safety sensor. Grab your step stool if needed.
2. Press and Hold: Once you find the reset button, press and hold it for about 10 seconds. You might see lights flashing, which means it’s working.
3. Release the Button: After 10 seconds, release the button. This should reset the sensor. You want to see if the sensor lights remain steady or flash.
Here’s the thing—sometimes, a simple reset is all your system needs to get back on track. If the problem persists, however, you’ll need to move on to the reprogramming step.
How to Reprogram the Remote Control
Now that we’ve reset the Skylink safety sensor, it’s time to reprogram the remote control. Follow these detailed steps to get everything working smoothly:
1. Press the Program Button on the Opener: Start by locating your garage door opener. Look for a button labeled “Program” or “Learn”—this is often near the antenna.
2. Choose Your Remote: Next, take your Skylink remote control and press the button you’d like to use for opening the garage door.
3. Hold It Down: Keep holding the remote button while pressing the program button on the opener. Usually, you will see the opener lights flash once. Release the button once you observe this.
4. Test the Connection: Now, try pressing the remote button. If your garage door opens, congratulations! You have successfully reprogrammed the remote.
It’s a bit like cooking—you follow the recipe step by step, and with a little patience, you end up with a dish you can savor. If it doesn’t work, just double-check your steps. Sometimes, the tiniest oversight can be the culprit.
Troubleshooting Common Issues
Even after following all the steps, things might still go haywire. Let’s look at some common issues that could pop up while reprogramming your Skylink safety sensor and remote.
1. Remote Not Responding: Make sure the battery is fresh. A dead battery often leads to a silent remote.
2. Sensor Light Not Working: If the safety sensor isn’t showing a light, inspect it for damage or loose wiring.
3. Door Won’t Close: Sometimes, obstacles might block the sensor. Clear out any obstructions and see if the problem resolves itself.
4. Faulty Remote: If all else fails and the remote still doesn’t work, it might be time to check if it’s a faulty unit. Consider contacting customer support.
Keep in mind; these troubleshooting tips can save you time and energy, ensuring that you don’t have to do the whole reprogramming act all over again.
Regular Maintenance for Your Skylink System
Once you’ve successfully reprogrammed your Skylink safety sensor, perform some regular maintenance to keep everything running smoothly. Here’s how you can maintain your system:
– Check the Sensor Alignment: Every so often, make sure that your sensors are aligned properly. Misalignment can hinder communication between the remote and the opener.
– Inspect Cables and Connections: Take a look at the sensor’s wiring and connectors regularly to spot any wear and tear.
– Clean the Sensors: Dust and grime can accumulate on the sensors, so give them a gentle wipe now and then. This might just help them perform better.
– Test Your Remote: Every few months, test your remote to ensure it still works. If you’ve had battery changes, reprogram it as needed.
Honestly, a little consistent care can go a long way in extending the lifespan of your Skylink system. Think of it like tending to a garden—you weed out the problems before they grow into bigger issues.
Reprogramming your Skylink safety sensor doesn’t have to be a stressful ordeal. With a bit of patience and these detailed steps, you’ll be back on track faster than you can say “garage door.” Whether you’re a DIY enthusiast or just looking to fix a small glitch, these tips provide a straightforward approach to getting everything working again.
Remember, your safety sensor is there to help protect you and your family. Keeping it in good shape with proper maintenance is worth the effort. So, grab that coffee and enjoy the satisfaction of a job well done every time you pull into your garage. Happy syncing!
