When you’re ready to tackle this problem, you’ll primarily be dealing with your Chamberlain garage door opener remote. These handy devices are designed to make life easier, but they can run into hiccups from time to time. In this guide, we’ll take it slow and step-by-step, turning what seems like a tricky task into a manageable one for anyone—yes, even if you’re not the most tech-savvy person out there!
Understanding the Chamberlain Circuit Board
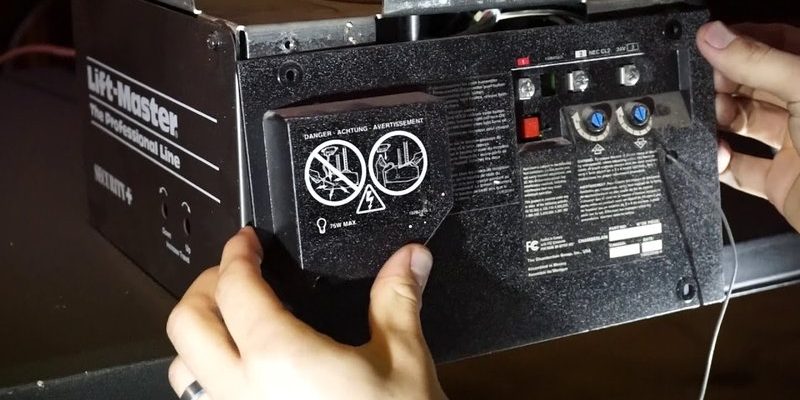
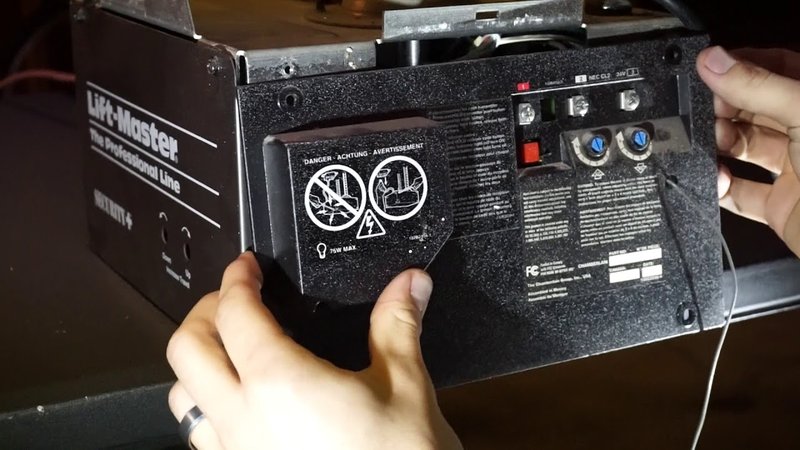
Let’s start by getting familiar with what we’re dealing with. The Chamberlain circuit board is essentially the brain of your garage door opener. It controls all the functions, from communicating with your remote to managing the safety sensors. Without a properly functioning circuit board, your garage door can become less cooperative than a cat at bath time.
Think of it like the conductor of an orchestra; if the conductor isn’t on point, the music can turn into chaos. The circuit board receives signals and ensures everything runs smoothly. When starting the reprogramming process, it’s important to recognize that this is a central component of your garage door system.
Why Would You Need to Reprogram?
You might be wondering why you need to go through this effort in the first place. Reprogramming the Chamberlain circuit board can help in a few situations:
- New Remote: If you’ve bought a new remote, you’ll need to sync it with the circuit board.
- Lost Remote: If your previous remote is gone, you need to set up others to take its place.
- Malfunctioning Door: Sometimes, the remote might fail to communicate properly with the circuit board, and a reset can fix the issue.
Reprogramming isn’t just about fixing problems—it’s about making your system work the way it should.
Gathering the Tools You Need
Before diving into the actual reprogramming, let’s ensure you have everything you need. A little preparation can make the process much smoother.
Here’s what you’ll typically require:
- Chamberlain Remote: Obviously, this is vital for the syncing process.
- Access to Your Garage Door Opener: You’ll need to reach the machine itself, usually mounted on the ceiling.
- Step Ladder: If you’re not a fan of heights, you might want to grab a friend to help.
- Owner’s Manual: If you have it handy, this can provide specific instructions tailored to your model.
Getting these items ready will save you from unnecessary trips around the house, leaving you free to focus on the task at hand.
Step-by-Step Guide to Reprogram the Circuit Board
Now, we’re getting to the meat of it! Here’s how to reprogram your Chamberlain circuit board in a few simple steps. Don’t worry; it isn’t as complicated as it might seem.
Step 1: Locate the Learn Button
On your Chamberlain garage door opener, find the Learn button. It’s usually located on the back of the motor unit. You’ll want to look for a small, round button—it might be yellow, red, or purple, depending on your model.
Step 2: Press the Learn Button
Once you locate the button, press it once. You should see a light start to blink on the opener unit. This indicates that it’s in learning mode. Just imagine that the garage door opener is opening its ears to listen for a new remote.
Step 3: Press the Remote Button
Now take your remote and press the button you want to use. Hold it down until the light on the garage door opener blinks or stays solid. This means the opener has successfully recognized the remote.
Step 4: Test the Remote
Try pressing the button again to ensure the door opens. If it does, congratulations! You’ve successfully reprogrammed your Chamberlain circuit board.
If it doesn’t, don’t panic. Sometimes you might need to repeat the process or check if the batteries in the remote are fresh.
Troubleshooting Common Issues
Sometimes, things don’t go as planned, and that’s perfectly okay. Just like with a great recipe, some adjustments might be necessary. Here are a few common issues you might encounter and how to solve them:
Remote Not Syncing:
If your remote isn’t syncing, double-check that you pressed the Learn button correctly. It should blink before you press your remote button. Also, make sure the batteries in your remote aren’t dead. It may sound simple, but fresh batteries can make a world of difference!
Opener Won’t Respond:
If the opener itself isn’t responding, check the power source—sometimes, plugs can get nudged out of place. Ensure the circuit board is powered up and that the opener is securely plugged in.
Multiple Remotes:
If you have several remotes and want them all to work, repeat the reprogramming for each one. The circuit board can remember multiple remotes, but you’ll need to teach it each one individually.
Final Thoughts on Reprogramming Your Garage Opener
Reprogramming the Chamberlain circuit board isn’t just a tech task—it’s about making your life a little easier and more convenient. Whether it’s a new remote or a quick reset, knowing how to reprogram can save you time and frustration. We walk through each step just like a friendly neighbor would help you if you were stuck.
So, next time you find yourself in a stubborn predicament with your garage door opener, remember: you’ve got the tools and knowledge to sort it out. And hey, don’t hesitate to ask a friend for help or consult your owner’s manual for more specific instructions. You’ve got this!