Reprogramming the LiftMaster safety sensor might sound complicated, but it’s much easier than it appears. You just have to follow some straightforward steps. If you’ve recently installed a new sensor, replaced your garage door remote, or you’re facing issues with door operation, this guide will walk you through reprogramming your LiftMaster safety sensor. Let’s get started!
What Are LiftMaster Safety Sensors?
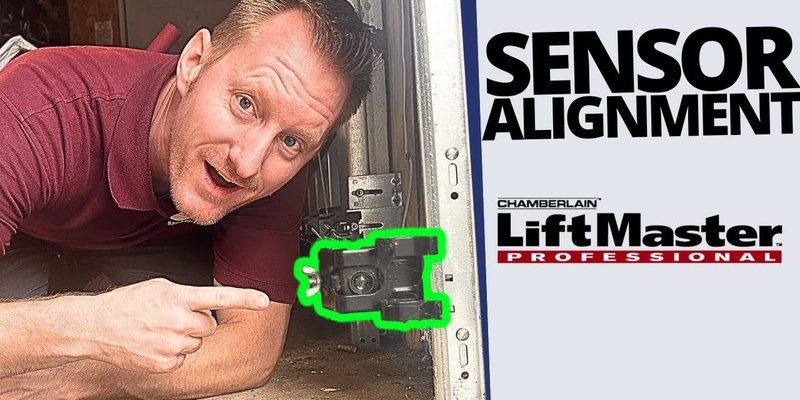
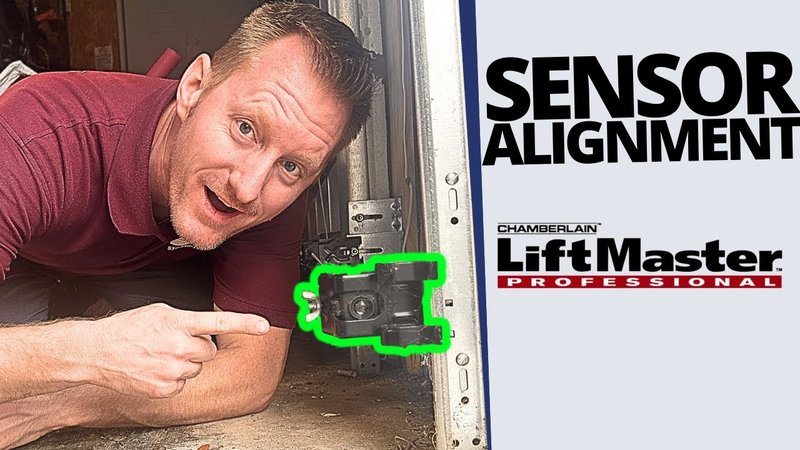
To understand why reprogramming might be necessary, let’s first clarify what safety sensors do. LiftMaster’s safety sensors are small devices installed near the bottom of your garage door tracks. Their job is simple yet crucial—they create an invisible beam across the door’s path. If something interrupts that beam while the door is closing, it automatically reverses. This prevents accidents, especially with kids or pets around.
Without functioning safety sensors, your garage door could close on anything—and that could be really dangerous, not to mention expensive. Honestly, everyone wants a working garage door that plays it safe!
You might be wondering how these sensors communicate with the garage door opener. Well, they send signals back and forth that help the opener determine what to do. If you’ve changed out remotes or installed new sensors, the connection may not be in sync, which leads us to the reprogramming step.
Common Issues That Require Reprogramming
There are several reasons why you might need to reprogram your LiftMaster safety sensors. Here are a few common issues:
- New Sensor Installation: If you’ve just swapped out old sensors for new ones, they may need to be synced with your garage door opener.
- Remote Replacement: Just replaced your garage door remote? This can disrupt the connection with the safety sensors.
- Faulty Sensors: Sometimes, it’s the sensors themselves that are at fault. You might notice that the door fails to close properly.
If you troubleshoot these situations and find you need to reprogram your safety sensors, don’t fret! You can fix the issue with a handful of tools you likely already have at home, and a little patience.
Gather Your Tools
Before diving into the actual reprogramming, you’ll want to gather a few tools. Honestly, you probably won’t need anything elaborate. Here’s a quick list:
- Screwdriver: A basic tool to help if you need to adjust sensor placement.
- Stepladder: If your sensors are mounted high, you might need a bit of height for better access.
- Flashlight: Just in case you’re working in a dim garage!
- Owner’s Manual: While not strictly necessary, having this handy can help clarify specific settings.
Having everything at your fingertips makes the reprogramming process smoother. You don’t want to be halfway through and realize you need that one screwdriver you left in the tool shed!
How to Reprogram LiftMaster Safety Sensors
Now it’s time to get to the meaty part—the actual reprogramming process. Don’t worry; I’ll guide you through it step-by-step.
1. Power Off Your Garage Opener: First, ensure your garage door opener is completely powered off. You can unplug it from the wall or switch off the circuit breaker. It’s a smart move for safety.
2. Disconnect the Sensors: Locate the wires from the safety sensors. Unplug them from the opener. Wait a minute, then reconnect them securely. Make sure they’re in good condition, without any frayed wires.
3. Reset the Opener: It’s time to reset the opener itself. Most models have a reset button on the motor unit. Press and hold it until the lights blink. This process varies a bit by model, so check your manual for precise instructions.
4. Reprogram the Sensors: Next, you’ll need to re-engage the sensors. Press the ‘Learn’ button on the garage door opener. You usually find this button on the back or side of the motor unit. While keeping an eye on the opener’s light, press the sensor’s alignment button.
5. Align the Sensors: Finally, check that the sensors are aligned. Each sensor has a light that indicates whether they’re working correctly. If both lights are solid without blinking, they’re in sync. If one flashes, adjust until they’re just right.
After you complete these steps, power on the opener and test your garage door. The door should now operate smoothly, recognizing when something is in the path and reversing when needed.
Troubleshooting Tips
Even after reprogramming, sometimes things don’t go as planned. Here are a few troubleshooting tips if your safety sensors are still acting up:
– Check for Obstructions: Sometimes, dust or debris can block the sensor’s view. Make sure they’re clean and free from any obstructions.
– Evaluate the Alignment: If the lights are blinking and not syncing, it might mean the sensors are misaligned. They should face each other directly without angles.
– Inspect Wires: Look for any frayed wires or loose connections—these can disrupt communication between the sensors and the opener.
– Power Supply Issues: Ensure the opener has a solid power supply and check for blown fuses or tripped breakers in your garage.
If you try these tips and still encounter issues, consulting your LiftMaster owner’s manual is a good idea. Sometimes issues warrant a professional garage door technician to take a closer look.
Reprogramming the LiftMaster safety sensors may feel like a daunting task, but it doesn’t have to be. By following these straightforward steps, you can ensure your garage door operates safely and smoothly. Remember, those little safety sensors are there to keep your family safe, so keeping them in good working order is essential.
If you’ve enjoyed this guide or found it helpful, feel free to share it with someone else who might need a little help with their LiftMaster garage door opener! After all, we all need a helping hand sometimes, especially when it comes to home maintenance.