Reprogramming might sound daunting, but honestly, it’s much simpler than you think. Whether you’ve just moved into a new place and want to set your own code, or you’ve noticed that your old code isn’t working anymore, I’ve got you covered. I’ll walk you through the steps, share some handy tips along the way, and even tackle a couple of troubleshooting scenarios. Before you know it, you’ll have your keypad set up just the way you like it.
Understanding Your LiftMaster Keypad
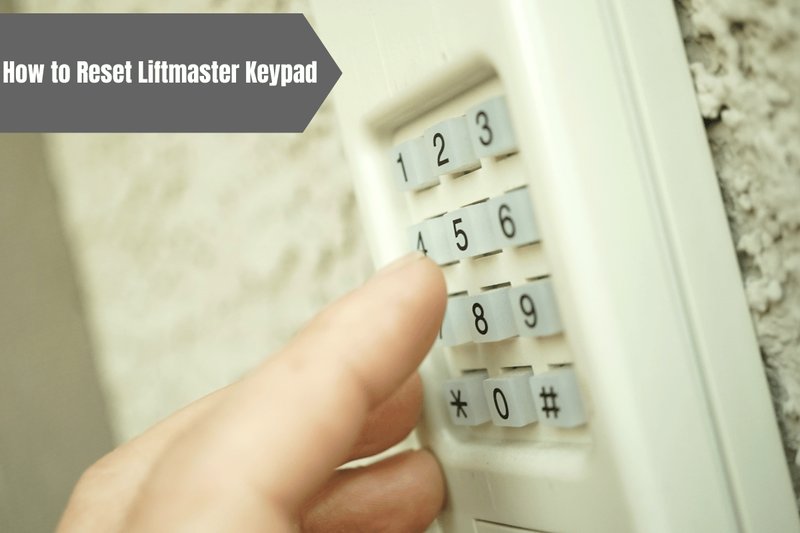
Before jumping into the reprogramming process, it’s essential to understand the type of keypad you’re working with. LiftMaster offers different models that function slightly differently. Generally, these keypads come with a numeric keypad and a few function buttons. The wireless keypad is the most common, designed to let you enter a personalized code to open your garage door.
Most models have a simple layout, which usually includes a numeric pad (0-9) and some extra buttons for specific functions. Without getting too technical, think of these functions as shortcuts, like a multi-tool in your garage. They can help with programming, resetting, or syncing the keypad to your garage door opener, again, making your life easier.
If you look at your keypad and see a battery compartment, that’s another good sign. It usually means you can change the battery easily when needed. Keeping fresh batteries in your keypad ensures it works smoothly. Just like any gadget, a little maintenance goes a long way.
Steps to Reprogram Your LiftMaster Keypad
Now, let’s dive into the juicy part: reprogramming your LiftMaster keypad. Follow these step-by-step instructions, and you’ll be set in no time.
1. Locate the Learn Button: First things first, head to your Garage Door Opener (GDO). Open the cover, and find the ‘Learn’ button—it’s usually near the antenna. It might be a different color based on your specific model, but it generally stands out.
2. Clear Old Codes (if needed): If you want to change existing codes, press and hold the Learn button until the LED light blinks. This action clears any previous codes, preparing you for a fresh start.
3. Enter a New Code: Now, head over to your keypad. Type in your desired new code (typically 4-8 digits). Make sure it’s something you can remember. Hit the Enter button afterward.
4. Test Your New Code: Here’s where the magic happens. Close your garage door and give your new code a try! If everything’s working, congrats! If not, you might need to repeat a step or check the battery.
Make sure to follow these steps slowly, ensuring you don’t rush through. If you’ve ever tried to make a recipe without reading the steps properly, you know the importance of being thorough!
Troubleshooting Common Issues
Sometimes, things don’t go as planned. If you’re running into issues while reprogramming, don’t panic! Let’s explore a few common problems and their solutions.
– Keypad Not Responding: If your keypad isn’t responding after reprogramming, consider checking the battery. It might be low or dead. Swap in fresh batteries and try again.
– Incorrect Code: If the code you entered doesn’t work, it could be a typo in your new code. Double-check the digits you inputted or consider resetting it again and re-entering.
– Compatibility Issues: Make sure your keypad model is compatible with your specific LiftMaster opener. Sometimes, older models may require a different technique.
It’s also a good idea to periodically check your keypad for any signs of wear or damage, especially if you’re outdoors. Weather can take a toll on these gadgets, so keeping them clean and functional is key.
Why Reprogram Your Keypad Matters
You might be wondering—why should I bother reprogramming my keypad anyway? Well, changing your access code regularly enhances security. If you’ve recently moved or lent access to someone, it’s best to update your code. You wouldn’t want former tenants or guests accessing your garage without your permission, right?
Reprogramming also lets you customize the experience to fit your lifestyle. Maybe your kids need to get in after school, or you want to give neighbors access while you’re away. These scenarios highlight the importance of having control over who can access your garage.
And let’s be honest: it feels good to know you’re taking an active role in securing your home. Being proactive about such things is just smart.
Alternative Solutions: Universal Keypads
If you’re not sold on the LiftMaster keypad, or if it isn’t working for your needs, you may want to consider a universal garage door keypad. These devices can operate various brands of garage door openers, giving you more flexibility.
However, compatibility is vital! Always check the specifications before purchase. Universal keypads usually offer similar features, so you won’t miss out on convenience.
Here are a few pros and cons of universal keypads:
- Pros: Compatibility with multiple brands, often lower cost.
- Cons: Setup may be more complex, and some features might not be available.
Ultimately, it’s about what works best for you and your garage door opener.
Final Thoughts on Reprogramming Your LiftMaster Keypad
Reprogramming your LiftMaster keypad might seem like a little chore, but it’s a super simple process that can significantly enhance your garage security and convenience. With just a few steps, you can customize your access code for personal use—or even to share with trusted friends or family. Don’t let a little hiccup in functionality stall your garage access.
Remember, a little maintenance goes a long way. Make sure to keep an eye on your keypad’s battery and check for any signs of wear and tear over time. That way, you can ensure it’s always working when you need it.
So grab that keypad and give it a new code—you got this! Happy reprogramming!
