Picture your Sears keypad as the doorman to your garage: it’s supposed to provide access and security, but if you’re having trouble or don’t want that entry method anymore, it makes sense to change things up. This guide will walk you through the steps to disable your Sears garage door keypad, ensuring you can enjoy peace of mind without compromising convenience.
Understanding Your Sears Keypad
Before we dive into how to disable your Sears keypad, let’s quickly clarify what we’re working with. Most Sears garage door openers come with a keypad that allows you to enter a code to open your garage door. It’s convenient, especially if you’re carrying groceries or have your hands full. However, there are times when you might want to disable it. Maybe you’re moving out and want to ensure the new occupants can’t just waltz in, or perhaps the keypad has gone awry and is malfunctioning.
Here’s the thing: your keypad is designed to be user-friendly. Even if you’re not the most tech-savvy person, you can manage this task. Simply keeping in mind its purpose and function will guide you through the disabling process.
Gathering Necessary Tools
Now that you understand your keypad, let’s make sure you’re equipped for the job. Disabling the keypad doesn’t require much beyond a little patience and perhaps a couple of simple tools. Here’s what you’ll need:
- Owner’s Manual: If you have it handy, this document can be a lifesaver.
- Screwdriver: A Philips head might be necessary depending on your keypad’s design.
- Understanding of Your Garage Door Opener: Knowing your model and type will smooth things out.
Before you start, it’s good to familiarize yourself with the keypad layout and the model of your Sears opener. If you’re unsure what model you have, take a look at the back of the door opener; it usually lists the model number.
Steps to Disable Your Sears Keypad
Let’s roll up our sleeves and get to the meat of the matter. Disabling your Sears keypad involves a few straightforward steps. Don’t worry; even if you’re a beginner, you’ll be able to handle it.
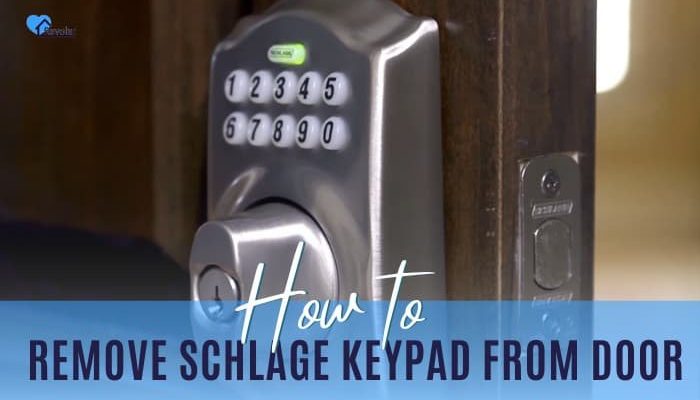
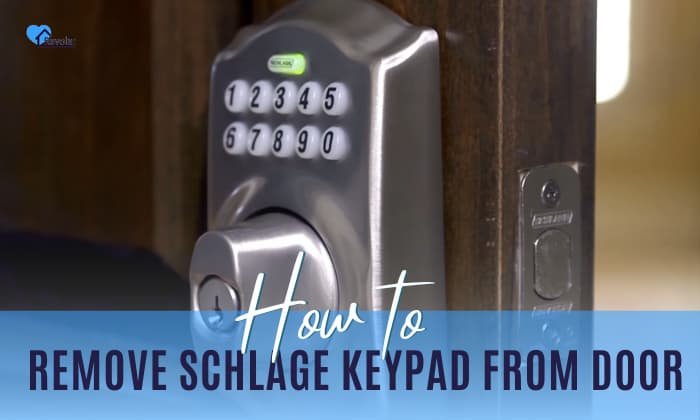
1. Locate the Keypad: Find the keypad outside your garage door. Typically, it’s mounted to the wall near the door.
2. Disconnect the Power Source: Before you start messing with the keypad, it’s smart to disconnect the garage door opener from its power source. Most models have a plug that you can simply pull out. This will prevent any unexpected activation while you’re working.
3. Remove the Keypad Cover: Using your screwdriver, gently remove the cover of the keypad. Be careful not to strip screws or damage the keypad; that wouldn’t be a fun surprise later!
4. Disconnect the Wires: Once you’ve opened the keypad, you’ll see a set of wires. Carefully disconnect these wires from their terminals. It’s best to note where they were connected in case you want to reattach them later.
5. Reattach the Cover: After disconnecting the wires, reattach the keypad cover. Good as new!
6. Reconnect Your Garage Opener: Plug the garage door opener back into the power source and test the setup to make sure your keypad no longer works.
Troubleshooting Common Issues
You might be wondering, “What if my keypad still works after I’ve followed those steps?” Let me explain some potential hurdles you could face.
– Faulty Connection: Ensure the wires are entirely disconnected. Sometimes, those sneaky wires can give a little resistance if not completely removed.
– Programmed Codes: If your keypad is still responsive, it could be a sign that the codes are still remembered within the garage door opener. Consult your manual for information on erasing programmed codes.
– Battery Requirements: Some models may still operate on backup battery power, even when disconnected from the main source. In this case, check for battery compartments and remove batteries if applicable.
By staying attentive and adjusting as needed, you can successfully disable the keypad and secure your garage door.
Alternative Access Methods
So, what do you do after you’ve disabled your keypad? If you love modern conveniences, fear not! There are several alternative access methods you can consider.
1. Remote Control: Most garage door openers come with a remote. If you prefer to press a button rather than type a code, this might be the solution for you.
2. Smart Garage Door Opener: If you’re tech-savvy or curious about gadgets, consider a smart garage door opener. These allow you to control your garage door through a mobile app—perfect for those who are on the go.
3. Manual Key Entry: While not as convenient, you can always revert to good old-fashioned key access. It provides a simple, tangible way to ensure that only those with a key can enter.
Choosing an alternative depends on your lifestyle and comfort level with technology.
Why You Might Want to Disable Your Keypad
Now that we’ve covered how to disable your Sears keypad, let’s talk about why someone would even want to go through the hassle. There are a few valid reasons—let’s look at them.
– Security Concerns: If you move or suspect someone may have access to your keypad code, disabling the keypad is a smart step to take.
– Malfunctions: Keypads can fail over time, either due to wear and tear or environmental factors. If your keypad is misbehaving, it may be often more convenient to disable it entirely.
– Upgrading Access Control: Many homeowners nowadays prefer cutting-edge technology. If you’re investing in a sophisticated security setup, you may find a garage door keypad no longer fits within your plan.
Understanding your motivations for this change is crucial to finding the best solution moving forward.
Disabling your Sears keypad doesn’t have to be a daunting task; in fact, it’s quite manageable. With just a few steps, you can ensure your garage access is secure and suited to your preferences. Whether it’s due to security concerns, persistent glitches, or a desire to upgrade, knowing how to disable your keypad gives you control.
Remember, if you ever decide to enable the keypad again, simply reverse the steps outlined here. Your garage should always work for you, not the other way around. So go ahead, take charge of your garage setting with confidence!