
Disabling the control panel might seem daunting at first, especially if you’re new to garage door openers. But don’t worry! In this article, I’ll guide you through every step with clarity and ease. You’ll learn how to manage your garage door’s functionality without breaking a sweat, using simple language and analogies. Let’s dive into the nitty-gritty of the Raynor control panel and see how you can take control of your garage door experience.
Understanding the Raynor Control Panel
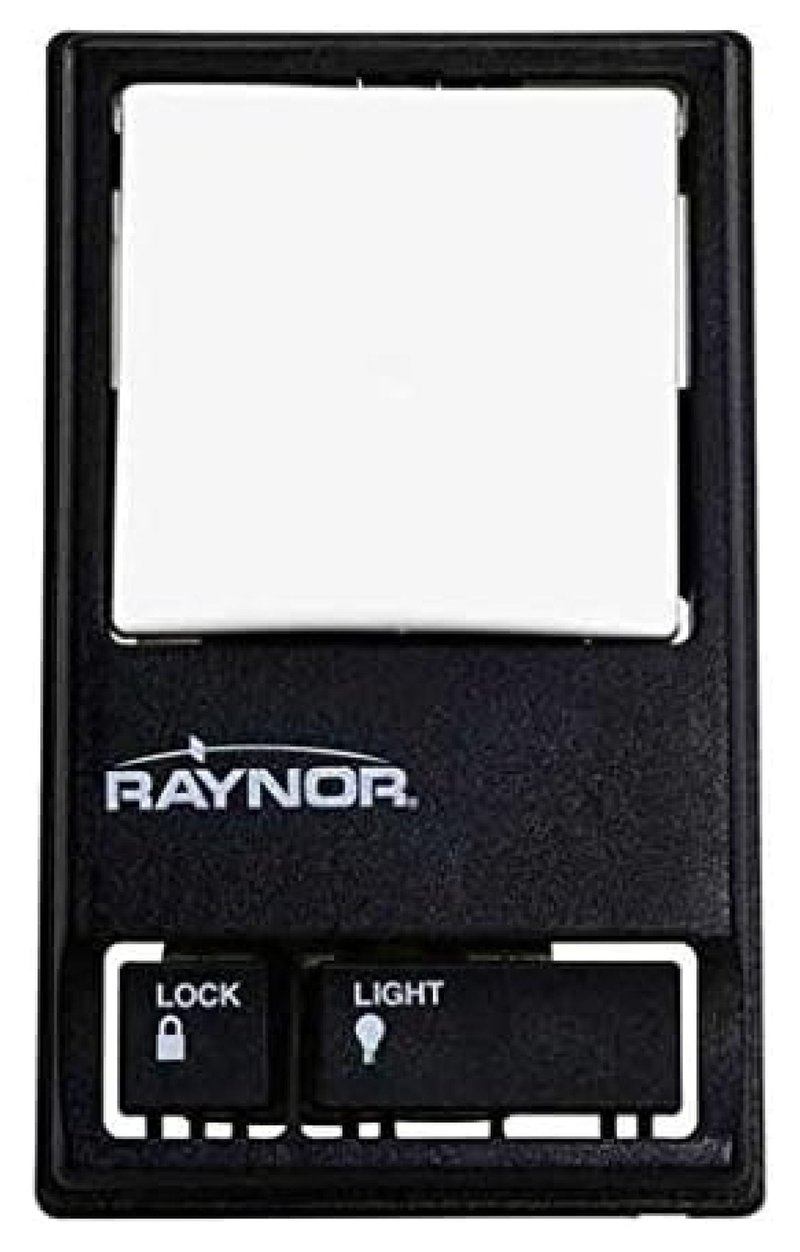
The Raynor control panel is a nifty device that typically comes equipped with various features like remote connectivity, safety functions, and more. Think of it as the control center for your garage door—like the cockpit of an airplane. It allows you to open and close your garage door, change settings, or even set a timer for automatic closures. Most Raynor models also come with built-in safety protocols to prevent accidents or breaches.
Why would someone want to disable this control panel? There are various reasons. You might be looking to troubleshoot a malfunction, or perhaps you only want to use your remote control without interference from the panel itself. Whatever the reason, understanding what the control panel does first will help you make informed decisions about its operation.
Why You Might Want to Disable the Control Panel
There are several reasons you may consider disabling your Raynor control panel. Perhaps you’re not using it often and want to prevent accidental openings. Some people disable the panel temporarily during repairs or maintenance, ensuring safety and smooth operation. Others prefer to simplify their system and only use remotes or smartphone apps for operations.
Let’s look at a couple of scenarios. Imagine you have young children who like to play near the garage door. By disabling the panel, you reduce the risk of accidental closures, keeping your little ones safe. Alternatively, if your panel is experiencing glitches or malfunctions, disabling it can help you troubleshoot without interference.
Understanding your motives is essential before diving in. Disabling your control panel might limit some functionalities, but it also allows you to streamline your garage door operations. Now that we’ve established why you’d want to proceed, let’s get into how to do it effectively.
Steps to Disable the Raynor Control Panel
Disabling your Raynor control panel is a straightforward process, but being methodical ensures you don’t overlook important steps. Here’s how to do it:
- Locate the Control Panel: Typically installed on the wall inside your garage, the control panel features buttons for opening and closing your garage door. Familiarize yourself with its exact location, and if you have multiple doors, note which panel belongs to which door.
- Identify the Power Source: Most control panels get their juice from a plug located nearby. Before you proceed with disabling, find the outlet and make sure you have access. You might also consider turning off power at the circuit breaker if your panel is hardwired.
- Remove the Panel from the Wall: This might involve unscrewing a few screws or gently pulling it away from its mount. Be careful not to tug too hard to avoid damaging the wires.
- Disconnect the Power Source: Unplugging the control panel from the wall socket or cutting the wires can effectively disable it. However, if you’re unsure, it’s smart to consult a professional or refer to the user manual.
Following these steps will effectively let you disable the control panel. Just remember, safety first!
Dealing with Common Disabling Issues
While disabling your Raynor control panel should be a straightforward task, sometimes, life throws curveballs. You might run into a few hiccups along the way, so let’s cover some common issues and their fixes.
One common problem could be resistance from the mounting screws—the stubborn screws simply won’t budge! If that happens, gently try using a lubricant spray designed for such equipment. Let it sit for a moment and then give it another shot.
Another issue could arise if the panel doesn’t appear to be responding even after disconnecting. Ensure the power supply is entirely cut off or check your circuit breaker for any tripped switches. If you’re still stuck, don’t hesitate to reach out to Raynor’s customer support for tailored guidance based on your specific model.
Re-enabling the Control Panel
So what happens when you’re ready to bring your Raynor control panel back into action? Whether you missed its convenience or have resolved your issues, re-enabling it is just as important as disabling it.
Start by reconnecting the power source—plugging the control panel back into the outlet or reconnecting any wires you had disconnected. Once that’s done, secure the panel back into its original place on the wall.
Next, restore power from your circuit breaker if you had turned it off. You should see the panel light up, signaling that it’s live again. Test the functionality by using the buttons to open and close the door. If anything seems off, double-check your connections, or consult the manual to troubleshoot any issues.
Alternatives to the Raynor Control Panel
If you’re considering whether to stick with the Raynor control panel or explore alternatives, it’s worth weighing your options. Universal garage door remotes can be an excellent choice for those who want to simplify operation. These remotes offer similar functionalities without the need for a built-in control panel.
Smart home integrations could be another attractive option. Many garage door systems now allow you to control your door from a smartphone app, providing both convenience and added security. You can monitor your door status, receive alerts, and open or close it from anywhere.
Understanding what fits your lifestyle best is crucial in making an informed decision. If tech and convenience are your top priorities, a smart alternative may suit you better.
Importance of Documentation and Manuals
One aspect often overlooked in DIY projects, like disabling your Raynor control panel, is the significance of documentation. A user manual can offer invaluable insights and detailed instructions tailored to your specific model. Even for the most seasoned DIYers, having this resource handy can be the difference between a smooth process and a frustrating hiccup.
If you can’t find the manual that came with your garage door system, don’t despair! Many manufacturers have digital copies available on their websites. Having the right documentation empowers you to act confidently, making the overall experience less intimidating.
Final Thoughts on Managing Your Raynor Control Panel
Taking control of your Raynor control panel can significantly enhance your garage door experience. Knowing how to enable and disable it is crucial for performance and safety. Whether you decide to disable it temporarily for troubleshooting or permanently for simplicity, remember that understanding your equipment is half the battle.
If you run into any challenges during the process, don’t hesitate to seek assistance. The goal is to create a safe and functional environment where you can easily manage your garage door operations. So roll up your sleeves, follow the steps, and enjoy your newfound control!
Originally posted 2025-03-03 21:36:42.