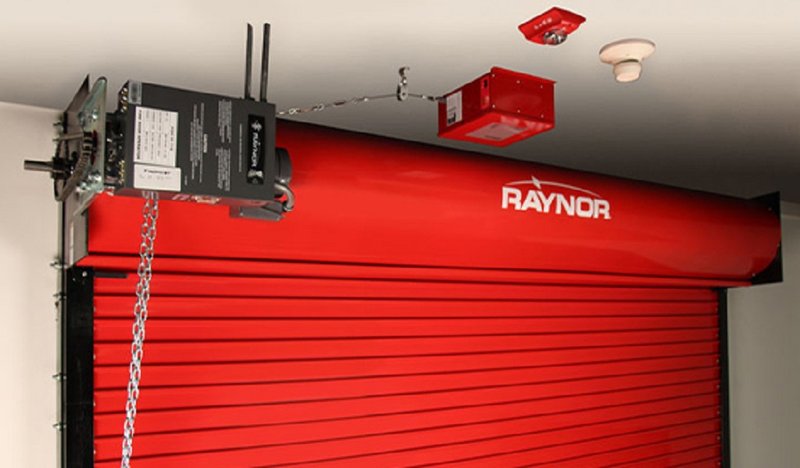
You may be dealing with a Raynor garage door opener that occasionally acts up. Perhaps it keeps reversing right when you want it to close. Or maybe you’re trying to hook up a new remote. Whatever the reason, knowing how to disable your safety sensors can save you a headache down the line. Let’s dive in and break it down step-by-step.
Understanding Raynor Safety Sensors
Before we jump into the how-to part, let’s get comfortable with what safety sensors are. Installed on either side of your garage door, these devices use infrared signals to detect obstacles. If something’s in the way (like a pet or a tool you’ve accidentally left there), the sensors make sure the door reverses instead of crashing down.
Having a Raynor safety sensor is a fantastic feature for preventing accidents, but it can also complicate any repair work you may want to do. It’s like having a protective shield that sometimes gets in the way. So, you might be wondering, “How do I disable this shield when I need to get things done?”
When to Disable the Sensors
There are a few scenarios where disabling your Raynor safety sensor may be necessary:
- Maintenance: Perhaps you need to grease the tracks or check the door’s alignment.
- Troubleshooting: If your door keeps reversing unexpectedly, it might be easier to check it without the sensors momentarily.
- Replacing components: If you’re swapping out parts in your garage opener system, it may require temporarily disabling your sensors.
Knowing when to disable these sensors will help keep your garage functioning smoothly.
Required Tools for Disabling the Safety Sensor
Getting ready? You won’t need much—a few simple tools will do the trick. Here’s what you’ll need to gather:
- Toolbox: A basic set of screwdrivers will usually suffice.
- Flashlight: If you’re working in a dim garage, lighting is essential.
- Instruction Manual: Having your Raynor manual handy is a plus. It’ll offer specific details about your model.
With these tools on hand, you’re set for a straightforward process without any unexpected surprises.
Step-by-Step Guide to Disable Raynor Safety Sensor
You’re here for the nitty-gritty! Disabling your Raynor safety sensor is a simple process. Just follow these steps:
Step 1: Locate the Sensors
First, find those sensors—they’re small black or gray boxes located near the base of each side of your garage door. They’re usually positioned a few inches off the ground and should have a wire running back to the garage door opener.
Step 2: Disconnect the Wires
Next, you’ll need to remove the wires connecting the sensors to the opener. Gently unscrew or unplug them—this is where your toolbox will come in handy. You want to make sure you don’t damage any surrounding parts during this process.
Step 3: Test the Garage Door
With the wires disconnected, test your garage door using the remote. Press the button and see if the door operates. It should open and close without the sensors getting in the way now.
Step 4: Reconnect Sensors When Done
Once you’ve finished your maintenance or troubleshooting, it’s important to reconnect the safety sensors. This is just as easy as disconnecting them. Make sure each wire is securely fastened and double-check that the sensors are aligned properly.
Remember, you want that safety back in place for future use!
Common Issues While Disabling the Sensor
Even a simple task can run into snags now and then. Here are a few common issues you might run into while disabling your Raynor safety sensor:
- Misalignment: If the sensors aren’t aligned properly during reconnection, you’ll face issues with the garage door functioning normally.
- Loose Connections: Ensure that the wires are tightly connected. Loose wires can lead to malfunctions.
- Power Issues: Sometimes, the sensor won’t work simply because there’s not enough power reaching it. Check the opener’s power source if something seems off.
If you encounter any issues, just work through them patiently. This is part of the troubleshooting process and typically involves some trial and error.
Alternatives to Disabling Raynor Safety Sensors
If disabling the safety sensors feels like too much of a hassle or isn’t the ideal solution, consider some alternatives.
- Adjust Sensitivity Settings: Sometimes, simply adjusting the sensitivity of your garage door opener might solve the problem without having to disable the sensors.
- Use a Universal Remote: If your door is misbehaving just when using a particular remote, consider using a universal remote. It can simplify things by syncing without too much fuss.
- Consult Professional Help: If you’re unsure, it’s always a smart move to get help from a professional. They can help you troubleshoot without the risk of damaging your system.
Wrapping Up: Tips for Smooth Operation
Now that you know how to disable the Raynor safety sensor, you’ve armed yourself with essential knowledge for better garage door management. Just remember to work carefully and prioritize safety—all that high-tech gear is there for a reason!
Whether it’s for simple servicing or issues that pop up unexpectedly, being able to disable your safety sensor gives you control. And when you’re finished, make sure to reconnect those sensors to keep things running smoothly.
You have the tools to maintain your garage door like a pro, allowing you to tackle any unexpected challenges that may crop up. So grab your toolbox, roll up those sleeves, and good luck!
