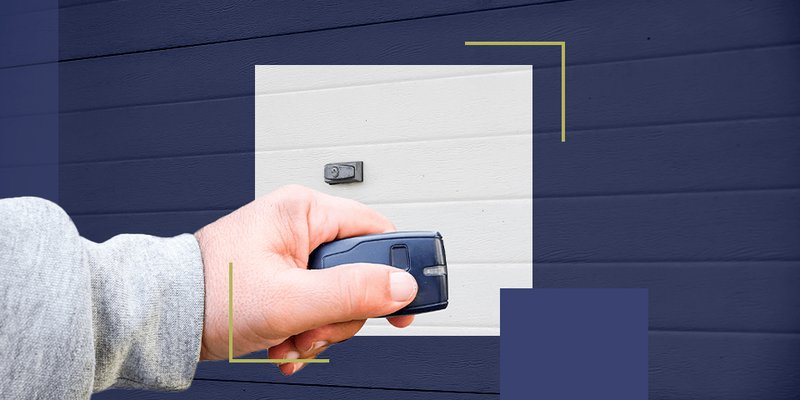
Overhead door remotes, whether you have a LiftMaster, Chamberlain, or Craftsman model, can be incredibly handy. But when they start misbehaving, knowing how to disable them can save you from frustration. In this article, we’ll dive into the step-by-step process of disabling these remotes while keeping things clear and straightforward. Let’s roll up our sleeves and get started!
Understanding Your Overhead Door Remote
Before we jump into how to disable it, let’s take a moment to understand what we’re dealing with. An overhead door remote is essentially a small device that communicates wirelessly with your garage door opener. When you hit the button, it sends a signal to open or close the door. Pretty handy, right?
Most remotes work using a code that syncs with your garage door opener. This is where the magic happens because without that code, the remote is useless to anyone trying to gain access. It’s crucial to keep this in mind, especially when considering security. Old or unused remotes should be disabled to prevent unauthorized access.
Now that we have a decent grasp on how these remotes work, let’s get into how to disable the overhead door remote.
Why Disable Your Overhead Door Remote?
There are several reasons you might want to disable your overhead door remote. Understanding these reasons can help you determine the right course of action.
- Lost or Stolen Remote: If your remote goes missing, it’s essential to disable it to prevent someone else from opening your garage.
- Malfunctioning Remote: If your remote is acting up, disabling it can be the first step in troubleshooting or preventing it from accidentally opening your door.
- Security Concerns: If you’re going away for an extended period, it’s wise to disable the remote to enhance your home’s security.
In essence, disabling the remote can offer peace of mind. It’s like locking your front door before heading out—you wouldn’t leave it wide open, right?
Steps to Disable Your Overhead Door Remote
Okay, let’s get into the meat of the matter. Disabling your overhead door remote is pretty straightforward, but there are a few different methods depending on the brand and model of your opener. Let’s walk through the most common ways you can do this.
Method 1: Using the Learn Button
1. Locate the Learn Button: This is usually found on the back of your garage door opener unit. It can be a little tricky to find, but it’s worth the search!
2. Press the Learn Button: Give that button a firm press and hold it until the indicator light turns off. This action will erase all paired remotes.
3. Test the Remote: After you’ve pressed the button, try using your remote. If it doesn’t work, congratulations! You’ve successfully disabled it.
This method effectively resets your opener, disconnecting all remotes. It’s an excellent solution if you’re looking to start fresh.
Method 2: Remove Batteries
If you still want to keep your remote but just disable it temporarily, here’s a simple step:
1. Open the Remote Case: Locate where you need to press or slide to open the remote casing.
2. Remove the Battery: Take out the battery, and just like that, you’ve disabled it. When you’re ready to use it again, pop the battery back in.
This method is perfect for those moments when you don’t want your remote to accidentally open the garage door.
What If You Lose Your Remote?
If your remote goes missing, you might be panicking. Here’s what you can do to ensure your garage remains secure:
– Follow the Learn Button Method: As mentioned, pressing the learn button will erase all remotes. This includes any lost ones.
– Consider a Replacement: If you need a new remote, many brands offer replacements, sometimes at a reasonable cost.
It’s good practice to keep a few backup options on hand, just in case!
Common Troubleshooting Tips
You might run into a few bumps on the road while trying to disable your overhead door remote. Here are some typical issues and how to solve them:
- Remote Still Works After Pressing Learn: If your remote still activates the door after following the learn button method, ensure you’re holding the button long enough until the light goes off.
- Lost Your Remote: If you’ve lost your remote and keep forgetting to disable it, regularly check to ensure only current remotes are synced.
- Battery Issues: Sometimes, a simple battery change can fix odd behavior before thinking about disabling it completely.
By keeping these tips in mind, troubleshooting can become a breeze!
Alternative Options for Door Control
If you’ve decided that dealing with a remote just isn’t for you anymore, don’t worry—there are alternatives to control your garage door.
– Smartphone Apps: Many modern garage door openers offer apps that allow you to control your garage via your smartphone. This is convenient and often enhances security.
– Keypad Entry Systems: Installing a keypad provides a secure way for you to access your garage without needing a remote. Just use a code!
Opting for these alternatives can streamline the way you access your garage while enhancing security.
Final Thoughts
Disabling your overhead door remote doesn’t need to be a daunting task. Whether you’re just looking for a quick fix or tackling security concerns, following the steps outlined can empower you to take control of your garage.
From understanding your remote to exploring alternatives, you now have the tools and knowledge to make informed decisions about your overhead door system. So don’t hesitate—get that remote under control and ensure your garage remains safe!