Disabling the circuit board isn’t something most of us do daily, but knowing how to do it can save you from calling in a technician for minor malfunctions or miscommunications with your remote. By the end of this guide, you’ll feel empowered to tackle issues with your Skylink garage door opener without breaking a sweat or a wallet!
Understanding the Skylink Circuit Board
The Skylink circuit board is at the heart of your garage door system, functioning like a traffic cop for all the signals sent and received. When you press your remote button, the circuit board processes that command, allowing your door to open or close. Imagine it like a team of dancers; the circuit board coordinates their movements, ensuring they all stay in sync.
Knowing how this board works can help alleviate any confusion when things go haywire. For instance, if your remote seems unresponsive, the first step is often to check out the circuit board. It might surprise you to learn that faulty connections, dead batteries, or even software glitches can result in what seems like a simple communication breakdown.
What’s essential here is that the Skylink circuit board isn’t just a one-size-fits-all solution. Different models may house unique features, but the underlying concepts usually stay the same. Once you grasp the basics, you can better handle any issues that arise.
Tools You’ll Need
Alright, let’s gear up—here are the tools you’ll need before you dive into disabling that circuit board. You don’t want to find yourself half-way through the process and realize you’re missing something crucial.
- Screwdriver set: A basic set of screwdrivers is essential for opening up the garage door opener housing.
- Multimeter: This handy device can help you check for faulty connections and test your circuit board.
- Flashlight: You’ll need good lighting to see all those tiny components inside the unit.
- Safety gloves: It’s always wise to protect your hands when working with electronic components.
Having these tools handy will save you time and keep things smooth when you start the process. Rather than scrambling to find something, you’ll be all set to tackle any challenges that come your way.
Steps to Disable the Skylink Circuit Board
Disabling the Skylink circuit board can seem daunting, but with a step-by-step approach, it becomes a manageable task. Don’t worry if you’re a beginner; I’ll guide you through each step.
Step 1: Unplug the Garage Door Opener
Before diving into the nuts and bolts of your Skylink, the first and most crucial step is to unplug the opener. This may sound obvious, but safety first! Electrical shocks can be serious; disconnect that power source to avoid any accidents.
Once it’s unplugged, take a moment to appreciate your surroundings—look at the installation set-up, and make notes if needed. It might be worth remembering where the cables go for reassembly later.
Step 2: Access the Circuit Board
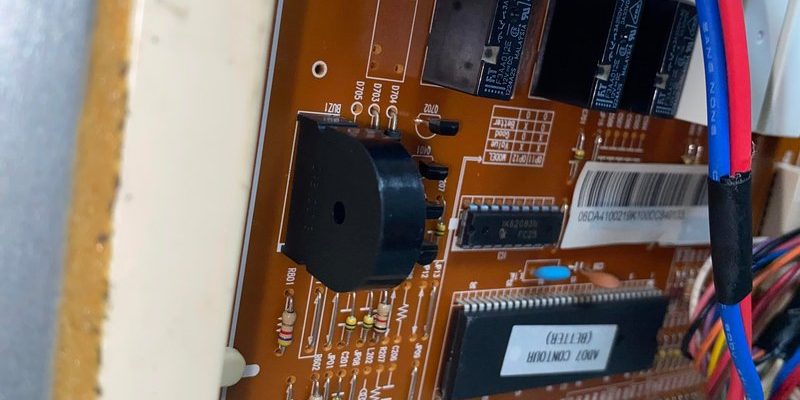
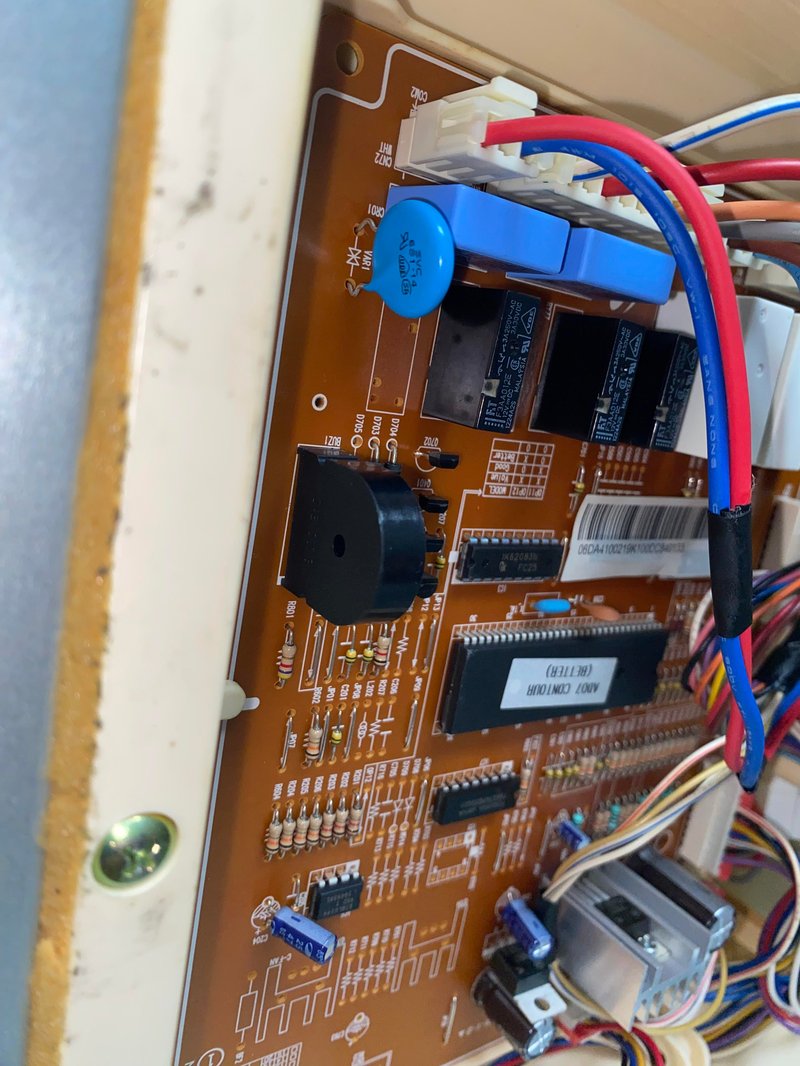
Next up is accessing the circuit board itself. Use your screwdriver to unscrew the cover of your garage door opener. Keep your screws in a small container or a magnetic dish, so they don’t go missing! Once removed, you’ll see the circuit board nestled within.
It’s essential to treat it like handling a delicate piece of art—be gentle! Here’s where the flashlight comes in handy. You might discover a web of wires and connections. Familiarize yourself with these components; they’ll be key in the next steps.
Step 3: Disconnect the Circuit Board
Now comes the moment of truth: disconnecting the circuit board. Locate the connectors that link your circuit board to the opener and gently unclip or unscrew them. You may be a bit worried now, but you’re doing great. Just remember, you’re not doing brain surgery here—it’s more like unplugging a lamp!
Be careful not to tug too hard; a gentle pull will usually do the trick. Should you feel any resistance, double-check to make sure you’re disconnecting the right wires. If you’re unsure, refer back to the user manual or look for diagrams online to assist you.
Step 4: Test Your Remote Functions
With the circuit board disabled, take your Skylink remote and try using it. You might be surprised by how your garage door responds when unplugging the circuit board! Often, garage doors can exhibit quirky behaviors that might seem complicated but are just causally related to the circuit board receiving incorrect signals.
If the remote starts working correctly, congratulations! You’ve pinpointed the issue. If it still doesn’t work, don’t worry. At least you’ve ruled out the circuit board as the problem. This brings you one step closer to finding a solution for your garage door opener’s hiccups.
Reconnecting and Testing
Once you’ve successfully disabled and assessed the circuit board, it’s time to put things back together. This is a crucial step; it’s like reforming that dance team you practiced with earlier. Here’s how to bring it all back together seamlessly.
Step 1: Reconnect the Circuit Board
Carefully reattach the circuit board to its original connections. Make sure everything is securely fastened and that no wires are pinched. This is where your notes from earlier can be invaluable. It’s like following a gift-wrapping guide: these connections need to fit just right so everything works perfectly.
Strong connections are key! If anything feels off when you’re reconnecting, double-check your work. You’d be amazed at how even a slight misalignment can cause issues down the line.
Step 2: Reassemble the Garage Door Opener
Now that you’ve dealt with the circuit board, it’s time to put the garage door opener back together. Reinsert the cover and screw it back into place. It’s like tucking a baby in for the night; everything should be snug and secure.
After everything feels tight and right, plug your garage door opener back into the electrical socket.
Step 3: Test the Garage Door Functionality
Finally, it’s time for the ultimate test. Stand back, press that remote button, and see if your garage door responds as it should. This moment can be filled with anticipation—will it work as hoped, or will there be another twist in the tale?
If everything operates smoothly, you’ve successfully navigated disabling and troubleshooting your Skylink circuit board! If not, that’s alright; sometimes, it might require a deeper investigation. Consider reaching out for professional help or looking into alternative solutions.
Common Issues and Troubleshooting Steps
Let’s address a couple of common issues you might encounter while working on your garage door opener. Awareness is key to troubleshooting effectively.
Remote Not Syncing
If you find that your remote isn’t syncing even after all this work, take a moment to think about a couple of things. Sometimes replacing the remote battery can be all it takes to restore communication. It’s easy to overlook, but fresh batteries can do wonders!
If that doesn’t help, consider resetting the system. Most Skylink units have a “program” or “reset” button. Follow the manual instructions on specifically pairing your remote again to the circuit board.
Inconsistent Responses from the Garage Door
You might also experience inconsistent movements from your door, such as it only opening halfway or getting stuck. In cases like these, there might be dirt or debris in the tracks, or issues with the sensors that need attention. Cleaning those tracks regularly can maintain smooth operations.
Additionally, checking the wiring and ensuring all components are in working order is crucial. A tiny fray in a wire can lead to a whole lot of trouble, trust me.
Disabling the Skylink circuit board can seem intimidating, but as you’ve seen, it’s a straightforward process if you take it step by step. You’ve learned not just how to disable it, but why understanding your garage door opener can empower you as a homeowner. Now you’re equipped with the knowledge to troubleshoot some common issues.
By taking a little time out of your day to familiarize yourself with your Skylink system, you’ve not only saved money but also gained confidence in handling future challenges. Embrace your inner handyman (or handywoman), and remember: every problem has a solution waiting to be discovered. With just a bit of knowledge and patience, you’ll be ready to conquer whatever your garage door throws your way!