You might be wondering why you should even bother with disabling the hub in the first place. Well, there are a few good reasons. For instance, if you’re experiencing connection problems or you’re switching to a different smart home system, it might be beneficial to take it offline. Let’s walk through the process step-by-step, so you can feel confident navigating these controls just like you would when shutting down your laptop.
Understanding the Chamberlain Smart Hub
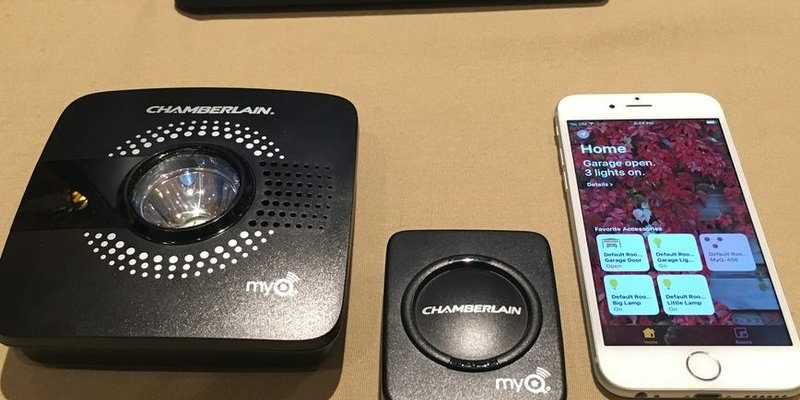
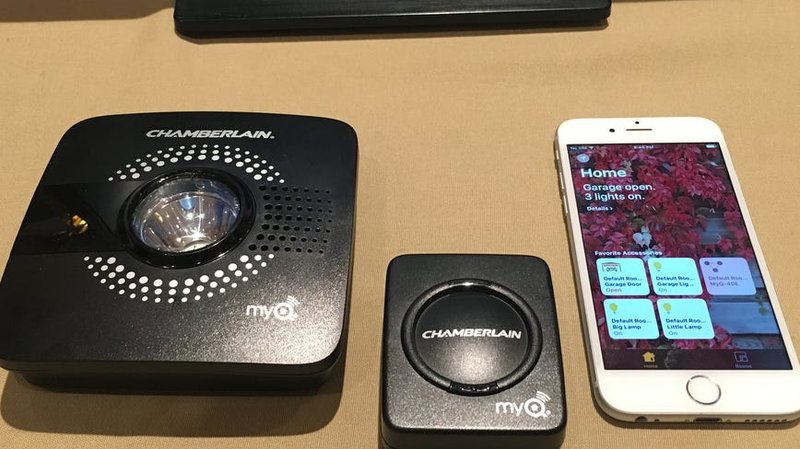
Before diving into the steps to disable the Smart Hub, it’s good to know what it is and why it matters. The Chamberlain Smart Hub connects your garage door opener to your home Wi-Fi network. This connection allows you to operate your garage door remotely using your smartphone—whether you’re just a few feet away or halfway across the country. It even sends alerts when your garage door opens and closes. So, it’s quite a nifty little gadget!
However, just like any smart device, your Smart Hub occasionally needs a little break. Disabling it can help you resolve connectivity issues or save energy if you’re not using it for a while. Imagine it like giving a tired friend a day off. Sometimes, we all just need a breather!
Gather Your Tools
To get started on disabling your Chamberlain Smart Hub, there are a few essentials you’ll want to have on hand. No special tools are necessary—just some basic items:
- Your smartphone (with the Chamberlain app installed)
- The Smart Hub itself
- A steady internet connection (for when you’re ready to re-enable it)
Having these items will make the process smoother. Think of it like sorting out everything you need before starting a DIY project. Trust me, cutting down on those last-minute runs to the garage is a real game-changer!
Steps to Disable the Chamberlain Smart Hub
Now, let’s get into the meat of the article! Disabling your Smart Hub is relatively straightforward. Follow these clear steps:
1. Open the Chamberlain App: Start by launching the app on your smartphone where you typically control your garage door. It’s like opening your favorite map before starting a road trip; you need to know where you’re going first!
2. Access Hub Settings: Navigate to the settings section of the app, usually represented by a gear icon. This is where all the magic happens—where you control your Smart Hub’s settings.
3. Disable the Hub: Look for an option like “Disable Hub” or “Disconnect.” When you find it, select it. This should immediately cut off the connection between the hub and your Wi-Fi network.
4. Confirm Your Decision: You might see a prompt asking for confirmation. Say “yes” to ensure that you really want to disable it. Think of this as that final click before you send a message—you want to be sure about what you’re doing!
What Happens When You Disable the Smart Hub?
After successfully disabling your Smart Hub, you might notice a few changes. For starters, you’ll no longer be able to control your garage door via the app. This means that while you can still use your remote control, everything else linked to the hub will essentially be offline.
Here’s the thing: the security alerts and notifications that once kept you informed will also stop. It’s like turning off the lights in a room; everything becomes quiet. If you decide to reconnect the hub later, it’ll be as simple as going back into the app and pairing it again. Just make sure you remember your Wi-Fi password!
Troubleshooting Common Issues
Even with straightforward instructions, you might run into a few hiccups while disabling your Smart Hub. Here’s a quick troubleshooting guide for common issues:
– Can’t Find the Disable Option: Double-check that you’re in the right section of the app. It can sometimes feel like searching for a lost sock in a messy drawer—take a breath and look again!
– App Crashes or Freezes: If the app isn’t responding, try restarting your smartphone. Sometimes, a little digital refresh can solve more than you’d expect.
– Hub Still Active: If it seems the hub is still connected after following the steps, you might need to reset the hub itself. Look for a reset button (usually a small pinhole) and press it gently. This action can bring your hub back to life, just like rebooting your computer fixes a glitch.
Re-enabling the Chamberlain Smart Hub
Once you’ve had your time offline, you might want to re-enable the Smart Hub. It’s an effortless process, much like hopping back on your bike after a break. Here’s how to do it:
1. Open the App Again: Just like before, start by opening the Chamberlain app.
2. Connect to Wi-Fi: Navigate to the settings and look for an option to connect or pair your Smart Hub again with your Wi-Fi network.
3. Follow Prompts: The app will guide you through the steps necessary to reconnect. Be sure to have your Wi-Fi password handy!
4. Test the Functionality: Once reconnected, take a moment to test your garage door through the app. It should respond just like it did before!
Final Thoughts
Disabling your Chamberlain Smart Hub doesn’t have to be complicated. With simple steps and a little bit of patience, you can manage your connectivity just like a pro. Whether you’re troubleshooting, securing your system, or prepping for a big move to another smart home setup, knowing how to disable the hub is a handy skill.
As technology continues to evolve, being adaptable is key. Think of this process as part of learning to navigate the ever-changing world of smart devices. The more familiar you become with your gadgets, the easier everything will be. So, go ahead, disable that Smart Hub, and remember—you can always bring it back online whenever you need it!