Disabling a remote isn’t complex, but it’s essential to know your equipment well. Think of it like turning off a light switch; after all, sometimes you just need things to stop functioning! In this guide, I’ll walk you through the steps to disable your Chamberlain remote effectively, ensuring you gain control over your garage door without any unnecessary stress.
Understanding Your Chamberlain Remote
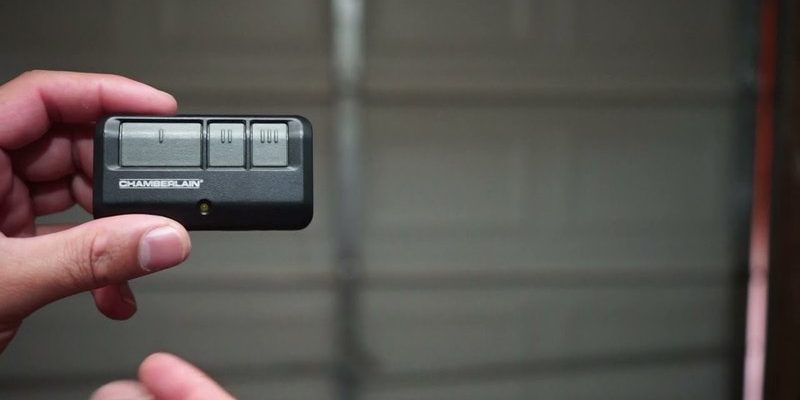
Before we jump into the disabling process, let’s take a closer look at your Chamberlain remote. Chamberlain manufactures a variety of garage door openers that come with different remotes. These devices are often equipped with features like multi-channel access and rolling code technology, enhancing both convenience and security.
Now, picture your remote like the TV remote you can’t live without. If it has too many buttons or confusing options, it’s easy to accidentally hit the wrong one. Familiarizing yourself with the layout and functions of your specific Chamberlain remote model is crucial. Brands also often have manuals and online resources that provide detailed information about your remote to help you troubleshoot any issues.
Being aware of your remote’s model number will also assist you in finding the exact instructions related to its features. You usually find this information inside the battery compartment or along the back of the remote. Knowing the model is especially handy if you ever need to replace batteries or seek technical assistance.
Why You Might Want to Disable Your Remote
You might wonder why anyone would want to disable a remote in the first place. There are several scenarios where this could be necessary. For example, if you’ve misplaced your remote or its commands are being triggered accidentally, disabling it temporarily can prevent those annoying situations.
There’s also a security aspect: if you’ve recently upgraded your remote or want to cut access to a lost remote, disabling it is a smart step. It’s a bit like locking the door when you leave your house. You want to be sure that your garage—and everything in it—stays safe.
Additionally, if you have kids or pets who are curious about buttons, disabling the remote can prevent any accidental and unauthorized garage openings. Ensuring control helps keep both your family and valuables secure, providing you peace of mind.
Basic Steps to Disable Your Chamberlain Remote
Now that we’ve established the importance of disabling your remote, let’s get into the *how*. Here’s a straightforward method using your garage door opener. Make sure to follow these steps:
1. Locate the learn button: Your Chamberlain garage door opener has a learn button, usually found on the back or side of the motor. It might be a small, colored button that’s relatively easy to spot.
2. Press and hold the learn button: Once you find it, press and hold this button until the LED light beside it turns off, which typically takes about 6 seconds. This action effectively erases all remote control codes from memory.
3. Test the remote: After you’ve completed the steps, grab your remote and press any button. If your garage door doesn’t respond, congratulations! You’ve successfully disabled your Chamberlain remote.
Remember, this process will disable all remote controls programmed to that opener. So, if you have additional remotes you still want to use, you’ll need to reprogram those afterward.
Re-enabling Your Chamberlain Remote
If you ever need to re-enable your remote, it’s almost as simple as how to disable it. Here’s how you can do that step-by-step:
1. Press the learn button on the opener: Just like before, locate the learn button on your garage door opener.
2. Press and release the learn button: After you’ve found it, press and quickly release the button. The LED should start blinking.
3. Press the button on the remote: Within 30 seconds, press the button on your remote that you want to program. The opener will respond by either clicking or flashing lights, confirming the programming.
4. Repeat for multiple remotes: If you have other remotes, repeat this process for each one you want to add back into the system.
Being able to easily re-enable your remote gives you flexibility should you decide you want to reactivate it later. Plus, it’s helpful if you’re sharing your garage with family members who need access.
Troubleshooting Common Issues
Every now and then, things don’t go as planned. If your Chamberlain remote doesn’t disable or re-enable as expected, don’t worry—there are a few troubleshooting steps you can follow:
– Check the battery: If your remote is not responding at all, it might be time to replace the battery. It’s one of the most common issues people overlook.
– Verify the learn button: Make sure you’ve pressed and held the learn button long enough to disable the remote, which is approximately 6 seconds.
– Distance matters: If your remote isn’t working from a distance, try standing closer to the garage door opener. Sometimes, interference can cause connectivity issues.
These options usually fix any problems that crop up. If you’ve tried everything and still have concerns, consult the manual or contact Chamberlain’s customer service for more specific assistance.
Alternatives and Electronic Solutions
Sometimes, you might consider alternatives to simply disabling the remote. For instance, if you’re looking for more control over your garage door, smart technology offers some exciting options. Products like smart garage door controllers can integrate with your phone, allowing you to manage your garage door using an app.
Another option is a universal remote. These remotes can be programmed to work with multiple devices, including your garage door opener. They provide the same convenience but with added flexibility. However, you might want to stick with an authentic Chamberlain remote if you prefer the guaranteed compatibility.
Let’s not forget that taking advantage of enhanced security features available through smart technology adds layers of protection and ease. If you’re considering a switch to smart options, weigh the benefits against your current system to see if it’s right for you.
Disabling your Chamberlain remote doesn’t have to be a daunting task. With these simple steps, you can effectively take control of your garage door and enhance your home security. Remember, knowing how to disable and later re-enable your remote empowers you and helps maintain peace of mind.
Sometimes, ensuring your remote is only being used when you want it to is the best way to keep your home safe and your style in check. Whether you’re troubleshooting, switching to a new remote, or simply securing access, understanding the ins and outs makes your living space more comfortable and manageable. So, take a deep breath, follow these steps, and you’ll be a pro in no time.