
Liftmaster garage door openers are pretty common and often come with a control panel that offers a range of features. When you think about it, this panel is like the heart of your garage door system. It lets you open and close the door, set travel distances, and even program codes for remotes. But there are times when you might need to disable it—like when you’re going on vacation or if it’s malfunctioning. So, let’s dive into how to easily disable that control panel so you can regain some control over your garage!
Understanding Your Liftmaster Control Panel
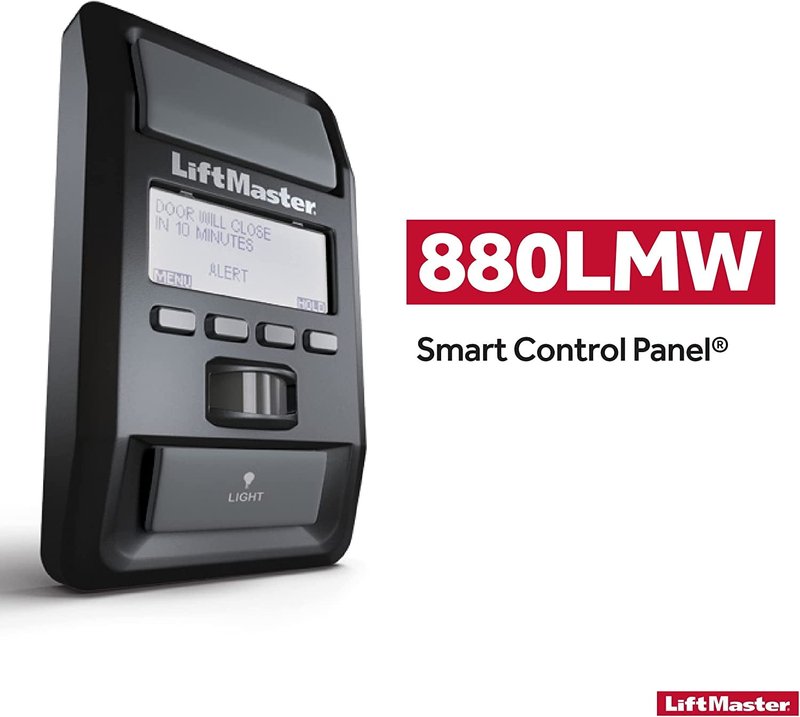
Before jumping into the steps, it’s helpful to understand what you’re working with. The Liftmaster control panel typically features buttons for opening and closing the door, as well as programming options. Picture it like a remote control for your TV, but instead of changing channels, it controls your garage door.
Most Liftmaster models come equipped with a few buttons—usually labeled with a light symbol, a lock symbol, and perhaps a programming button. Your first step is to familiarize yourself with these buttons. For example, if your control panel has a “lock” feature, it might prevent the remote and keypad from operating while the panel is disabled.
Why You Might Want to Disable the Control Panel
You might be wondering, “Why would I want to do this?” Well, there are a few scenarios where disabling the control panel becomes necessary:
- Safety precautions: If you have small children or pets, it’s a good idea to disable the automatic operation to prevent accidents.
- Maintenance: When it’s time for an inspection or repair, disabling the control panel can prevent sudden movements.
- Vacation: While you’re away, turning off the control panel adds an extra layer of security.
Being proactive can save you from future headaches. Also, before making any changes, remember to have any needed manuals on hand or refer online to your Liftmaster model for specifics.
Steps to Disable Your Liftmaster Control Panel
Now that you know why it’s important, let’s get into the nitty-gritty of actually disabling your Liftmaster control panel. This process is simple and usually requires no special tools.
1. Locate the Control Panel: This is typically mounted inside your garage, near the door. It might be on the wall or even nearby the garage door itself.
2. Identify the Lock Function: Look for the small “lock” icon on the control panel. This is crucial because it might be the key to disabling the panel.
3. Press and Hold the Lock Button: Press down on the lock button for a few seconds until you see the indicator light turn on. This usually signals that the controls have been restricted.
4. Test the Remote and Keypad: After you’ve disabled the panel, try using your remote or keypad. They shouldn’t respond, confirming you’ve successfully done it.
It might take a moment to grasp the idea of disabling the control, but once you get the hang of it, it’s like riding a bike—you just need a bit of practice!
What Happens After Disabling the Control?
Once you’ve disabled the control panel, you might wonder how it affects overall operation. If you’ve done it right, the door should only respond to manual operation or the remote (if the remote is also enabled).
Think about it as switching from automatic to manual. You’re taking back control! Until you enable the control again, you can safely use your garage without it automatically opening and closing. This is particularly useful for long-term periods—like vacations—where you want peace of mind.
However, if your model has a battery back-up, you might still want to unplug it to ensure it doesn’t activate unexpectedly during power fluctuations.
Re-enabling the Control Panel
Okay, so let’s talk about how to turn it back on if you’ve disabled the control panel. This process is just as simple and sometimes only requires the press of a button.
1. Press the Lock Button Again: Just like before, locate the lock button on your control panel.
2. Hold for a Few Seconds: Press and hold that button until you see the indicator light flash or change color. This indicates it’s back online.
3. Test It Out: Make sure to check that it connects to your remote and keypad by testing them out.
That’s all there is to it! You’ve now successfully toggled between manual and automatic control over your garage door without a hitch.
Troubleshooting Common Issues
Even the best plans can go awry, and sometimes disabling the control panel may not go as smoothly as expected. Here are some common troubleshooting tips:
– Indicator Lights Won’t Respond: If your lights don’t flash or respond when you press the lock button, check to ensure you’ve pressed the button long enough or try again.
– Remote Still Works: If your remote still operates the door, confirm whether it’s also locked through the panel. Sometimes, both need to be synchronized anew.
– Panel Locks But Remains Unresponsive: This can indicate a more significant issue with wiring, so you might need to consult with a professional.
Don’t panic, though—most common problems can be fixed at home with a little patience, and there’s likely a video tutorial that can walk you through the steps visually.
Seeking Help If Needed
If you find that these steps aren’t solving your issues, it might be time to consult the experts. Locating professional help can be as simple as searching online or looking at customer service contacts for Liftmaster.
Repair services can troubleshoot and find more intricate issues that could cause your control panel problems. It’s like calling a friend for help when you get lost—sometimes you just need sounding boards to guide you.
Disabling your Liftmaster control panel doesn’t have to feel overwhelming or complicated. With just a few steps—locating the lock button, holding it, and testing—you can safeguard your garage door against any unwarranted openings. Whether you’re doing it for safety, maintenance, or to secure your home during a long vacation, understanding how to control your system gives you peace of mind.
So the next time you find yourself tackling your garage door troubles, just remember: disabling the control panel is all about taking back control and ensuring everything operates safely when you need it to. Happy DIY-ing!
Originally posted 2025-02-09 11:25:03.