The Liftmaster brand is known for its robust and user-friendly garage door openers and keypads. But there might be those moments when you just want to pause the convenience of that digital access. Luckily, disabling it isn’t as complicated as it sounds. With a bit of guidance, you’ll be able to do it in no time, gaining that peace of mind you need.
Understanding Your Liftmaster Keypad
Before we dive into the process of disabling your Liftmaster keypad, let’s take a closer look at what it actually does. The keypad serves as your direct line of access to your garage, allowing you to open and close the door with a simple code. Imagine it as your garage’s secret handshake—a combination of numbers that only you and your trusted friends know. When it’s functioning correctly, it’s a fantastic convenience. When you need to disable it, the process becomes just as crucial.
There are a few different models of Liftmaster keypads out there, but they generally operate on similar principles. Whether you’re dealing with one that uses a simple code input or higher security options like rolling codes, you’ll find that disabling them follows a specific process. It’s helpful to familiarize yourself with the basic operation before getting into the nitty-gritty of disabling it.
Why You Might Want to Disable It
You might be asking yourself, “Why would I need to disable my keypad?” And that’s a great question. There are several scenarios where it makes sense to temporarily turn it off:
- Moving in or out: If you’ve just moved into a new home or someone’s left your crawlspace, disabling the keypad ensures they don’t have access.
- Malfunctioning keypad: Sometimes, the keypad can act finicky, misreading your entries or malfunctioning altogether.
- Security concerns: If you feel your code may be compromised, disabling it until you set a new one can provide peace of mind.
Ultimately, it’s about ensuring that your space remains secure. You wouldn’t want to leave a backdoor open, right? Disabling the keypad allows you to manage who has access to your garage, simply and effectively.
Steps to Disable Your Liftmaster Keypad
Now that you understand why you might want to deactivate your keypad, let’s get into the step-by-step process. You might feel a little like a detective piecing everything together, but it’s pretty easy once you get the hang of it.
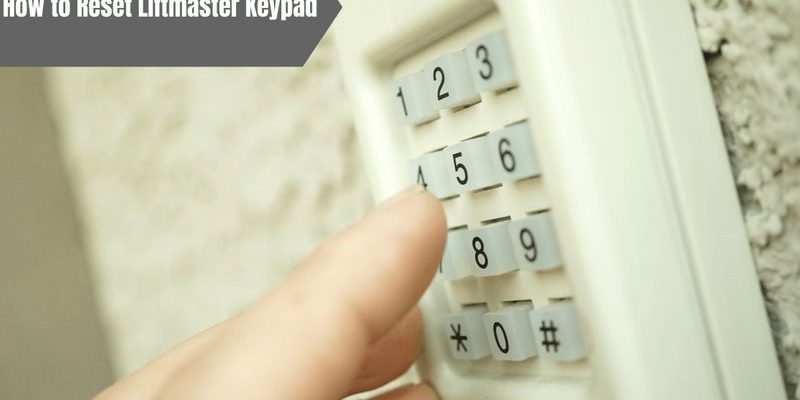
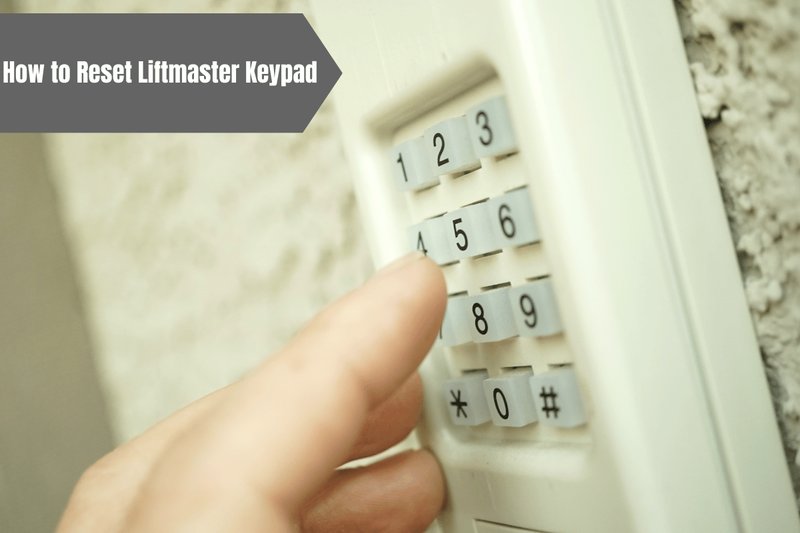
Step 1: Locate the Reset Button
Most Liftmaster keypads will have a reset button, typically found at the back or beneath the cover. If you can’t find it, consult your user manual for your specific model.
Step 2: Press and Hold
Once you find the reset button, press and hold it down for about 10 seconds. You should see a light on the keypad blink, indicating that it’s in a reset mode. This is crucial—if you let go before the 10 seconds, it might not fully activate the reset.
Step 3: Enter the Factory Code
Next, you’ll need to enter the factory preset code (usually found in the user manual). This step might vary slightly by model, but once entered, you should see a confirmation light.
Step 4: Remove the Battery (Optional)
If you want to ensure the keypad is completely disabled, you can remove the battery. Open the battery compartment, take out the battery, and keep it in a safe place until you’re ready to reactivate it.
Simple, right? You can think of it like locking up your diary—only you know the code!
Troubleshooting Common Issues
While disabling your Liftmaster keypad is generally straightforward, sometimes things don’t go as planned. Here are a couple of potential hiccups you might encounter:
– Keypad does not reset: If pressing the reset button doesn’t seem to do anything, double-check to ensure you’re holding it down long enough. You can also try replacing the battery if you suspect it’s died.
– Light doesn’t blink: If the keypad light doesn’t respond, it’s possible there could be an issue with the wiring. This might require a closer inspection or a consult with a professional.
It’s always good to have options! If one tactic doesn’t work, don’t hesitate to explore others or seek help.
Alternatives to Disabling the Keypad
If you find disabling the keypad isn’t ideal for your situation, there are alternatives worth considering. For instance:
– Changing the Code: Instead of completely disabling access, consider just changing the access code to something more secure. Make sure you choose a code that’s hard for others to guess but easy for you to remember.
– Using a Remote Control: In some cases, using a remote instead of the keypad might be a more convenient solution. You can either use the remote to operate the door directly or pair it with different garage systems.
Moving forward with an understanding of the options can give you added flexibility based on your needs.
Disabling your Liftmaster keypad doesn’t have to be a complex task. With just a few steps, you can take control of access to your garage, protecting your belongings and ensuring peace of mind. With patience and a bit of guidance, you can navigate through disabling or even troubleshooting any issues that might pop up.
Remember, this simple action can contribute immensely to your home’s security. So, the next time you encounter a situation that calls for disabling your keypad, draw on this handy guide and flip that switch with confidence. You’re now equipped with the know-how to handle it like a pro!