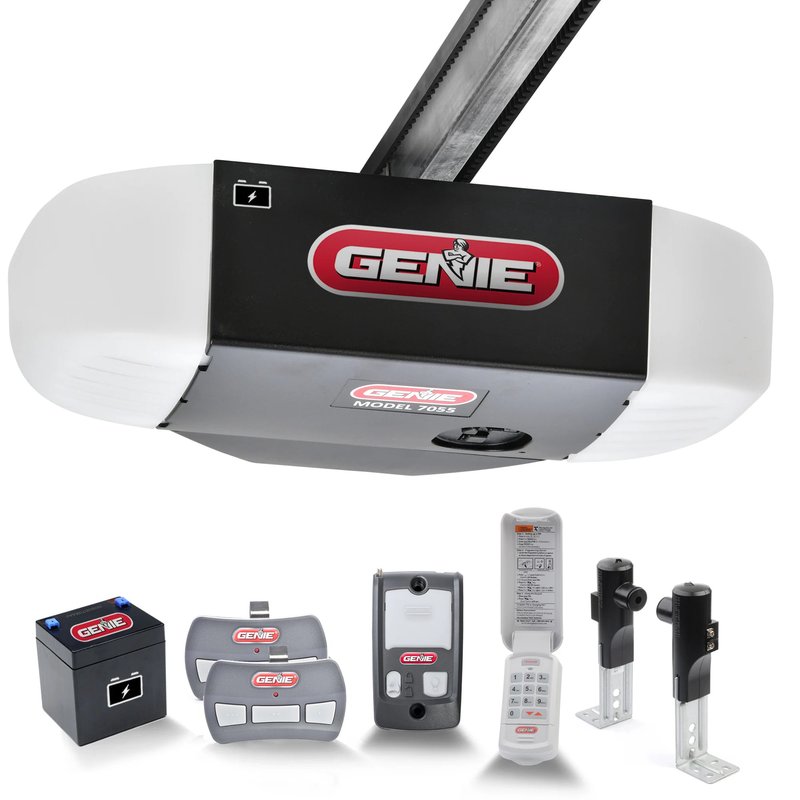
Whether it’s refusing to open, making weird noises, or just acting a bit sluggish, knowing how to test your opener can save you time and money. From the remote control to the unit itself, there are several areas to check. So, grab your favorite mug, sit back, and let’s dive into how you can easily test your Sears garage door opener like a pro.
Why Testing Your Garage Door Opener is Important
You might be wondering, “Why should I even bother testing my garage door opener?” Here’s the thing: just like any other machine, these devices can wear down. Regular testing helps ensure safety and functionality. Imagine your garage door suddenly failing while you’re trying to get in or out—no thank you!
Additionally, testing your opener can help you avoid costly repairs down the line. By identifying issues early, you can either fix them yourself or call in a pro before things escalate. Think of it as a health check-up for your garage door!
What You’ll Need for Testing
Before you start testing your Sears garage door opener, it’s a good idea to gather a few items. Having the right tools can make the process easier and more efficient. Here’s a quick list:
- Remote Control: Your primary tool for testing.
- User Manual: Handy for reference on specific settings.
- Step Ladder: Necessary for accessing the overhead garage door opener if needed.
- Smartphone or Camera: Optional, for documenting any issues or errors.
- Replacement Batteries: In case your remote is malfunctioning due to weak batteries.
With these in hand, you’re ready to start your testing process.
Testing the Remote Control
First things first, let’s test the remote control. It’s often the main suspect when your garage door refuses to budge. Here’s how to go about it:
1. Check the Battery: Open the back of the remote. If you see corrosion or a dead battery, that’s your first fix.
2. Pairing the Remote: Sometimes, remotes lose their connection to the opener. Hold the “learn” button on your garage door opener until the light blinks, then press the remote button. If it works, great!
3. Distance: Make sure you’re within a reasonable distance. Standing too far away can prevent the signal from reaching your opener.
If your remote still doesn’t work after checking these factors, you might need to consider some troubleshooting steps.
Inspecting the Garage Door Opener Unit
Now let’s move on to the actual opener unit. It’s a good idea to give it a thorough inspection to spot any obvious issues. Here’s what to look for:
– Visual Inspection: Check for any visible signs of wear, damage, or foreign objects stuck in the mechanism.
– Listen for Noises: Press your remote and listen closely. Any strange sounds can indicate internal issues. A grinding or clicking noise usually means something’s not right.
– Check the Safety Sensors: These sensors usually sit low on the garage door tracks. Make sure they’re clean, aligned, and not blocked by anything.
Having a smooth-functioning unit is vital. Otherwise, your garage door might become a stubborn gate!
Testing the Safety Features
One of the most crucial aspects of your garage door opener is its safety features. Testing these is non-negotiable. Here’s how to go about it:
1. Auto-Reverse Function: Place a soft object, like a pillow, on the ground where the door would close. When you trigger the door, it should automatically reverse upon contact. If not, it’s time to troubleshoot.
2. Safety Sensors: Make sure both the sensors are functional. When the door is closing, if you break the beam (by waving your hand, for example), the door should reverse immediately. If it doesn’t, you might need to adjust or replace the sensors.
3. Test the Manual Override: It’s great to know how to manually open your garage door in case of an emergency. Pull the release cord (usually a red cord) to ensure the door can be operated manually.
Making sure your safety features are in working order is crucial not only for your peace of mind but also for the safety of everyone around.
Common Troubleshooting Strategies
Honestly, even after testing everything, something might still go wrong. Here are some common troubleshooting strategies:
– Reset the Opener: Unplug the unit for about 30 seconds before plugging it back in. This simple action can often solve minor glitches.
– Check the Track: Make sure the door’s track is free from debris and not bent. Sometimes, just clearing out dirt or objects can fix opening issues.
– Inspect Hardware: Loose hardware can lead to malfunctioning. Ensure all bolts and screws are tight, particularly around the opener and tracks.
If these steps don’t fix the problem, don’t hesitate to call in a professional. Sometimes, it’s best to leave it to the experts.
When to Call a Professional
If you’ve gone through all the testing methods and common troubleshooting tips and your Sears garage door opener still isn’t cooperating, it might be time to call a pro. Here’s when you should consider this option:
– Complex Electrical Issues: If you suspect wiring problems that you don’t know how to handle.
– Mechanical Failures: If the opener or the motor shows signs of serious failure, replacement might be your best option.
– Continuous Problems: If the issues persist after several tests and fixes, it may be a recurring problem that needs professional attention.
While DIY is great, sometimes calling in a garage door expert is the best way to approach particularly tricky situations.
Wrap-Up: Keep Your Garage Door Opener in Good Shape
Getting to know how to test your Sears garage door opener doesn’t have to be daunting. Regular checks and tests can prolong its life and ensure it functions smoothly. By understanding how the different components work together and addressing any potential issues proactively, you’ll save yourself time and headaches in the long run.
So give your garage door opener some love and attention! After all, it’s there to make your life easier—not more complicated. Stay vigilant, and you’ll enjoy the seamless convenience of your opener for many years to come.
