So, why bother testing it? Well, garage doors can sometimes seem like moody teenagers; they don’t always respond the way you want them to. If your door won’t budge or only lifts halfway, it could be the control panel throwing a fit. Let’s dive into how to test your Raynor control panel efficiently and what to do if things go awry.
Understanding the Raynor Control Panel
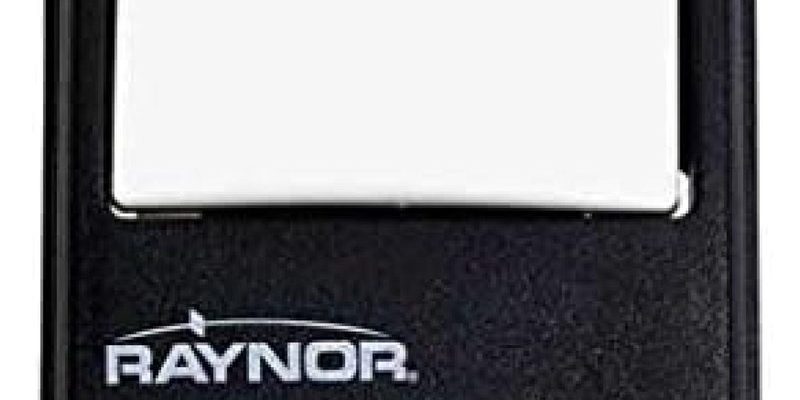
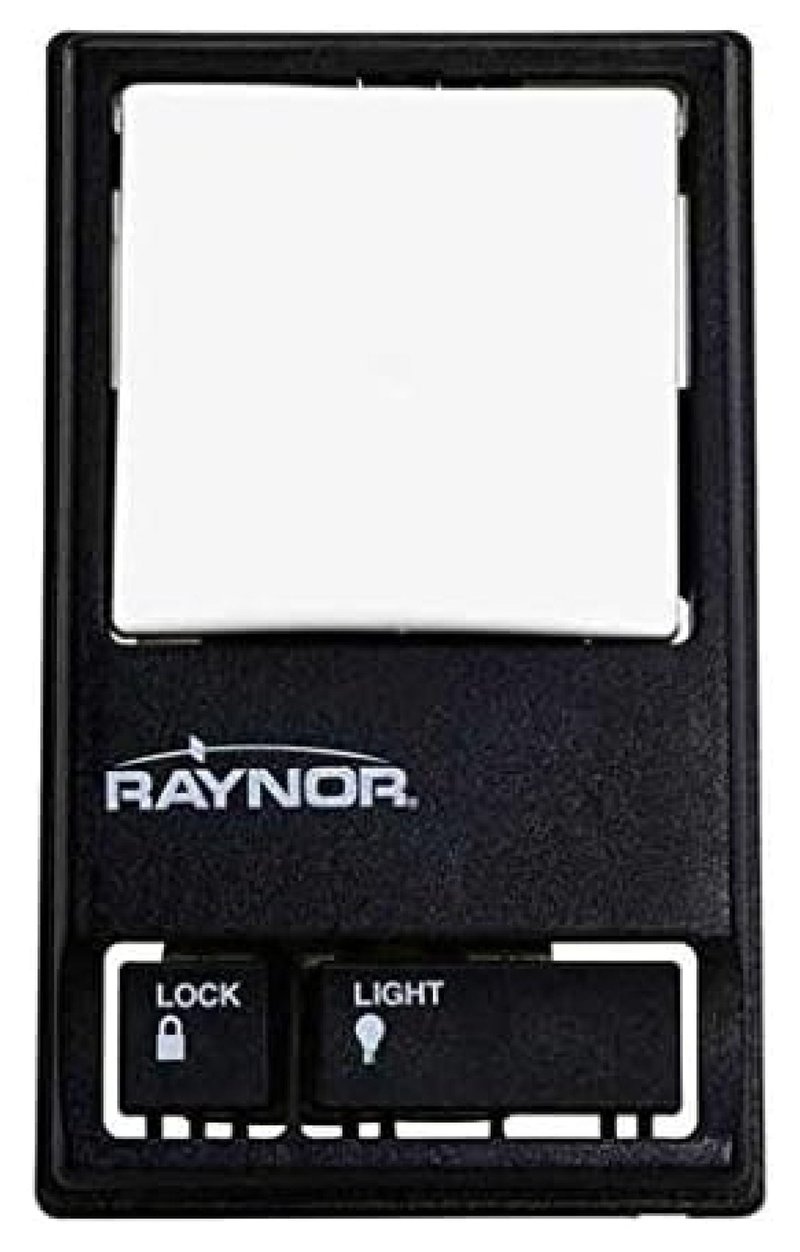
Before we get into testing, it’s helpful to understand what the control panel is and why it matters. Your Raynor control panel controls the garage door opener’s features, permitting you to open, close, or pause operations. It’s typically mounted on the wall inside your garage, often featuring buttons for opening/closing the door, a light, and sometimes even a keypad for code entry.
Knowing the basic functions is important. The open/close button activates the door, while the light button might give you illumination when needed. If you’re using a keypad, entering the wrong code can lead to confusion, so always ensure you’ve got the right code at hand.
Here’s the thing: if your door isn’t responding as expected, the issue could be with the control panel itself or its connection to the opener. Let’s take a step back to understand how to troubleshoot and test this vital component.
Gather Your Tools
Testing the Raynor control panel isn’t complicated, but having the right tools handy makes the process smoother. Imagine you’re prepping for a little DIY project; you wouldn’t want to run back and forth for supplies. Here’s what you need:
- Screwdriver: Any basic screwdriver will work for checking connections or replacing batteries.
- Multimeter: This handy device can help you test the voltage, ensuring everything’s working. Don’t worry; you don’t need to be an electrician to use one!
- Replacement Batteries: If your control panel isn’t responding, it might just need a fresh battery. Always have a spare on hand.
Once you’ve got everything ready, you’re all set to dive into testing your control panel. It’s like going to battle with your trusty sidekick; you want to ensure you have everything you need before confronting the issue.
Testing the Control Panel: Step-by-Step
Now, for the moment you’ve been waiting for: how to test your Raynor control panel. Let’s break it down into bite-sized steps that’ll make it easy for you to follow.
Step 1: Check the Power Supply
Start simple; make sure your control panel is plugged in and receiving power. If it’s not lighting up at all, there’s a high chance that the issue stems from a power supply problem.
Step 2: Inspect the Connections
Using your screwdriver, carefully open the control panel cover. Look for loose wires or connections—these can easily interrupt signals and cause malfunction. Just like a tangled earbud cable can stop your music from playing, loose wires can prevent your garage door from opening.
Step 3: Test the Buttons
Next, press the buttons on the control panel. If they click but nothing happens, it could indicate a deeper issue. If you’ve got a multimeter handy, you can check for voltage to see if it’s sending signals properly.
Step 4: Replace Batteries
If you suspect a weak battery is causing issues, remove the old batteries and replace them with fresh ones. It’s like reviving a phone that’s been dead for days—sometimes, all it needs is some new juice!
Step 5: Reset the Control Panel
If everything looks good but the panel still isn’t functioning, try resetting it. This usually involves holding down the “Learn” button on the motor unit until the light blinks. This can sync everything back to normal, like giving your tech a fresh reboot.
Common Issues and Troubleshooting
Even with the best setup, issues can arise. Understanding common problems can make troubleshooting less of a headache.
- Unresponsive Buttons: If you’ve pressed the buttons but felt like you were in a silent movie, it could be a connection issue or a need for fresh batteries.
- Intermittent Issues: Sometimes, the panel works great one moment and then goes dormant the next. This could indicate a faulty connection somewhere, and if all else fails, don’t hesitate to consult a technician.
- Failed Remote Pairing: If you recently changed batteries or installed a new remote, you may need to pair your remote to the control panel again. This process usually involves pressing a “Learn” button and then the button you wish to pair on the remote.
Identifying these issues early on can save you time and frustration. Garage doors think they’re dramatic sometimes, but with some persistence, you can usually get to the bottom of things.
Why Regular Testing Matters
You might be wondering, “Is it really necessary to test my control panel regularly?” The answer is a resounding yes! Just like you wouldn’t ignore warning lights on your car’s dashboard, you shouldn’t overlook your garage door’s signals either.
Regular testing ensures that you catch potential problems before they escalate. Think of it like a routine health check-up; it’s always better to be proactive than reactive. By keeping an eye on your control panel, you ensure your garage door functions smoothly, enhancing your home’s overall security and convenience.
Final Thoughts: Keeping Your Raynor Control Panel in Top Shape
Testing your Raynor control panel doesn’t have to be a daunting task. By following the steps outlined above, you can quickly identify issues and keep your garage door in optimal working condition. Treat it with the same care you would for any important device in your home.
Remember, a well-functioning garage door not only adds value to your home but also loads of convenience to your life. So, don’t shy away from checking it out from time to time—your garage door will thank you!
Taking care of your Raynor control panel is like keeping your car in good shape; it saves you from bigger problems down the road. So, gear up and keep that garage door rolling smoothly!