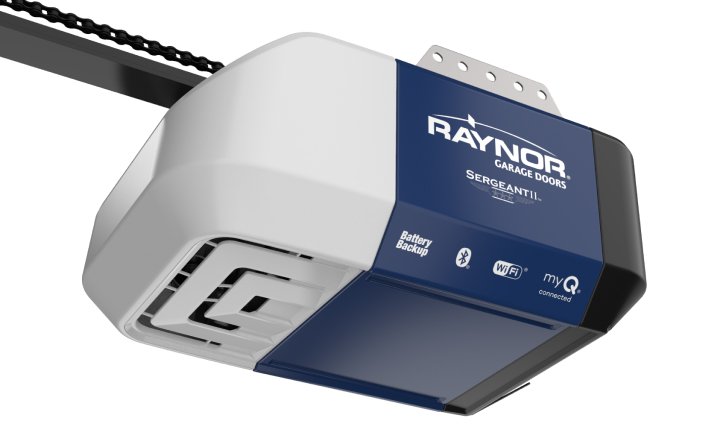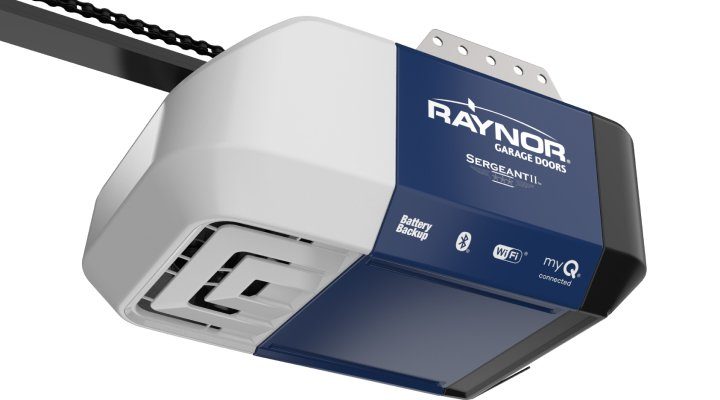
So, how do you test your Raynor battery backup? It’s simpler than you might think. With just a few straightforward steps, you can ensure that the battery is in working order and that your garage door will open when you need it most. In this guide, we’ll walk through all the details you need to know to test your Raynor battery backup effectively. Let’s dive in!
Understanding Your Raynor Battery Backup
Before jumping into testing, it’s good to understand how your Raynor battery backup functions. It essentially acts like a reserve tank of power, kicking in when the electricity goes out. This means your garage door opener can continue to operate seamlessly even in the event of a blackout.
The Raynor battery backup is built for reliability, so it’s designed to hold a charge long enough to operate your garage door multiple times after a power failure. However, just like your phone’s battery, it can lose its charge over time. That’s why periodic testing is necessary. It helps you avoid surprise issues when you really need to access your garage.
You might be wondering how often you should test this backup. Generally, testing once every few months will suffice. If you’ve had a power outage, a quick test afterward is a great idea.
Gathering Your Tools
Before you start testing, you’ll want to gather a few simple tools to make the process smooth and easy.
- Multimeter: This tool measures the voltage of the battery, which is essential for understanding if it holds a charge.
- Screwdriver: Having a Phillips or flathead screwdriver handy might be useful if you need to access the battery compartment.
- Clean Cloth: To wipe down any connections and ensure they’re not dirty or corroded.
Having these tools ready will save you time and make the process easier. Honestly, you don’t need a mechanic’s toolbox to perform this test. Just a few basics will get the job done.
Powering Off the Main Supply
To effectively test your Raynor battery backup, you need to first cut the power from the main supply. You can do this by unplugging your garage door opener from the wall outlet. If your garage door opener is hardwired, you may need to locate the circuit breaker and turn it off there.
When the power is off, it simulates a real outage, allowing you to see if the battery backup kicks in as it should. This step is vital because you want to ensure everything is functioning under conditions that closely replicate a power failure.
Essentially, you’re setting the stage for the performance test. With the power off, you’ll be able to see if the garage door opens normally using the backup battery.
Testing the Battery Backup
Now comes the moment of truth! Go ahead and grab your garage door remote and press the button to open the garage door. If everything is working properly, the door should lift smoothly without any delay.
If you hear the motor running but the door doesn’t budge, there may be an issue with either the battery or the connections. Here’s what to do next:
1. Observe the LED Indicator: Many Raynor models have an LED light that lets you know if the battery is providing power. If the light is green, you’re good to go. If it’s red or flashing, you might need to replace the battery.
2. Listen for Sounds: A humming sound usually indicates that the motor is trying to work but is drawing insufficient power. If it’s silent, you may have a dead battery.
3. Check for Movement: Even if there are sounds, if the door is not moving, inspect the manual release cord. Pull it, and see if the door lifts manually. If it does, the motor may need a bit of attention.
Testing is as much about observing conditions as it is about pressing buttons, so pay attention to what you hear and see!
Checking the Battery Charge
If your garage door didn’t operate as expected, it’s time to check the battery’s charge with a multimeter. This little gadget can help you determine if the battery still holds enough voltage to function properly.
1. Remove the Battery: Use your screwdriver to open the battery compartment and gently take out the battery.
2. Set Up the Multimeter: Turn the multimeter to the DC voltage setting. Place the red lead on the positive terminal of the battery and the black lead on the negative terminal.
3. Read the Voltage: A fully charged battery should read around 12 volts. If it’s significantly lower than that, it’s time to replace your Raynor battery backup.
This quick check helps ensure that you’re not just guessing whether the battery needs a refresh or a full replacement.
Cleaning and Maintaining Connections
Sometimes, the issue isn’t with the battery at all; it could be the connections. Dust, corrosion, or even simple wear and tear can impact how well your battery backup operates.
To maintain optimal performance, follow these cleaning tips:
1. Turn Off Power Again: Before doing any cleaning, ensure that the power is off—safety first!
2. Inspect Connections: Look at all wires and connections leading to the battery. If they appear dirty, that could be causing issues.
3. Clean With a Cloth: Use a clean cloth to wipe down the terminals and connections. If you see corrosion, you might need a battery terminal cleaner or some baking soda mixed with water—just let it sit and wipe it off after a few minutes.
Maintaining clean connections helps extend the life of your equipment and improves performance. Remember, a little bit of prevention goes a long way!
Reinstalling the Battery and Final Check
Once you’re done with cleaning and testing, it’s time to put everything back together. Simply reinstall the battery in the compartment, making sure the connections are secure.
1. Secure the Compartment: Use your screwdriver to close the battery compartment again.
2. Restore Power: Plug your garage door opener back in or switch the circuit breaker back on.
3. Conduct One Last Test: It doesn’t hurt to double-check everything by pressing the remote once again. If it opens like a charm, you’re back in business!
Testing your Raynor battery backup isn’t just about fixing problems; it’s also about ensuring that you have peace of mind when you need it.
In the end, testing your Raynor battery backup is a simple yet important task that can save you from unexpected hassles. By understanding how to check the battery charge, make the necessary adjustments, and maintain clean connections, you’re ensuring a smooth operation when you need it most.
So, get those tools ready and don’t put off this important task. Honestly, the few minutes it takes to test your battery backup can save you a lot of stress down the road. Remember, being proactive is always better than being reactive!
