Marantec makes reliable and easy-to-use garage door openers, but even the best can have hiccups now and then. So, whether your remote isn’t working or you’re experiencing unusual sounds, understanding how to test your opener can save you time— and potentially a headache. Let’s dive into how to get this done safely and effectively.
Understanding Your Marantec Garage Door Opener
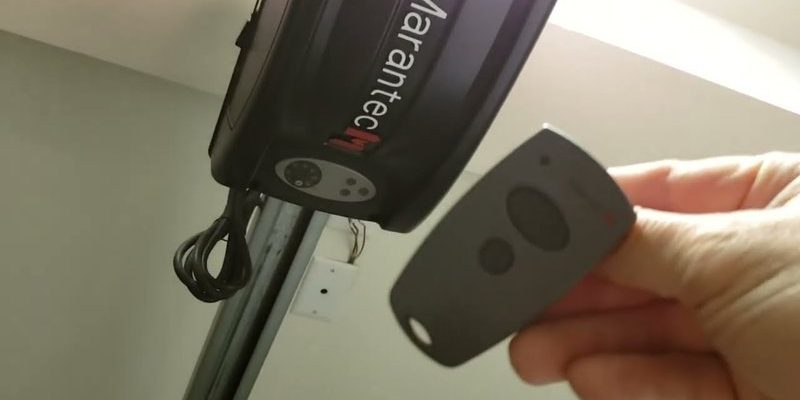
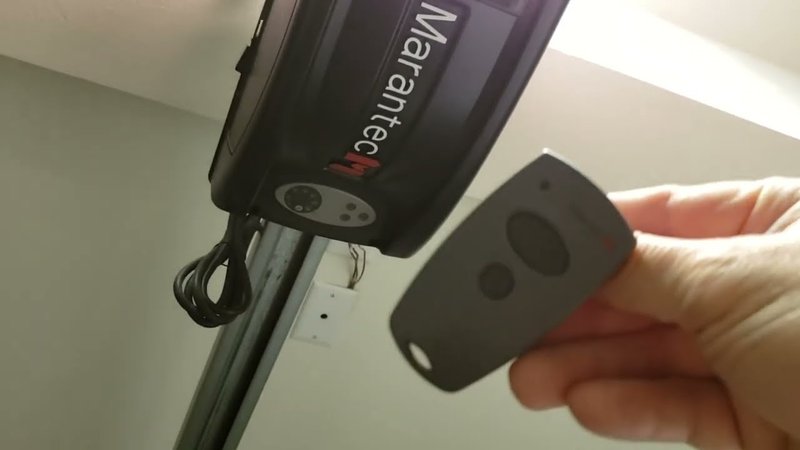
Before you start poking around with tools, it’s good to know what type of Marantec opener you have. Marantec offers various models, each with unique features. Most of these come with a remote and a wall switch, and some have advanced security and user-friendly features like smartphone connectivity.
It’s helpful to glance at your remote. Each model often comes with specific buttons for different operations like *open*, *close*, or even *lock*. Locate your model number; it’s usually on the back of the remote or on the back of the opener unit itself. This information will come in handy when looking for troubleshooting tips tailored to your version.
Once you familiarize yourself with your opener and remote, you’ll feel more confident as you start your testing journey. Think of it like knowing the layout of a house before you start rearranging the furniture—familiarity helps avoid surprises.
Gathering the Tools You Need
Testing your Marantec garage door opener doesn’t require a toolbox full of specialized tools, which is a big plus for beginners. Here’s a simple list of what you might need:
- Multimeter: This handy device helps measure voltage in electrical components.
- Replacement batteries: For the remote, you’ll want to have some on hand just in case.
- Screwdriver: Depending on your model, you may need this for tightening connections.
Having these items will make the testing process smoother. Honestly, the multimeter is optional if you simply want to check the remote. But it does help if you suspect there might be an electrical issue. Ensuring you have everything ready also keeps the process efficient, minimizing downtime.
Testing the Remote Control
You might be thinking the remote is the simple part, but it’s surprisingly easy to overlook potential hiccups there. Start by checking the battery. Remove the battery cover on the back of the remote and see if the batteries look corroded or dead. If they do, replace them with new ones.
Once you’ve swapped the batteries, point the remote at the opener, press the button, and watch for any lights or sounds. If nothing happens, try pressing different buttons, just to make sure you didn’t accidentally lock it or hit a different function. You might be wondering, “What if it still doesn’t work?” Here’s where your handy multimeter comes into play: you can test the battery’s voltage to ensure it’s providing the necessary power.
If the multimeter shows a good voltage, but the remote still isn’t responding, you might need to *reset* or *reprogram* the remote to the opener. Many Marantec models allow you to sync the remote easily by following a few simple steps, which we’ll touch on shortly.
Testing the Garage Door Opener Unit
If you’ve ruled out issues with the remote, it’s time to turn your attention to the actual garage door opener unit itself. Start by inspecting the power source. Is it plugged in? Check the outlet to see if it has power. If you’re using a surge protector, ensure it’s functional. It’s a basic check but often overlooked.
Next, check the lights on the unit. Most Marantec openers have indicator lights that signal whether the unit is functioning properly. If the light is off, it indicates a bigger issue, perhaps a blown fuse or a tripped circuit breaker. If the light is blinking, you may have a troubleshooting indicator, showing that something isn’t quite right.
Also, listen closely when you press the wall switch or the remote. If you hear clicking sounds but the door doesn’t move, there might be an issue with the internal gearing mechanism or a problem with the safety sensors.
Inspecting Safety Sensors and Wiring
Safety sensors are crucial for modern garage door openers, including Marantec models. These sensors are usually located at the bottom corners of the garage door frame. They prevent the door from closing on anything—such as you, your pets, or your car. If the sensors are misaligned or obstructed, the door may not operate correctly.
To test the sensors, ensure they’re clear of dirt, webs, or any physical obstructions. A tiny adjustment might be all you need to get them aligned properly. Carefully check the wiring connected to the sensors—look for frayed wires or loose connections as these could be causing issues. You could even use your multimeter here to check for continuity in the wires.
If your sensors are clear and aligned, but your door still won’t respond, the next step is to check the coding. This is where you may need to refer back to your owner’s manual. There are specific methods to pair your remote with the opener, often involving pressing buttons both on the remote and the opener unit itself for a few seconds.
Reprogramming the Remote and Opener
So, let’s say you’ve checked everything—batteries, power, sensors—but your opener won’t budge. This is when reprogramming your Marantec remote can come to the rescue. The steps can vary slightly depending on your exact Marantec model, but here’s a general process:
1. Locate the learn button on your opener. This is usually found on the back of the unit, beneath the light cover.
2. Press the learn button and watch for the indicator light to turn on. This indicates it’s in programming mode.
3. Press the button on your remote that you wish to program within 30 seconds of pressing the learn button.
4. Watch for the indicator light to blink or go out, which confirms the remote is successfully programmed.
If you’re doing this for multiple remotes, repeat the process for each one. Reprogramming can solve several issues, including if you’ve recently changed batteries or had an electrical outage.
When Professional Help is Needed
Sometimes, despite all your efforts, your Marantec garage door opener might still refuse to cooperate. If you find yourself stuck after checking the basics, it might be time to call in a professional. Maybe the motor is burnt out, or the internal mechanics need more attention than you can provide.
Think of it like this: you wouldn’t hesitate to see a mechanic for car troubles, right? Same goes for your garage door. It’s a crucial part of your home security. Checking reviews on local garage repair services can help you find a trustworthy option. Remember, it’s always better to consult a professional rather than risk further damage.
Maintaining Your Marantec Garage Door Opener
Once you’ve tested and resolved any issues, regular maintenance can help prevent future problems. Here are some quick tips:
- Clean the sensors: Make it a habit to wipe down the sensors and ensure they’re aligned.
- Lubricate moving parts: Every few months, apply a garage door lubricant to the hinges and rollers to keep things running smoothly.
- Check the battery: Regularly test your remote batteries to avoid unexpected issues.
By keeping up with maintenance, you can feel confident that your Marantec garage door opener will keep functioning well for years. After all, a little care goes a long way, right?
When it comes to testing your Marantec garage door opener, there’s a lot you can do on your own. By following these steps and being aware of the components involved, you can troubleshoot and maintain your opener effectively. Remember, a well-functioning garage door not only keeps your home secure but also makes your life easier. So go ahead, keep it tested, and happy garage-going!
Originally posted 2025-01-28 03:34:19.