Let’s dive into the nitty-gritty of overhead door safety sensors. We’ll talk about how they work, what might go wrong, and the simple tests you can perform to ensure everything is functioning as it should. Whether you have a LiftMaster remote or a Chamberlain brand opener, these steps will apply to most cases.
Understanding Overhead Door Safety Sensors
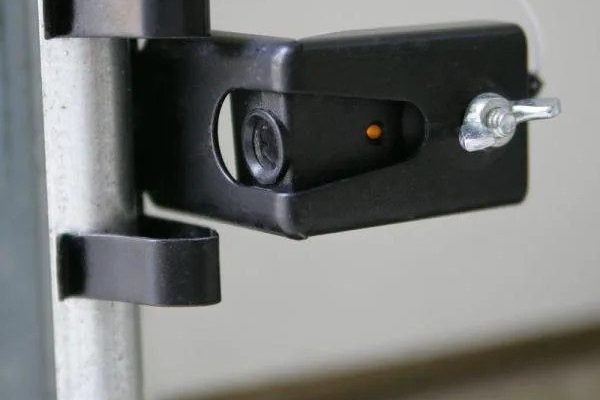
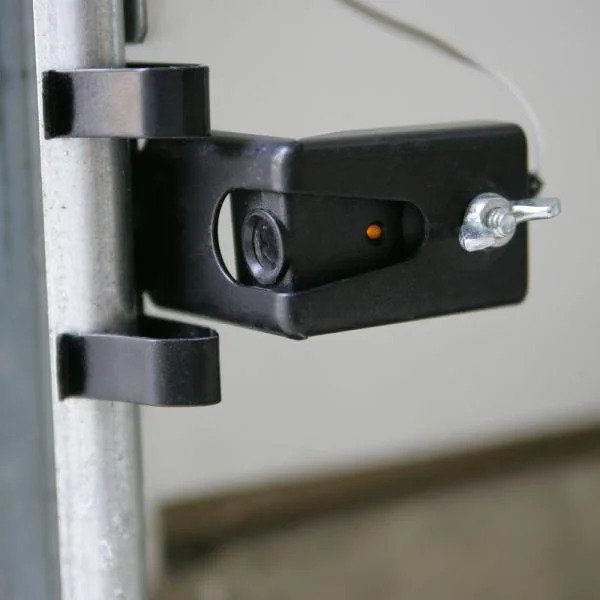
Before we get into testing, it’s important to understand what safety sensors are and how they function. These sensors are usually installed about six inches above the ground on either side of your garage door. They work using infrared beams that create an invisible “safety net” in the door’s path. If anything—or anyone—trips this beam while the door is closing, the sensors send a signal that prompts the door to stop and reverse direction. Honestly, it’s a brilliant system designed to prevent accidents.
You might be wondering why this matters for you. Well, if your safety sensors aren’t functioning properly, it could lead to some serious problems. A garage door that closes without any obstruction can pose a danger, especially to small children or pets who might be playing nearby. So, knowing how to test these sensors is not just a matter of convenience; it’s a matter of safety.
Common Issues with Safety Sensors
Like any mechanical system, overhead door safety sensors can run into issues. Some common problems include misalignment, dirt obscuring the lenses, or faulty wiring. Over time, these problems can lead to the door misbehaving or not closing at all. Have you ever pressed your remote, and instead of the satisfying whir of the door closing, you hear nothing? That could be a sign that your sensors are out of whack.
To begin, let’s clarify typical *symptoms* that may indicate a sensor issue:
- The garage door reverses immediately after touching the ground.
- The door doesn’t close fully or won’t close at all.
- The opener light blinks when the door fails to close.
Understanding these signs can help you identify if your safety sensors are at fault before you start diagnosing.
How To Visually Inspect Safety Sensors
Now, let’s jump into how to check if your overhead door safety sensors are working with a simple visual inspection. Start by ensuring that your garage door opener is unplugged or powered down for safety. You wouldn’t want it to activate while you’re testing, right?
Beginning with the sensors, take a close look. Here’s what you want to check:
- Alignment: Both sensors should face each other directly, forming a straight line. If one is knocked down, it won’t work properly.
- Dirt or Obstruction: Sometimes, a simple layer of dust or dirt can block the sensor beam. Wipe them carefully with a soft cloth.
- Indicators: Most sensors have an LED light that indicates functionality. A steady green light means they’re aligned and working; a blinking red light usually indicates a problem.
Taking these steps can keep you ahead of potential issues.
Testing the Sensors Manually
Once you’ve visually inspected the sensors, it’s time for a hands-on test. Here’s how you do it in simple steps:
1. Power Up: Safely plug your garage door opener back in.
2. Using an Object: Get a small object, like a rolled towel or a piece of cardboard, and place it directly under the garage door.
3. Close the Door: Use your remote to close the door.
4. Observe: If the door stops and reverses upon hitting the object, your sensors are working fine.
Here’s the thing: if the garage door just continues to close without stopping, it’s a clear sign that the safety sensors aren’t functioning correctly. This could be due to misalignment or potentially a wiring issue.
Troubleshooting Sensor Malfunctions
So, what if your sensors aren’t working as they should? Don’t panic, because troubleshooting these issues is often quite simple. Here are a few tips:
– Adjusting the Sensors: If the alignment is off, gently loosen the mounting screws and adjust the position until they face each other directly. Tighten the screws back up once adjusted.
– Resetting the Sensors: Unplug your opener for a minute, then plug it back in. Sometimes, a good reset does wonders.
– Checking Connections: For sensors linked to the opener, ensure that the wires are securely connected and not damaged.
By going through these steps, you can often resolve minor issues without needing a professional.
When to Call in a Professional
If you’ve gone through inspections, manual testing, and basic troubleshooting but your safety sensors still aren’t working, it might be time to call a pro. Signs that you should reach out involve:
- Unresponsive Sensors: If both lights are off and there aren’t any obstructions or alignment issues.
- Signs of Electrical Damage: If you notice frayed wires or melted components, it’s essential to ensure that everything is safe.
- Persistent Problems: When your DIY efforts haven’t yielded positive results after multiple attempts.
Most garage door repairs are straightforward for professionals, so don’t hesitate to reach out if you’re feeling stuck.
The Importance of Regular Maintenance
Taking the time to *test your overhead door safety sensors* regularly can save you headaches in the long run. Just like you get your car serviced, making a routine check of your garage door system is essential. This can help identify problems before they become significant—saving you money and ensuring your family’s safety.
Ultimately, a well-functioning overhead door contributes to both your convenience and peace of mind. Investing a little time in checking the sensors can provide big returns in safety and reliability.
In closing, by understanding how to test your overhead door safety sensors, you’re equipping yourself with a valuable skill that could prevent accidents and make your life easier. Don’t forget to keep an eye on those sensors, and you’ll keep your garage door running smoothly for years to come!