So, whether you’re a new homeowner or just digging deeper into how your garage door system works, checking your keypad is a straightforward and vital step. In this guide, we’ll explore everything you need to know about testing your Skylink keypad, covering various scenarios, potential issues, and solutions to keep your system running smoothly.
Understanding Your Skylink Keypad
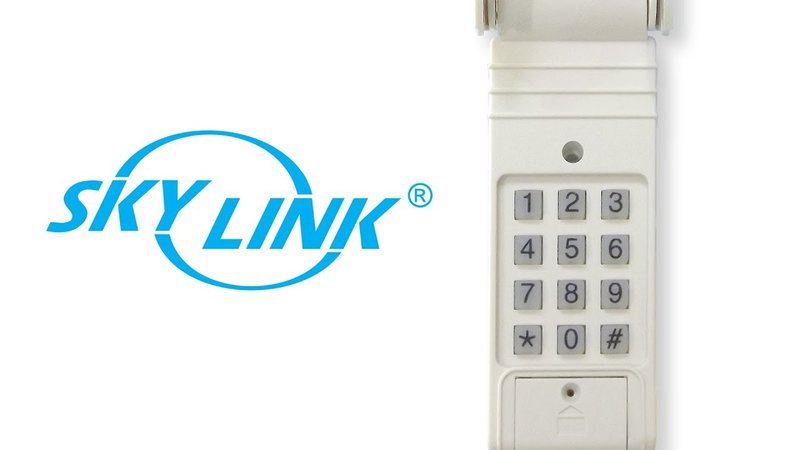
To get started, let’s quickly dive into what the Skylink keypad looks like and how it functions. This keypad is typically a small, rectangular device that allows you to open or close your garage door by entering a numerical code. Think of it like a combination lock—you need the right sequence to get the desired outcome.
The keypad usually features several buttons, including numbers and perhaps a program or reset button. When you press your code and hit enter, it sends a signal via radio frequency to the garage door opener. If everything works as it should, your door will respond, and you can come and go without the hassle of a traditional remote.
But what happens when that shiny gadget doesn’t work? That’s where testing comes in.
How to Prepare for the Test
Before diving into the actual testing of your Skylink keypad, you’ll want to set the stage appropriately. Here’s how:
- Check the Batteries: The first step is ensuring your keypad has power. If you haven’t replaced the batteries lately, they might be the culprit behind the lack of response. Open the battery compartment and replace old batteries with fresh ones.
- Ensure Proper Installation: If this is a new keypad, confirm that it has been installed correctly. Sometimes it’s as simple as making sure the two wires are attached properly.
- Clear the Area: Make sure there’s nothing blocking the keypad or the garage door opener. Remove any obstructions that might interfere with the signal.
Once you’ve completed these steps, you’re primed to start testing your Skylink keypad effectively.
Step-by-Step Testing Process
Let’s go through the process of testing your Skylink keypad. Here’s a clear cut way to ensure everything is functioning properly.
1. Enter Your Code: Start by entering the code you programmed into the keypad. Make sure to press each button firmly so that the signals register.
2. Press Enter: After typing in your code, give that ‘Enter’ button a firm push. Listen carefully—do you hear any sounds from your garage door opener? If you do, that’s a promising sign.
3. Observe the Door: After hitting enter, watch the garage door closely. Does it move? If it opens or closes, congratulations! Your keypad is working. If not, don’t panic just yet; let’s troubleshoot.
Troubleshooting Common Issues
Even with the best preparations, things can go wrong. Here are some common problems you might face when testing your Skylink keypad and how to resolve them.
– Keypad Isn’t Responding: If the keypad doesn’t respond at all, double-check that the batteries are good. If they are, consider reprogramming your keypad. Sometimes a signal gets lost in translation!
– Door Opens Partially: If the garage door only opens a little, there could be an obstruction in the door’s path or issues with the opener itself. Clear the area and try again.
– The Code Doesn’t Work: If you get a “wrong code” message, ensure you’re entering the correct sequence. Perhaps jot it down somewhere so you don’t forget!
If none of these yield results, you might need to reset the keypad and re-pair it with your garage door opener.
Resetting the Skylink Keypad
Resetting your Skylink keypad can be a lifesaver when troubleshooting. Here’s how you can do it:
1. Locate the reset button on the keypad. Generally, it’s a small button that needs a pin or a similar object to press.
2. Hold that button for about 10-15 seconds until you see the keypad light blink. This indicates a reset.
3. Once reset, you’ll need to reprogram your access code. Follow the manufacturer’s instructions to create a new code.
After the reset and reprogramming, go through the initial testing process again. This often resolves any connectivity issues between the keypad and your garage door opener.
Maintaining Your Skylink Keypad
Once you’ve successfully tested and troubleshot your Skylink keypad, maintenance becomes key to avoiding future headaches. Here are a few tips to keep everything running smoothly:
– Check Batteries Regularly: Consider replacing the batteries at least once a year or sooner if you notice sluggishness.
– Clean the Keypad: Dust and grime can accumulate over time. A simple wipe-down can extend the life of your device.
– Monitor for Wear and Tear: If keys seem unresponsive or buttons appear cracked, it may be time for a replacement.
Keeping your Skylink keypad in top shape ensures that you never have to struggle with opening your garage door again!
When to Seek Professional Help
If you’ve tried all the above steps and still find yourself staring at a nonresponsive keypad, it might be time to call in the experts. Here are a couple of signs to look for:
– Constantly Failing to Respond: If your keypad still acts up after several resets, it might signify a deeper issue with the garage door opener itself.
– Physical Damage: Cracks or water damage will often warrant a replacement rather than a simple fix.
A professional can diagnose the problem much faster and may even spot something you might have missed.
Testing your Skylink keypad is an essential step in ensuring a smooth operation of your garage door. Whether it’s understanding how it works, troubleshooting common issues, or maintaining it for longevity, knowledge is your best friend here.
By following this guide, you can confidently check that everything is in working order. So, go ahead and give that keypad a little test run; your garage door will thank you for it! With a little patience and the right information, you can keep your life running smoothly, one code at a time.
