
Let’s break this down together. Imagine you’re troubleshooting a gadget that’s gone quiet, like a radio that suddenly won’t play your favorite song. First, you want to make sure everything is in working order, and it’s not just a dead battery or a silly mistake. By testing your Skylink garage door opener, you can find the problem and get back on track.
In this article, we will explore how to test your Skylink garage door opener effectively. Whether you’re dealing with a malfunctioning remote or figuring out whether your receiver is working, we’ve got you covered.
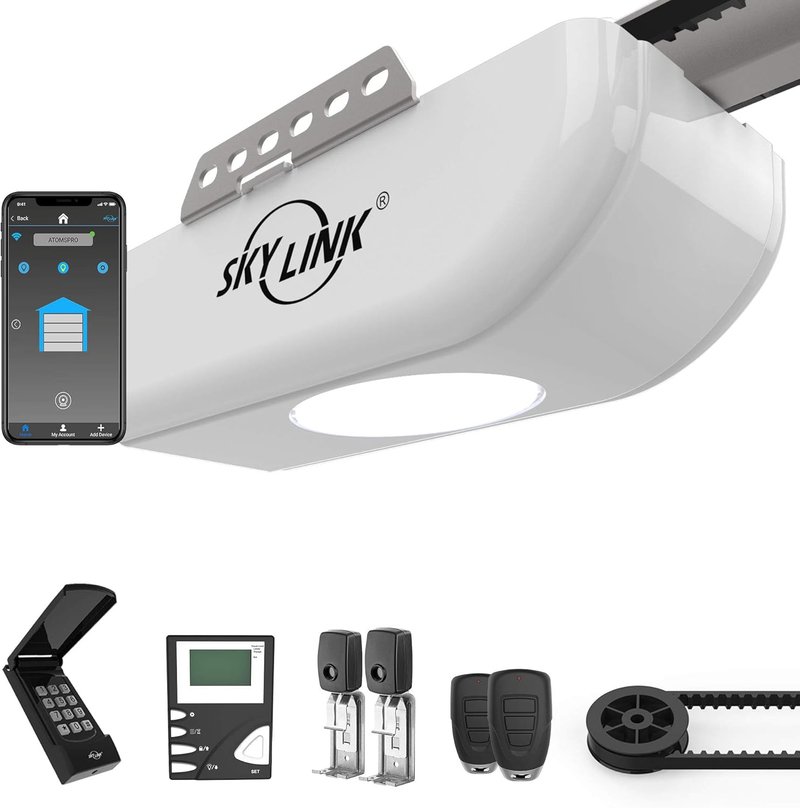
Get Familiar With Your Skylink Garage Door Opener
Before diving into the testing process, it’s a good idea to know the basics of your Skylink garage door opener. Skylink offers a range of garage door openers, all designed to make your life easier with features like remote access and wireless operation. If you’re not familiar with the specific model you have, grab your user manual—this tiny booklet can be a lifesaver when troubleshooting.
Most Skylink openers come with features like *remote control access, a manual override, and safety sensors.* Knowing how these parts work can provide valuable clues during testing. For example, if the remote isn’t working, it could be the battery or the programming itself.
To help you get a sense of your device, here are a few common components to familiarize yourself with:
- Remote Control: This handheld gadget communicates wirelessly with your garage door opener.
- Receiver: Located in your garage, the receiver processes signals from your remote.
- Safety Sensors: These sensors detect obstacles to prevent accidents when closing the door.
- Manual Release Cord: This cord allows you to operate the garage door manually in case of power failure.
Understanding these elements will make testing much easier!
Checking the Remote Control Battery
The next step in testing your Skylink garage door opener is to check the battery in the remote control. It’s one of the most common culprits when your garage door isn’t responding. Honestly, it’s easy to overlook, like leaving your phone charger unplugged.
To check the remote battery, follow these simple steps:
1. Open the battery compartment at the back of the remote.
2. Remove the old battery carefully, and check to see if it’s corroded or worn.
3. Replace it with a fresh battery (usually a 2-volt type, depending on your model).
4. Close the compartment and try using the remote again.
If your garage door opens smoothly, you’ve found the problem! If not, let’s keep troubleshooting.
Testing the Remote Control’s Signal
If changing the battery didn’t do the trick, the next potential issue could be with the remote’s signal itself. You might be wondering, *How do I know if it’s sending a signal?*
A simple way to check is by using a digital camera or smartphone. Here’s how:
1. Turn on your camera or open the camera app on your phone.
2. Point the remote at the camera lens.
3. Press any button on the remote.
If you see a light flashing on your screen, the remote is sending a signal. If not, you may need to reset or reprogram your remote. Let’s look into that next.
Understanding How to Reprogram Your Remote
Reprogramming your Skylink remote might sound technical, but it’s actually just a few simple steps. Sometimes, the connection between the remote and the opener can get lost, like losing track of a conversation at a busy coffee shop.
To reprogram your remote, try this:
1. Locate the “Learn” button on your garage door opener. It’s usually found near the antenna on the unit.
2. Press and hold this button until the light starts blinking, then release it.
3. Within 30 seconds, press any button on your remote. The light should stop blinking and stay on, confirming that the remote is now paired.
Once that’s done, give your remote another test. If it works, fantastic! If not, we might need to take a closer look at the receiver.
Inspecting the Garage Door Opener Receiver
Sometimes the issue lies with the garage door opener itself—the receiver may not be functioning correctly. Imagine your opener is like a doorman; it needs to be alert and ready to respond. If it’s unresponsive, there could be several reasons.
Begin by checking for physical blockages around the garage door. Dust, dirt, or even tools can obstruct the functioning of safety sensors. Make sure these are clear.
Next, you may want to inspect the wiring. Look for loose or frayed wires that could be interrupting the connection. If everything looks good, try resetting the opener by unplugging it for about 30 seconds before plugging it back in.
If the receiver still won’t respond, it could be time to consult a professional or consider that replacement parts may be needed.
Testing the Safety Sensors
Safety sensors are crucial for preventing accidents, so testing them is important too. Think of them as the watchdogs of your garage door. If they’re misaligned or malfunctioning, it could cause the garage door to behave erratically.
To test the safety sensors:
1. Ensure that nothing is blocking the sensors—remember, this can happen easily if you’ve just come in from a storm and left your gear around.
2. Check their alignment. The sensors should face each other directly. If they’re misaligned, gently adjust them until they are straight.
3. Try closing the garage door. If it stops halfway or reverses, the sensors are likely working correctly. If it continues to close without stopping, you may have a sensor issue.
Taking a moment to troubleshoot these sensors can potentially save you from future headaches.
When to Call for Professional Help
If you’ve gone through all these steps and your Skylink garage door opener is still not working, it might be time to consider calling in the pros. Sometimes issues can be more than just a simple fix—a mechanical breakdown or electronic failure might be at play.
Look for licensed garage door technicians who are experienced with Skylink models. They can provide a thorough diagnosis and recommend either repairs or replacements as necessary.
Always remember, safety is priority number one when dealing with any garage door repairs. Don’t hesitate to reach out for help!
Closing Thoughts
Testing your Skylink garage door opener doesn’t have to be intimidating. By checking the remote battery, testing signals, reprogramming the remote, inspecting the receiver, and ensuring the safety sensors work properly, you can usually identify the issue quickly.
That old saying “knowledge is power” couldn’t be more accurate here. Understanding how your garage door opener works allows you to take control and troubleshoot effectively. So next time your garage door gives you trouble, use these steps as your guide, and you might just solve the issue faster than you thought. Now, go take care of your garage door like the pro you are!