Think of your Craftsman garage door opener as a high-tech partner in crime. It’s reliable most of the time. But like any partner, it sometimes needs a little attention. Whether you’ve got a remote model or a wall-mounted unit, understanding how to conduct a simple test can save you time and headaches. Ready to dig in? Let’s break it down step by step.
Understanding Your Craftsman Garage Door Opener
To effectively test your Craftsman garage door opener, you first need to understand its components and functionalities. Most Craftsman openers work using a combination of a remote control and a motorized system. The remote allows you to activate the garage door from a distance, while the motor opens or closes the door in response.
Here’s a quick overview of what you should know:
- Types of Remotes: Craftsman offers various remote models, from simple models that only open/close doors to those with additional features like lights and security codes.
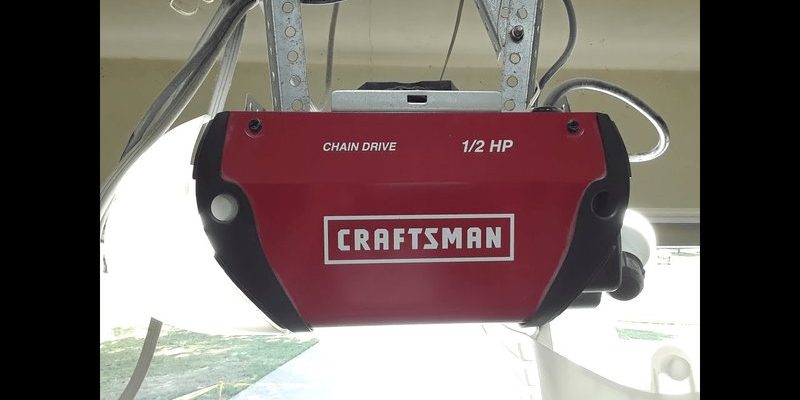
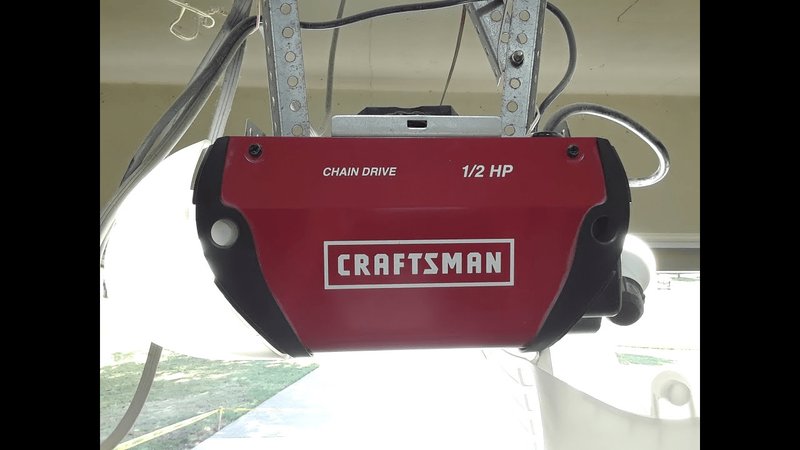
- Motor Types: The motor is the heart of the opener. Whether it’s belt-drive, chain-drive, or screw-drive, knowing your motor type can aid in troubleshooting issues.
- Safety Sensors: Modern openers come equipped with safety sensors that prevent the door from closing if something—or someone—is in the way. Make sure these are clean and functioning properly.
Knowing these basics is like having a roadmap. It guides your troubleshooting journey, making it easier to pinpoint the problem.
Gather Your Tools and Prepare for Testing
Before you dive headfirst into testing your Craftsman garage door opener, gather a few essential tools. You won’t need much, but having everything on hand makes the process smoother.
Here’s what you will need:
- Replacement Batteries: If your remote isn’t working, dead batteries are often the culprit. Keep a couple of extra batteries handy.
- Step Ladder: If your opener has a wall-mounted control panel or if you need to access the motor unit, a step ladder will help you reach those heights.
- Owner’s Manual: Always a good idea to have this handy for references like troubleshooting codes or specific instructions for your model.
With your tools in place, take a moment to ensure that you’re in a quiet environment free from distractions. This focused mindset can make it much easier to catch any subtle signs during the testing process.
Testing the Remote Control
One of the first steps in diagnosing your Craftsman garage door opener is testing the remote control. This is often where issues originate since it’s the primary communication tool between you and the unit.
Here’s how to test it:
1. Check the Batteries: Start by opening the remote and removing the batteries. Use a multimeter to test the voltage. If the voltage is low, replace the batteries.
2. Attempt to Pair the Remote: If your remote’s batteries are fresh, you might need to re-sync it to the opener. Press the “learn” button on the motor unit and then press any button on the remote. If it successfully pairs, you will hear a click.
3. Observe the Indicators: Some remotes have LED lights. If the light doesn’t come on when you press a button, there’s an issue, either with the remote itself or the battery compartment.
Testing the remote is like checking your phone for a connection. If it’s not working, it can’t communicate with the garage door opener.
Inspecting the Wall-Mounted Control Panel
If your remote works but the door still won’t budge, it’s time to turn to the wall-mounted control panel. You’ll find this near your garage entry, and just like your remote, it can have its own set of issues.
To test this component:
1. Examine the Wiring: First, look for any visible damage to the wires connected to the control panel. Sometimes a wire may become loose or damaged, preventing good communication.
2. Check the Panel Functionality: Press the buttons on the panel. If nothing happens, try to use the remote—if that works, the panel might be faulty.
3. Reset the Panel: Unplug the unit for about 5 minutes, then plug it back in. This reset can sometimes give it a fresh start.
Think of the wall-mounted control panel as your backup communication line; if it’s not working, it could be an easy fix.
Assessing Safety Sensors
Safety sensors are a key feature in Craftsman garage door openers, designed to keep you safe. They’ll stop the door from closing if there’s something in the way, which is essential for preventing accidents.
Here’s how to check them:
1. Clean the Sensors: Dust or dirt can interfere with the sensors’ ability to “see.” Wipe the lens clean with a soft cloth.
2. Alignment Check: Make sure the sensors are aligned with each other. You’ll know they’re misaligned if the green light on one fails to illuminate.
3. Test the Sensors: With the door closed, block a sensor to see if the door stops moving. If it does, the sensors work. If not, they might need replacement.
Understanding the safety sensors is crucial. They’re the unsung heroes of your opener, working silently to keep you safe.
Directly Testing the Garage Door Opener Motor
If you’ve checked the remote, the wall panel, and the safety sensors, and still have no luck, it might be time to look at the motor itself. Testing the motor can feel like opening the hood of a car when something isn’t running right; it’s where the heart of the operation lies.
Here’s how you can test the motor:
1. Check the Power Supply: Ensure the opener is plugged in and that the outlet is functioning. You can do this by plugging in another device.
2. Listen for Sounds: When you press the remote or wall button, listen for any sound. If you hear humming but the door isn’t moving, it might be jammed or could require professional help.
3. Inspect for Obstructions: Sometimes, items can unintentionally block the door track or the motor arm, preventing the door from opening smoothly.
Diagnosing the motor can take a bit more patience, but it’s crucial. If everything seems in order but the door still won’t budge, consider calling a professional.
Now that you know how to test your Craftsman garage door opener, you’re equipped to tackle most common issues! From checking the remote and wall control to assessing safety sensors and the motor, you’ve gained a comprehensive understanding of your opener’s operation.
When something goes wrong, don’t panic—most problems are straightforward to troubleshoot. Being proactive about maintenance can save you time and money in the long run. If, after all your tests, you still face issues, don’t hesitate to reach out for professional help.
Keeping your garage door opener in tip-top shape means it’s ready to serve you well, bringing convenience to your daily life. Enjoy hassle-free access to your garage, and remember, a little care goes a long way in ensuring your opener runs smoothly for years to come!