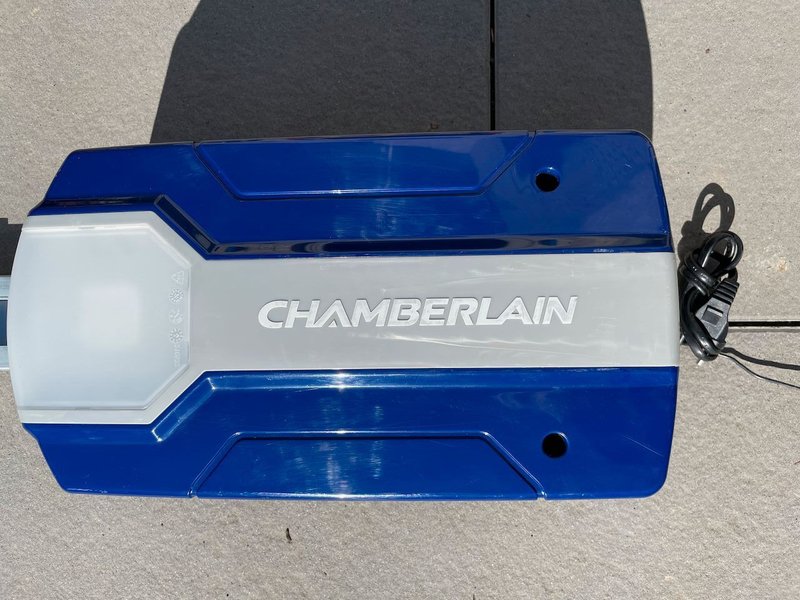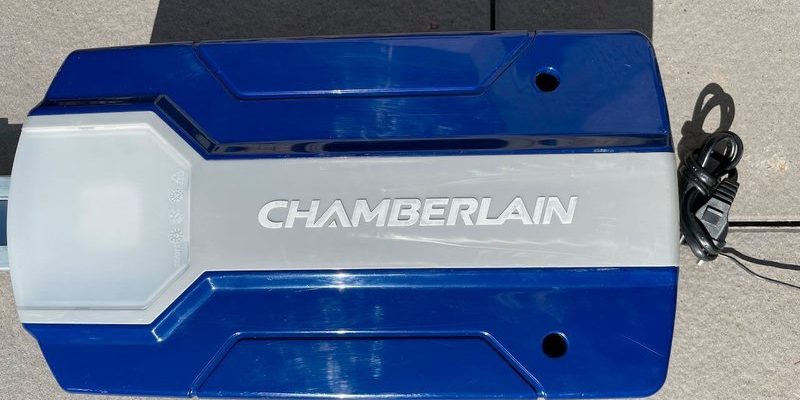
Think of the motor unit as the engine of your garage door system. Just like you wouldn’t ignore strange sounds coming from your car engine, it’s important to be proactive with your garage door opener, too. Regular testing can help you pinpoint issues before they turn into bigger problems—and save you from the hassle of an unexpected breakdown. In this guide, I’ll walk you through how to test your Chamberlain motor unit effectively, ensuring you get back to hassle-free garage access in no time.
Understanding Your Chamberlain Garage Door Opener
Before diving into testing, it’s wise to familiarize yourself with the basics of your Chamberlain garage door opener. Most Chamberlain models feature a powerful motor that lifts and lowers your garage door automatically, often controlled via a remote or wall-mounted switch. These units can be equipped with additional features like smart technology for app access, or a battery backup in case of power outages.
When you operate the opener, a signal is sent from your remote to the motor unit, activating the mechanism that lifts the door. However, if something goes wrong—say the door isn’t responding—the motor unit is likely the first place to check. Testing it properly can help you determine if the issue lies with the motor, the remote, or even the door itself.
Common Issues with Chamberlain Motors
Before we jump into testing, it’s helpful to know some common problems you might face with your Chamberlain motor unit:
- Non-responsive door: This is when your garage door doesn’t move at all. It could mean either a power issue or a problem with the remote.
- Door moving slowly: If your door is sluggish, the motor might be struggling, leading to wear and tear.
- Noise during operation: If you hear grinding, popping, or other strange noises, it’s often a sign of an issue with the motor or the garage door’s hardware.
Identifying these signs can save you a lot of time when you test your unit.
Preparing to Test Your Chamberlain Motor Unit
Before you start testing, gather a few tools to make the process easier. You won’t need much—just some basic tools and a bit of patience. Here’s what you should have on hand:
- A step ladder (if your motor is mounted high)
- A screwdriver (to check any cover plates)
- A multimeter (optional but helpful for electrical checks)
- Your Chamberlain remote control
Once you have your tools ready, it’s time to prepare your garage door opener for testing. Start by ensuring that the power is connected, and check whether the unit is plugged in correctly. If you notice any frayed wires or other issues, now is the time to address those.
Step-by-Step Testing of Your Chamberlain Motor Unit
Now that you’re prepped, let’s get into the actual testing process. Here’s a step-by-step guide to help you through it:
1. Initial Power Check
Make sure the motor unit is properly powered. You can do this by checking if the lights on the unit are functioning. If they’re off, the first thing to do is check the circuit breaker or the outlet.
2. Remote Control Functionality
Try using your remote control to open and close the garage door. If it works, great! If not, it might be a problem with the remote. Here’s how to test it:
– Replace the batteries in your remote.
– Stand closer to the door and try again to ensure there’s no interference.
3. Manual Door Operation
Next, check the door’s manual functionality. Pull the emergency release cord (usually a red rope hanging from the motor) to disconnect the motor. The door should move up and down smoothly. If it doesn’t, there might be an issue with the door’s tracks, springs, or rollers—not with the motor.
4. Listening for Motor Responses
Reconnect the motor and listen for any sounds when you try to activate it. A humming noise can indicate power is reaching the motor but not activating the door. In contrast, no sound at all might mean the motor is dead.
Identifying Motor Issues
Testing your Chamberlain motor unit can reveal several issues depending on the responses you get. If your motor runs but the door won’t budge, it may be a symptom of a stripped gear or broken belt. On the other hand, if the motor is entirely silent, it might need to be replaced.
It’s also worth noting that even small sounds can signify bigger problems. A buzzing noise often indicates something is stuck, while grinding may suggest mechanical issues within the motor itself. If your testing points towards motor failure, it may be best to consult the user manual or reach out to a professional for advice.
Resetting Your Chamberlain Motor
Sometimes, all your Chamberlain garage door opener needs is a good reset. Just as you might reboot your computer to clear up issues, resetting your motor can fix various glitches. Here’s how to do it:
1. Locate the “Learn” Button: This button is typically on the back of the motor unit. Press it briefly until the LED light beside it turns off.
2. Reset the Remote: After resetting the motor, you’ll need to reprogram your remote. Press and hold the button on the remote while aiming it at the motor unit.
3. Wait for Confirmation: The motor’s light should blink to confirm that it’s receiving the remote’s signal.
By resetting the motor and remote, you could resolve communication issues that may have caused your testing troubles.
When to Call for Professional Help
After testing and troubleshooting, if your Chamberlain motor unit is still not working, it’s probably time to call in a professional. While you might be able to handle minor repairs, there are situations when bringing in an expert is the best course of action.
It’s particularly wise to reach out if you notice any signs of electrical issues or if the motor itself needs replacing. Safety always comes first, and professionals can ensure that the repairs comply with building codes and standards, safeguarding your home.
Testing your Chamberlain motor unit doesn’t have to be overwhelming. By following these straightforward steps, you can quickly identify most issues and save yourself from a trip to the repair shop. Remember, regular maintenance and testing can help keep your garage door functioning flawlessly for years to come. Plus, a little knowledge can go a long way when it comes to troubleshooting.
So next time your garage door refuses to cooperate, don’t panic—just grab your tools and remember these steps. Your reliable garage door is just a test away from being back in business!
