Your Chamberlain keypad is designed to offer convenience and security, letting you open your garage door without fumbling for a remote or keys. But like any device, it can hit a snag. Faulty codes, weak batteries, or simple misconfigurations can all lead to issues. Don’t worry, though! In this guide, we’ll walk through how to test your keypad to ensure it’s working correctly. So grab a cup of coffee and let’s dive in!
Understanding Your Chamberlain Keypad
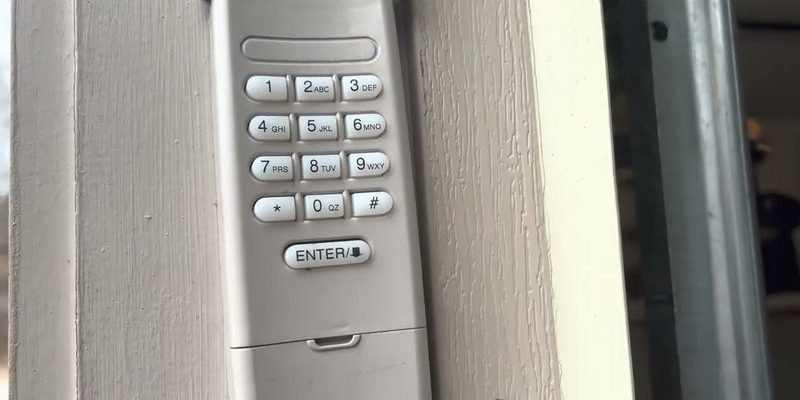
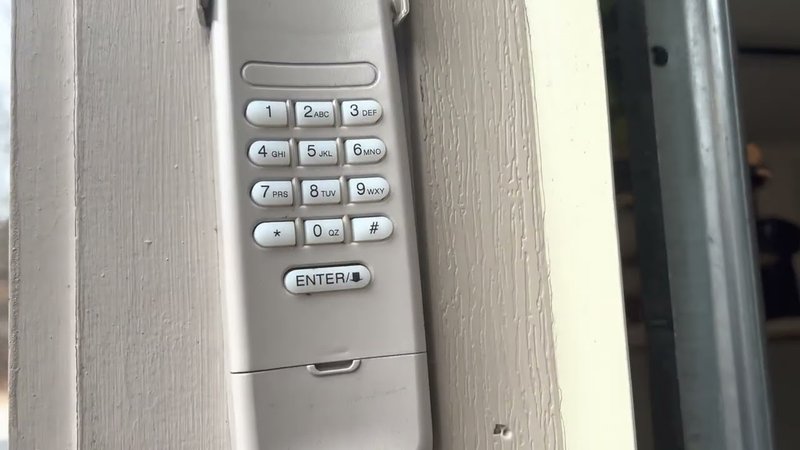
Before we jump into the testing process, it’s helpful to understand what you’re working with. Chamberlain keypads are wireless devices that connect to your garage door opener, enabling you to open and close the door with a unique code. Think of it as your personal garage key, minus the hassle of carrying a physical key. When you press the buttons, the keypad sends a signal to the opener, telling it to respond.
Why Does This Matter? Because knowing how your keypad operates can help identify issues. If it seems unresponsive, you’ll want to check if the problem lies with the keypad itself or the garage door opener.
Additionally, Chamberlain offers a range of keypads with various features. Some have backlit buttons for nighttime use, while others come with a temporary code feature for guests. Being aware of your specific model’s functionalities can make troubleshooting even easier.
Step 1: Check the Battery
When your keypad isn’t responding, the first suspect is often the battery. Just like any battery-operated device, if the juice runs out, it won’t work. Here’s how you can check this:
1. Open the Battery Compartment: Depending on your model, you might need a small screwdriver or use your fingers. Gently pry it open.
2. Inspect the Battery: Look for corrosion or damage. If it’s a standard 9-volt battery, you can use a multimeter to check the voltage. If it reads below 7 volts, it’s time to replace it.
3. Replace if Necessary: Pop in a new battery, ensuring it’s placed correctly according to the polarity (+/-).
If replacing the battery doesn’t work, don’t panic just yet—there are more steps to troubleshoot.
Step 2: Re-enter the Code
Sometimes, it’s just a glitch in the matrix. If your keypad is powered up but still isn’t operating, re-entering the code can help. Here’s how to go about it:
– Clear the Old Code: Most keypads have a “program” or “clear” button. Hit that to reset any previous codes.
– Enter Your Code: Enter your personal code again. Make sure you’re not making any typos!
– Test It: After entering the code, press the *Enter* button. Listen for the garage door opener to respond.
If your door still won’t budge, let’s dig deeper into potential pairing issues.
Step 3: Syncing the Keypad with the Garage Door Opener
It’s possible that your keypad needs to be paired or synced with your Chamberlain garage door opener. Here’s a step-by-step process:
1. Locate the Learn Button: On the garage door opener, you’ll find a button usually marked “Learn” or “Program.” It’s often near the antenna wire or on the back of the unit.
2. Press the Learn Button: This puts the opener in pairing mode. You usually have about 30 seconds to complete the next step.
3. Enter Your Keypad Code: Within that 30 seconds, go to your keypad and enter your desired code followed by pressing *Enter*. If successful, the opener may click or the lights may flash.
This step ensures that your keypad and opener are communicating effectively. If things still aren’t working, don’t lose hope just yet—let’s explore resetting.
Step 4: Resetting the Keypad
If syncing didn’t solve the issue, a full reset may help. This often clears up any software glitches. Just follow these steps:
1. Locate the Reset Function: Similar to clearing the code, look for the reset button in your keypad’s manual.
2. Press the Reset: Hold it down for a few moments, usually until you see a blinking light signaling it’s reset.
3. Re-program the Keypad: After resetting, repeat the code entry and pairing process explained in previous steps.
Remember, this might erase any previous codes, so make sure to have them noted if needed.
Troubleshooting Common Issues
Even with all these steps, you might encounter some common problems. Here’s a quick rundown:
– No Response When Pressing Keys: This usually points to a battery issue. Check if it’s loose or needs replacing.
– Code Is Correct but Still Doesn’t Work: This could indicate a sync problem or that the battery in the opener itself may be drained.
– Intermittent Functionality: If it works sometimes but not others, look into possible signal interference or consider getting closer to the opener.
If these problems persist even after troubleshooting, it may be time to consult the manufacturer’s customer support or look for local experts who can help.
When to Seek Professional Help
Sometimes, you just can’t battle it out alone. If you’ve tried the steps above and your keypad is still unresponsive, it might signal a deeper issue. Here are signs it’s time to call for backup:
– Physical Damage: If the keypad looks worn or cracked, it might need replacement.
– Unresponsive Garage Door Opener: If it’s not responding to any buttons—remote or keypad—it could be the opener itself causing the issue.
– Persistent Errors: If you did everything right but nothing works, that’s a clue it’s a technical problem needing expertise.
Don’t hesitate to reach out to professionals who can diagnose and fix the problem accurately.
Testing your Chamberlain keypad doesn’t have to be rocket science. By checking the battery, re-entering codes, syncing, and resetting your keypad, you can troubleshoot most common issues. It’s a straightforward process that can save both time and headache.
So next time you approach that keypad and it seems unresponsive, you know what to do. Simply follow the steps outlined above, and you should be well on your way to restoring the convenience of your garage door. Remember, a little maintenance goes a long way in keeping your garage secure and functional. Happy testing!