In this guide, we’ll walk through how to test your Chamberlain remote, troubleshoot any issues, and get you back inside without breaking a sweat. Whether you’ve just changed the batteries or are dealing with a stubborn garage door that refuses to budge, stick with me. By the end, you’ll feel like a garage door guru! Let’s dive in and make sure your remote is in tip-top shape.
Understanding Your Chamberlain Remote
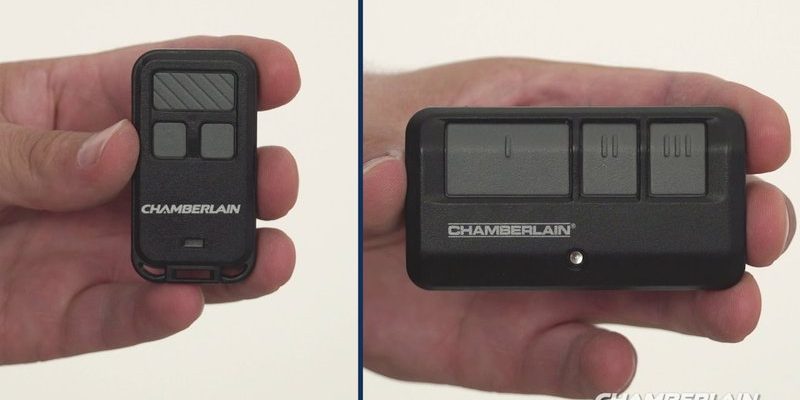
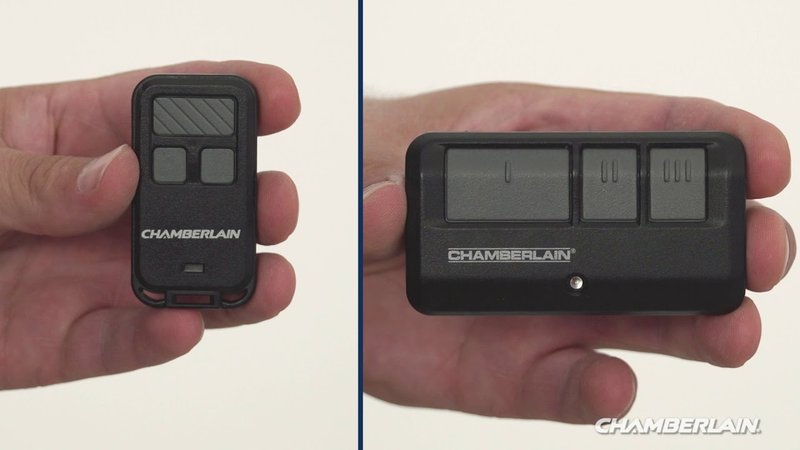
Before we jump into testing, let’s familiarize ourselves with the Chamberlain remote. These handy devices come in a few different models, including single-button and multi-button options. Each model is designed to work seamlessly with Chamberlain garage door openers, which makes them incredibly useful.
You might wonder how they work. When you press a button on your remote, it sends a coded signal to the opening system. If the signal matches, your garage door opens or closes. Pretty straightforward, right? But sometimes, things can get a little tricky, and knowing how to assess your remote can help solve any issues that arise.
One of the primary things you’ll notice is the presence of a battery compartment. Many issues with the remote stem from dead batteries. Testing your remote usually starts here to ensure it has the power it needs to signal your garage door properly.
Step 1: Check the Batteries
First things first—let’s tackle the batteries. This is often the fastest way to identify if your remote is having issues. For most Chamberlain remotes, you’ll find a small compartment on the back. Here’s how to check your batteries:
- Open the compartment carefully using your fingers or a small tool.
- Take out the batteries and inspect them for any sign of leakage or corrosion.
- Check the battery polarity before inserting new ones to avoid any mix-ups.
- Replace them with fresh batteries, typically 3V lithium or AA, depending on your remote model.
Once you’ve replaced the batteries, give the remote a test—press a button and watch for any response from the garage door. If it moves, congratulations! If nothing happens, don’t panic; we’ve got more steps to cover.
Step 2: Test the Remote Range
After checking the batteries, it’s time to consider the remote’s range. Chamberlain remotes are designed to operate from a distance, but sometimes obstructions can interfere.
Start by standing close to your garage door and pressing the button. If it works, great! Now, walk further away, keeping your line of sight to the lovely door. If the garage door doesn’t respond when you’re a good distance away, you may have a range issue.
Here are some tips to enhance your remote’s signal:
- Avoid standing behind obstructions like cars or walls as much as possible.
- Ensure there’s no interference from other electronic devices nearby.
- Try cleaning the area around the garage opener’s receiving antenna if it’s visible.
Testing the range not only helps in determining the remote’s condition but also gives you an idea of where to stand if ever you encounter issues.
Step 3: Syncing the Remote with the Garage Door Opener
Sometimes, the problem isn’t with the remote but rather its connection to the garage door opener. If you’ve changed batteries or moved your remote, it may need to be re-synced.
Here’s how to do it:
1. Locate the learn button on your garage door opener; this is usually on the back or side and can be a color-coded button.
2. Press and hold the learn button until the indicator light turns on, then release it.
3. Press the button on your remote that you wish to sync within 30 seconds.
4. If done correctly, you should see the garage door twitch, confirming it has learned the remote.
This process can solve many issues related to the remote not working. It’s like teaching your remote a new trick!
Step 4: Inspect for Physical Damage
Physical damage can easily go unnoticed. Examine your remote closely for signs of wear and tear. Scratches, cracks, or a loose battery cover can all impede function.
If you see anything concerning, it might be worth replacing the remote or at least considering a quick fix. A cheap and simple option could be to test whether the buttons still feel responsive when pressed. Sometimes, they get stuck or don’t click correctly, leading to a non-working remote.
When inspecting, look at:
- The surface of the remote for cracks or breakage.
- The button’s responsiveness; do they feel stiff or unresponsive?
- Any corrosion where the battery connects, which suggests a potential issue.
If you find extensive damage, it may be time to think about a replacement.
Step 5: Troubleshooting Common Issues
So, what if you’ve worked through all of these steps and your remote still isn’t playing nice? It’s time to troubleshoot some common issues that could be causing the problem.
One common scenario is interference from other devices. If you live in a densely populated area, other radio signals may block your remote’s signal. If you suspect this, try using your remote during different times of the day to check if there’s any improvement.
Another common problem is a faulty garage door opener. If you test the remote with another Chamberlain opener and it works just fine, the issue might be with the opener itself. Consult the manual or consider getting professional help.
Finally, sometimes, resetting the entire garage door opener can resolve tricky issues. Refer to your user manual for instructions specific to your model.
Testing your Chamberlain remote doesn’t have to be a daunting task. By following these straightforward steps—from checking batteries to troubleshooting common issues—you can easily assess what’s going wrong. The next time your remote gets moody, you’ll know exactly how to bring it back to life.
As a homeowner, being proactive about checking your garage door remote can save you time and hassle. So go ahead, test that remote and enjoy the effortless convenience of opening your garage door with a press of a button. Be the neighborhood hero who never gets stuck outside again!