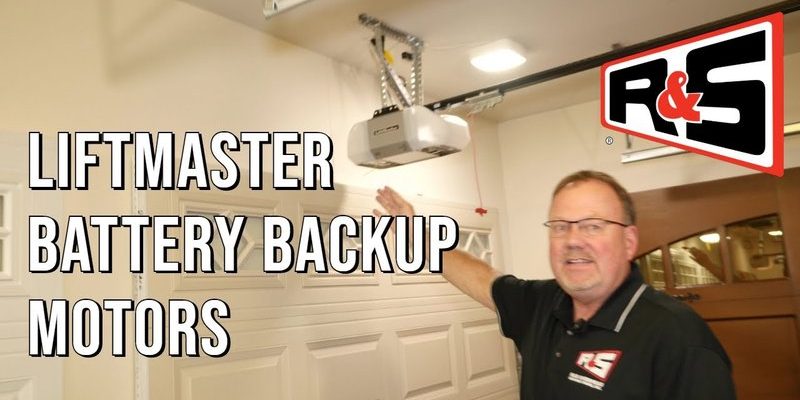
In today’s world, where convenience is key, having a functioning battery backup makes a real difference. It’s more than just a nice-to-have; it’s essential for smooth access to your garage, especially when the lights go out. Let’s break it down together. Understanding how to test your Liftmaster battery backup not only helps you ensure reliable operation but also prevents frustrating moments when you’re left stuck in the shadows.
Why Test Your Liftmaster Battery Backup?
First off, let’s talk about *why it matters* to check your battery backup. Think of your battery as a lifeline for your garage door opener. When the power goes out, you want to be sure your door opens reliably—like when you’re headed out for an urgent errand or returning home late at night. Testing ensures that your backup can deliver when it counts.
Regular testing extends the lifespan of your battery. Just like you wouldn’t wait until your car runs out of gas to check the fuel level, you shouldn’t wait until a storm hits to find out your garage door opener isn’t ready. By checking it now, you’re safeguarding your day-to-day routine and ensuring you can enter and exit your garage without worry.
It’s also important to remember that battery backups can lose their charge over time. This could happen due to frequent power outages or simply aging components. Testing helps you stay ahead of these issues, putting you in control of your garage security.
Quick Steps to Test Your Liftmaster Battery Backup
Testing your battery backup is pretty straightforward. Here’s a quick guide to make sure you’re on the right track:
1. Ensure Safety: Make sure your garage door is closed before starting the test. Safety first!
2. Disconnect Power: Unplug the garage door opener from the wall. This simulates a power outage.
3. Use the Remote: Press the garage door remote to see if the door operates smoothly.
4. Monitor Performance: If the door opens and closes without issue, your battery is in good shape.
Let’s break this down step-by-step to ensure the process is crystal clear.
Step 1: Make Sure You’re Safe
Safety during testing shouldn’t be overlooked. Before you even think about disconnecting power, close the garage door. This simple step can prevent unwanted accidents or mishaps during the test. After all, you don’t want the door to slam down unpredictably!
Additionally, ensure your remote has fresh batteries. You wouldn’t drive a car with a flat tire, right? The same logic applies here. If your remote batteries are low, you might think there’s an issue with the battery backup when it could just be the remote itself.
Step 2: Disconnect the Power Source
Now, let’s move on to unplugging your Liftmaster garage door opener from the outlet. Locate the power cord and disconnect it. This action will mimic a power outage, which is what the battery backup is designed to handle. When you do this, you should see the LED lights on the opener change, indicating it’s now operating on battery power.
Most models provide a visual cue when they’re in battery mode, so be on the lookout for those indicators. Here, you’re setting the stage to see just how reliable that backup really is.
Step 3: Test with Your Remote
With the power unplugged, grab your garage door remote. You might be wondering, “Does it matter which remote I use?” If you’re using a Liftmaster brand remote, you’re good to go. Remember, this test is about seeing if the opener can still function without main power.
Press the button and observe the door. Does it respond quickly and smoothly? If it opens and closes without hesitation, your battery backup is still operational. If not, you might need to dive deeper into troubleshooting.
Step 4: Observe the Battery’s Performance
Here’s the thing: Your garage door should move without any hiccups during the test. If it works perfectly—great! If the door struggles to respond or makes weird noises, it’s time to check the battery itself. A failing battery might still power the door but with reduced performance.
Keep an eye on the response time, too. If there’s a noticeable delay, that’s a clear sign it might be time for a battery replacement. While a quick test can save you hassle now, being proactive can save you in the long run.
What to Do If Your Battery is Weak
If you find that your battery backup isn’t up to the task, don’t fret! Replacing the battery is usually a straightforward process. For Liftmaster models, refer to the owner’s manual for specifics on battery type and installation instructions. Generally, here are a few quick steps you can follow:
1. Purchase a compatible battery: Ensure you buy the right battery for your model.
2. Open the battery compartment: This usually involves releasing a latch or removing screws.
3. Disconnect the old battery: Be cautious while removing it to avoid damaging any wires.
4. Connect the new battery: Follow the instructions to ensure you connect it correctly.
5. Test the system again: Once the new battery is installed, repeat the tests to ensure everything is operational.
Taking these steps will help keep your Liftmaster garage door opener running seamlessly without interruptions.
Regular Maintenance is Key
Finally, it’s essential to integrate battery checks into your regular maintenance routine. Just like changing your oil or checking smoke alarms, making sure your battery backup is operational is something you want to do consistently, not just when you think about it.
Set a reminder every six months to check. Perhaps align it with changing your home’s air filter or when you adjust the clocks. Falling into a routine makes it easier, and you’ll be less likely to forget.
In summary, testing your Liftmaster battery backup is not just about checking a box—it’s a vital task that ensures safety and convenience. By following simple steps and committing to regular maintenance, you can have confidence your garage door will work no matter what’s happening outside.