Testing your LiftMaster safety sensor is a straightforward task. It’s similar to checking the battery on your remote control before realizing it needs a swap. You’ll find that with just a few simple steps, you can determine whether your safety sensors are functioning correctly and keep your garage door operating smoothly. So, grab a cup of coffee, and let’s dive into it!
What Are LiftMaster Safety Sensors?
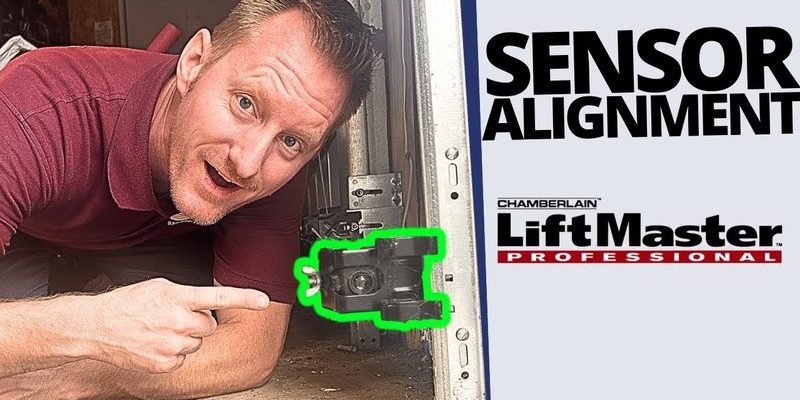
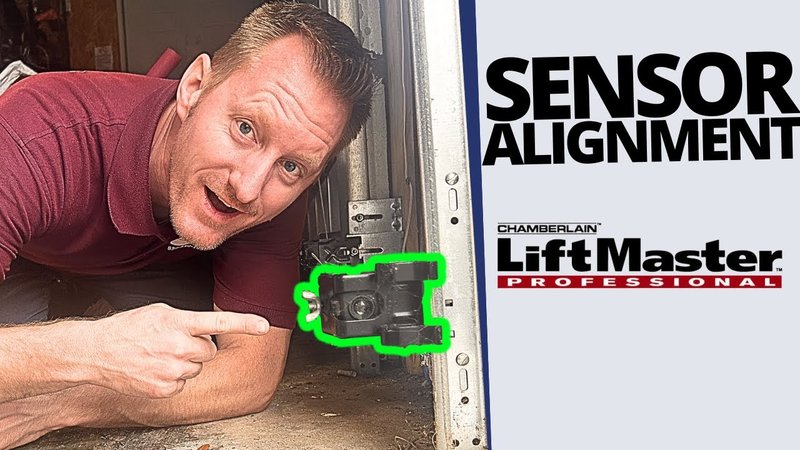
LiftMaster safety sensors are small devices located near the bottom of your garage door tracks. They have one job: to ensure the door doesn’t close on anything or anyone. Think of them as a pair of eyes watching for hidden dangers. When you press the remote, the sensors use infrared light to “see” if there’s something in the way. If they detect an obstruction, the door will reverse, preventing potential accidents.
These sensors are crucial for safety, especially if you have kids or pets. If the sensors aren’t working properly, your garage door could close even when there’s something there. That’s a big risk! So, keeping them in good working order is essential for your peace of mind.
Signs Your Safety Sensors Are Malfunctioning
Before testing the safety sensors, it’s good to know the signs that they might be acting up. Here’s what to look for:
- Your garage door doesn’t close all the way and reverses back up.
- Flashing lights on the garage door opener, indicating a problem.
- Physical damage or dirt on the sensors themselves.
If you notice any of these issues, it’s time to test the sensors. Addressing problems early can save you from more extensive repairs down the line. It’s like keeping an eye on your car’s oil level; catching small issues can prevent bigger problems.
Tools You’ll Need for Testing
You won’t need a toolbox full of gadgets to test your LiftMaster safety sensor. In fact, you only need a few simple tools:
- A soft cloth for cleaning the sensors.
- A ladder to reach sensors if they’re positioned high up.
- A multimeter (optional) for checking electrical functioning.
If you don’t have a multimeter, don’t worry! You can still perform a basic test without it. But having one can give you a more in-depth look if you’re comfortable with it.
Step-by-Step Guide to Testing Your Safety Sensors
Testing your LiftMaster safety sensor is easier than you might think. Here’s how to do it in a few simple steps.
Step 1: Clean the Sensors
Start by checking for dirt or debris on the sensors. Sometimes, this is all it takes. Use your soft cloth to wipe the sensors and make sure there’s nothing blocking the infrared signal. This step is like cleaning your glasses for the clearest view; you’d be surprised how much a little dirt can affect performance!
Step 2: Perform a Basic Function Test
Next, with the door closed, press the remote. If the door begins to close and reverses after hitting an imaginary wall, the sensors are functioning! If it doesn’t, you may need to troubleshoot further. Like hitting the “snooze” button on your alarm, you should be able to catch the action before it completely stops.
Step 3: Check Realignment
Sometimes the sensors can get misaligned. To fix this, make sure both sensors are pointing directly at each other. If they’re not, gently adjust them until they are aligned. Check the manufacturer’s manual for specific positioning details. Getting this right ensures a clear “line of sight,” allowing the sensors to communicate effectively.
Step 4: Testing with Obstacles
For the final test, place an object (like a cardboard box) in the door’s path, and press the remote. The door should reverse immediately when hitting the object. If it doesn’t, there’s likely a deeper issue at play. You may need to consult your manual or a professional to check the sensor’s wiring.
Troubleshooting Common Issues
Even the best systems can experience hiccups. If your sensors aren’t responding as expected, consider these troubleshooting tips:
- Check the wiring for frays or disconnections.
- Replace the sensor batteries if they’re battery-operated options.
- Inspect for any obstructions that you may have missed.
You might be wondering why you need to replace batteries. Well, even though LiftMaster sensors are often wired, some setups may use batteries, especially in older models. A simple battery check could save your day.
When to Call a Professional
Despite your best efforts, some issues might require a professional. If after testing everything the sensors still aren’t working, or if there’s visible damage to the wires or sensors, it might be time to call a garage door technician. They can conduct a thorough inspection, ensuring your system runs safely and efficiently.
In particular, if you hear strange noises or cannot get the sensor alignment right, a technician has the expertise to pinpoint the problem and fix it properly.
Summary and Final Thoughts
Testing your LiftMaster safety sensor is an essential task for anyone using an automatic garage door. Not only does it enhance safety, but it can save you time and money in the long run by catching problems early. By cleaning the sensors, performing function tests, and realigning, you can keep your garage door operating smoothly.
Remember, safety should always come first. You wouldn’t skip over a smoke detector check—consider the safety sensors just as important. Maintaining your sensors helps protect your loved ones and belongings. So, the next time you notice anything unusual with your garage door, don’t hesitate to step in and test those sensors. You might just save yourself a headache later!