Testing your LiftMaster wall button is straightforward, and you don’t need a degree in engineering. It’s all about understanding how everything connects and functions together. Whether it’s wired or wireless, knowing how to check your wall button can save you time and hassle in the long run. Let’s dive into this process—and a few other related tips—so you can have your garage door behaving as it should in no time.
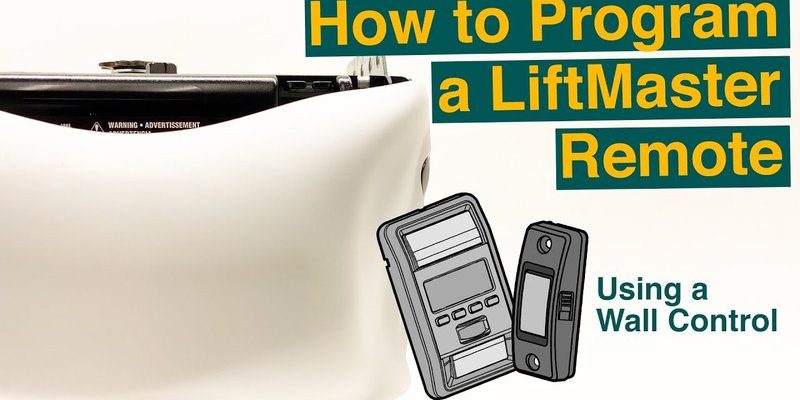
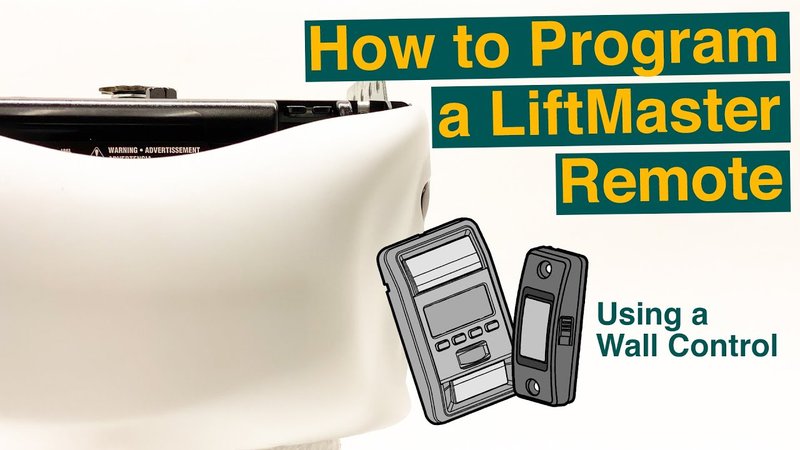
Understanding Your LiftMaster Wall Button
Your LiftMaster wall button is the device that sends the signal to your garage door opener to either open or close the door. Imagine it as the “go” button for your door! But before diving into how to test it, let’s clarify a bit about how it operates. Wall buttons usually connect directly to the garage door opener’s system via wires or wirelessly, depending on your model.
If it’s wired, it has a simple circuit that completes when you press the button. If it’s wireless, it communicates via radio signals. Understanding this helps when troubleshooting because you can pinpoint whether the issue lies in the button itself, the wiring, or even the garage door opener. We always want to rule out the simplest problems first!
Gather Your Tools
Before you get started, it’s helpful to have a few tools and items handy. Here’s what you’ll need:
- Multimeter – For checking electrical connections if needed.
- Screwdriver – To access the button and check wiring.
- Replacement Battery – If you’re using a wireless button, this could be the culprit.
- Owner’s Manual – Great for troubleshooting specific to your model.
Getting organized means you’ll spend less time searching for tools and more time solving the problem. And remember, patience is key. You may not have all the answers immediately, but that’s okay!
Testing a Wired LiftMaster Wall Button
To test a wired LiftMaster wall button, the first step is to turn off power to the garage door opener. Safety first, right? After that, you can remove the wall button from the wall. Typically, this involves unscrewing it from its mounting plate.
Once it’s removed, check the wires. If they look frayed or damaged, that’s a potential problem. If everything appears intact, grab your multimeter. Set it to measure continuity. When you press the button, the multimeter should show a closed circuit. If it doesn’t, it’s time to replace your wall button.
Let’s face it: wiring can be intimidating, but it’s pretty straightforward once you get the hang of it. Just take your time!
Testing a Wireless LiftMaster Wall Button
Wireless wall buttons are a bit different because they rely heavily on batteries and signal strength. Start by replacing the battery in your button, especially if you haven’t done that in a while. It’s a common issue—dead batteries.
Once you’ve installed the new battery, try pressing the button again. If the garage door doesn’t respond, the next step is to check for signal interference. Sometimes, devices like Wi-Fi routers or even your next-door neighbor’s remote can cause conflicts.
If nothing seems to be working, you may need to re-sync the button with your garage door opener. This usually involves pressing the program button on the opener, then the wall button. Check your owner’s manual for the exact steps, as they can vary between models.
Identifying Common Issues
Sometimes issues with the wall button aren’t directly related to the button itself. Here are a few common culprits:
1. Garage Door Opener Issues: If your garage door opener isn’t receiving a signal, it may need a reset. Unplug it for a minute and plug it back in.
2. Wiring Problems: If your wall button is wired, the problem could be in the wiring. Check for exposed wires or loose connections.
3. Obstacles: Make sure there are no objects or obstructions that could be interfering with the signal.
4. Remote Code Issues: If you’re using a universal remote, sometimes it can get unpaired due to loss of power or interference. Resetting it can help.
Identifying these common issues can save you a lot of time and frustration.
When to Call for Help
Sometimes, no matter how hard you try, you just can’t fix the issue. If after following all these steps your LiftMaster wall button still isn’t functioning, it might be time to call in a professional. Don’t hesitate to reach out! Garage door issues can sometimes indicate a larger problem with the system, and it’s always better to be safe than sorry.
You might be wondering how much this will cost. Typical service calls can vary but expect to pay for an assessment, and if repairs are needed, that can add to the bill. Just keep in mind, professional help can often save you from more significant issues down the line.
Preventative Maintenance Tips
Now that you’ve figured out how to troubleshoot your wall button, let’s talk about maintenance tips. Here are some straightforward suggestions to keep everything running smoothly:
- Test Your Wall Button Regularly: Once a month, give that button a press to ensure it’s in good shape.
- Check the Batteries: For wireless models, change the battery every six months.
- Keep It Clean: Dust and dirt can affect functionality—simply wipe it down with a damp cloth.
- Inspect the Wiring: Look for signs of wear and tear and address any issues immediately.
Preventative care can help prolong the life of your LiftMaster wall button, keeping your garage door working like a champ for years to come.
With the information above, you now have a game plan for testing your LiftMaster wall button. You don’t have to feel overwhelmed when things don’t go as planned. Remember, troubleshooting is key, and understanding how everything works makes the process less daunting. Here’s to opening and closing that garage door with ease, every time!