Using the Sears keypad isn’t just about convenience; it’s also about security. Imagine being able to grant access to a friend or family member without having to run outside with a key. That’s the beauty of a keypad: control at your fingertips. If you’re new to this kind of tech, don’t worry! I’ll guide you step-by-step through how to set it up and use it effectively. Get a cup of coffee, and let’s dive in!
Understanding Your Sears Keypad
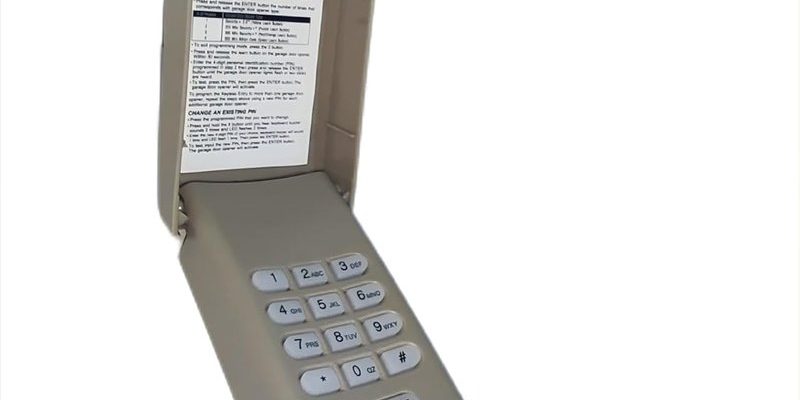
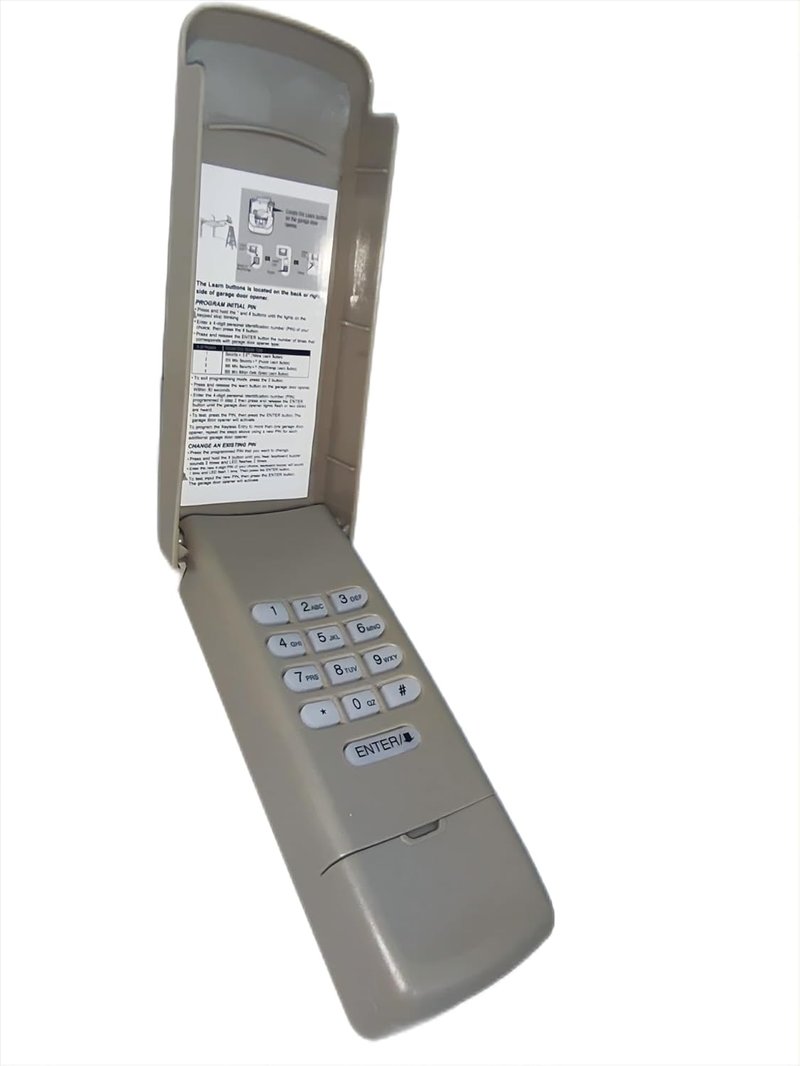
Before we jump into how to use your Sears keypad, let’s first understand what it is and how it works. A Sears keypad is a wireless device installed outside your garage door, allowing you to open and close it with a personal code. Much like entering a combination to a gym locker, it gives you quick access without needing physical keys or remotes.
Most Sears keypads are designed to work specifically with Sears garage door openers, ensuring a seamless connection. They operate on batteries, so you don’t have to worry about wiring—great for those of us who aren’t DIY experts. The keypad usually has a simple layout with easy-to-press buttons. Once you get the hang of it, you’ll appreciate the convenience it brings to your daily routine.
Now, you might be wondering how you can start using it. Don’t worry, it’s not rocket science! You just need to follow a few basic steps to get everything up and running smoothly.
Installing Your Sears Keypad
Let’s get into the nitty-gritty of installation. First off, make sure you have a great spot for the keypad—somewhere it’s easy to reach but also sheltered from the weather. You don’t want it getting drenched during a downpour, right?
Here’s what you need to do:
- Choose a Location: Find a space on your garage wall that’s about 5 feet off the ground. It should be close enough that you can reach it but not so low that it’s easy to tamper with.
- Install the Mounting Bracket: Most keypads come with screws and a mounting bracket. Use a drill to secure the bracket to the wall according to the manufacturer’s instructions.
- Attach the Keypad: Once the bracket is fixed to the wall, attach the keypad by sliding it into the bracket until it clicks.
Double-check that everything is secure. If you live in an area with wild weather, consider placing the keypad under an overhang for extra protection.
Syncing Your Keypad With Your Garage Door Opener
Now that your keypad is mounted, it’s time to sync it with your Sears garage door opener. This is where the magic happens! Think of this step like pairing your phone with a Bluetooth speaker—once they are synced, you’re good to go.
Follow these steps to sync your keypad:
- Prepare Your Garage Door Opener: First, locate the “Learn” button on your garage door opener. This is usually found on the back or side of the motor unit. You may need a ladder to reach it.
- Enter Programming Mode: Press the “Learn” button and hold it for about 3 seconds. The LED light will start blinking, indicating it’s in programming mode.
- Input Your Code on the Keypad: Go to your keypad and enter your desired pin code (usually a 4-digit number). After entering the code, hit the “Enter” button.
- Confirm the Sync: If synced correctly, your garage door opener will respond with a click. You should now be able to open and close your garage door using the keypad.
And voilà! You’re all set. If it doesn’t seem to work, don’t panic. Sometimes it takes a couple of tries to get it just right.
Programming Additional Codes
You might find that one code isn’t enough—maybe you want to give a neighbor access or have a code for your family members. Fortunately, Sears keypads allow you to program or delete multiple codes easily.
To program additional codes, follow the same steps we discussed for syncing, but remember that each time you press the “Learn” button on the opener, it clears any previously entered codes. This means you need to re-enter all of them after programming a new one.
If you need to delete a code:
- Access the Learn Mode: Press and hold the “Learn” button again for about 3 seconds.
- Input the Code you Want to Delete: Enter the code you wish to remove, then press the “Enter” button.
- Final Confirm: The garage door opener will click, indicating the code has been successfully deleted.
Give it a test run after programming any new code, so you know it works. Nothing’s worse than trying to get in one rainy evening and realizing the code’s not working!
Changing Your Code and Batteries
Every once in a while, it’s smart to change your security codes—especially if you’ve shared your garage access with others. Also, keep an eye on the keypad’s performance; you don’t want to be left standing outside in the cold because the batteries have died.
Changing your code is simple, just like before:
- Enter Programming Mode: Press the “Learn” button until the LED blinks.
- Type in the New Code: Enter your new four-digit code and hit “Enter.” Follow with a test if it works.
- Replace Batteries: For battery replacement, open the battery compartment, typically at the back or side, and replace the old batteries with fresh ones. Most keypads use AA or AAA batteries, but refer to the manual if you’re unsure.
Doing this every few months is a great way to keep your access secure and your device functioning properly.
Troubleshooting Common Issues
Sometimes things don’t go as planned, and that’s okay! Here are some common issues you might face with your Sears keypad and easy ways to troubleshoot them.
1. Keypad Doesn’t Work: First, check if the batteries need replacing. If they’re good, ensure the keypad is properly paired with the opener.
2. Can’t Enter Your Code: If you’re mistyping or finding the keypad unresponsive, it might need a reset. Check the manual for resetting instructions.
3. Garage Door Opens Unexpectedly: This could be a sign of interference or someone else’s remote using a similar frequency. Reprogramming your keypad often resolves this.
Remember, patience is key! Sometimes, just reading the manual or visiting Sears’ customer support can answer your questions in a pinch.
Using a Sears keypad can feel like a magic trick when you first start. Once it’s set up and you know how to operate it, you’ll wonder how you ever lived without this little gem! It’s a blend of convenience and security that simplifies your daily life.
So whenever you pull into your driveway, confidently tap your code, and feel that instant relief of knowing you can step right inside without wrestling with keys. Just keep a couple of backup codes handy and routinely check on those batteries, and you’ll be golden. Enjoy the simplicity of unlocking your garage with just a few taps—you deserve it!