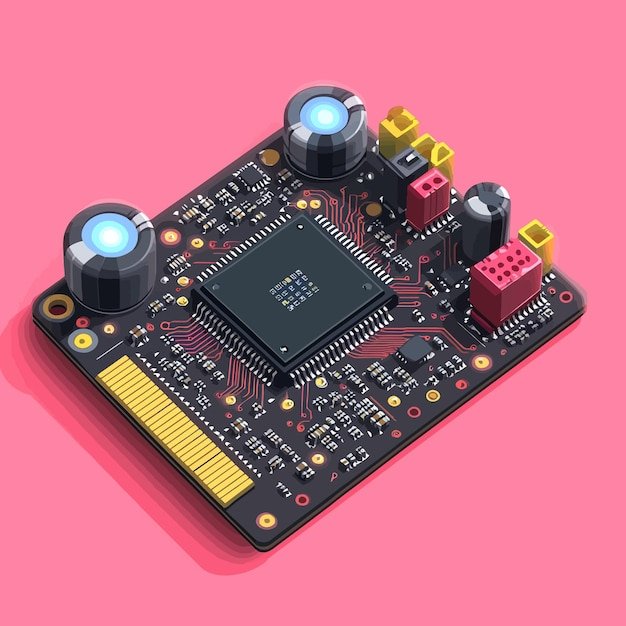
Think of the circuit board as the unsung hero behind the scenes. Like orchestrating a symphony, it coordinates multiple parts working together to achieve the perfect harmony—your garage door opening and closing effortlessly. If you’re new to this or just need a refresher on how to handle the Raynor circuit board, don’t worry, I’m here to guide you through it step-by-step.
What Is a Raynor Circuit Board?
The Raynor circuit board is a tiny yet vital component in your garage door opener system. You might not see it at first glance, as it’s tucked away inside the motor unit. But it effectively coordinates all operations, from receiving signals from your remote to regulating the power that operates the door mechanism.
Each Raynor circuit board features a microcontroller that interprets commands from your remote. When you press that button, the circuit board decodes the signal, determining whether to open or close the door. This operation is similar to a traffic light controlling the flow of vehicles—only here, the vehicles are your garage door and its mechanisms.
If your garage door opener seems unresponsive, the circuit board might need some attention. This could be due to a simple issue like a dead battery in your remote or a more complicated problem requiring professional service.
How to Access the Raynor Circuit Board
Accessing the Raynor circuit board isn’t as tricky as it sounds, but care is essential. The first step is ensuring your garage door is powered off to prevent any accidental activation. Here’s how to do it:
- Locate the motor unit, typically mounted on the ceiling of your garage.
- Remove any screws or fasteners that secure the cover. This usually involves a screwdriver.
- Gently lift or slide off the cover to reveal the circuit board inside.
Once the cover is off, take a moment to inspect the circuit board. Check for any visible damages, like burnt components or loose wires. It’s like looking under the hood of your car—you’re checking that everything is in its right place.
How to Reset the Raynor Circuit Board
Sometimes, you might find that resetting the circuit board does the trick, much like rebooting your computer when it runs slow. To reset your Raynor circuit board, follow these simple steps:
- First, unplug the garage door opener from the power source.
- Wait for at least 30 seconds before plugging it back in.
- Once you restore power, look for a reset button on the circuit board. Press and hold it for a few seconds.
This process helps clear any glitches or temporary malfunctions in the system. It’s like giving your opener a fresh start!
Pairing Your Remote with the Raynor Circuit Board
If your remote isn’t working, it could be an issue with pairing it to the Raynor circuit board. Here’s how to establish a connection:
1. Locate the Learn Button: On your circuit board, find the small button labeled “Learn” or “Program.” Press it once, and an LED light will turn on.
2. Press Your Remote Button: Within 30 seconds of pressing the Learn button, click your remote’s button to transmit the signal.
3. Look for Confirmation: The LED light will blink or turn off, indicating the remote is now paired.
Make sure you’re close enough to the motor unit when you do this; it’s like tuning a radio—you need to be in the right frequency to hear your favorite station.
Troubleshooting Common Issues
Even with the best maintenance, things can go wrong. Here are some common problems and solutions if your Raynor circuit board isn’t functioning as it should:
- Non-responsive Remote: Check the battery first. It might be as simple as replacing it. If that doesn’t work, try re-pairing your remote.
- Door Won’t Open: Inspect the circuit board for burnt components or loose wires. A damaged board might need replacement.
- Intermittent Issues: This could indicate a loose connection or interference. Ensure all wiring is secured and that there’s no radio frequency interference from other devices.
Addressing these problems promptly can extend the life of your garage door opener. After all, no one wants to grapple with a stubborn garage door during a rainy day!
When to Seek Professional Help
Sometimes, the issues can be more complicated than a simple reset or pairing. If you’ve tried all troubleshooting methods and your garage door is still misbehaving, it might be time to call in a pro. They have the tools and expertise to diagnose problems that aren’t easily visible to the untrained eye.
Look for certified technicians who specialize in Raynor products. They’ll ensure your circuit board and system are running efficiently—possibly saving you from costly further repairs down the road.
Maintenance Tips for Longevity
A little prevention goes a long way in keeping your Raynor circuit board and garage door opener in shape. Here are some tips to maintain your system:
– Regular Inspections: Make it a habit to check the circuit board and components every few months for dust or wear.
– Clean the Remote: Wipe down your remote and ensure the buttons are functioning correctly; debris can interfere with signals.
– Check for Updates: Sometimes, manufacturers provide firmware updates that enhance performance. Don’t hesitate to look into them.
Giving a little TLC to your garage system can prevent big headaches in the future.
In conclusion, understanding how to use the Raynor circuit board is essential for any garage door owner. With these tips, you can troubleshoot common issues, reset your system, and maintain it effectively. Hopefully, this guide has brought you one step closer to mastering your garage door opener! Just remember: a little knowledge makes a big difference.
