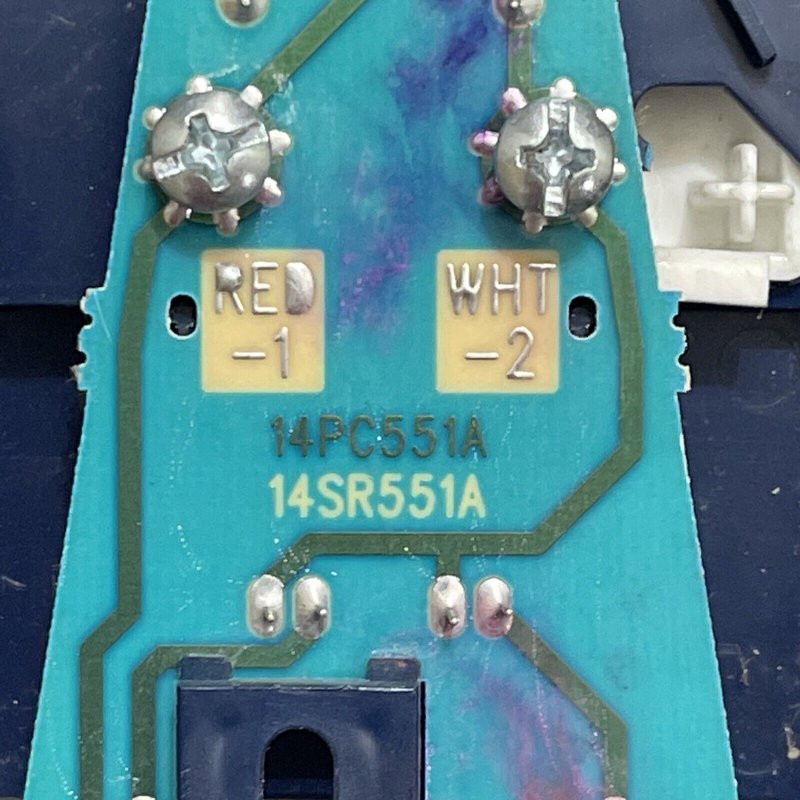
The Raynor wall button is a reliable tool for controlling your garage door. Think of it as the command center for your garage door operation. Instead of relying solely on the remote, you can command your garage door with ease from a fixed location. Utilizing this technology opens up convenience and security, making it a crucial investment for any home. Now, let’s explore how to use it effectively!
What is the Raynor Wall Button?
The Raynor wall button is a switch that lets you control your garage door’s operation from inside your garage or even outside, depending on the model. Typically mounted on the wall, it’s an alternative to the handheld remote. This means if you ever misplace your remote—or, let’s be real, if it gets lost in the abyss of your car—you still have a reliable way to open or close your garage door.
These buttons are designed to be user-friendly. Most have a simple design featuring just one or two buttons. If you have a multi-door garage, your wall button may allow you to choose which door to operate. That’s one less gadget to worry about in your daily routine.
How to Install Your Raynor Wall Button
Installing the Raynor wall button is more straightforward than you might think. Here’s a step-by-step guide to get you started.
1. Choose a Location: First, decide on a mounting location that’s easily accessible. It’s usually best to place it near the entrance of your garage, at a height that’s convenient for everyone in your household.
2. Gather Your Tools: You will need a drill, screws, and possibly a stud finder. Having everything ready will save you trips back to the toolbox.
3. Drill the Holes: Use the mounting template that comes with the wall button to mark where you need to drill. Make sure to level the button.
4. Securely Fasten: Install the wall button with screws and attach the wiring according to the manual instructions.
5. Test the Connection: After installation, push the button to see if it works! If it doesn’t activate the garage door, you might need to check the wiring or batteries.
Congratulations! You’ve just upgraded the functionality of your garage!
Pairing Your Wall Button with the Opener
You might be wondering how to link your new wall button with your garage door opener. Don’t fret; it’s a simple process! Here’s how to pair the wall button:
1. Power Up Your Garage Door Opener: Make sure the power is turned on to your garage door opener.
2. Find the Learn Button: On the opener unit, locate the “learn” button. This button is essential for pairing the wall button.
3. Push and Hold the Learn Button: Press and hold the learn button until you see a light blinking. This usually takes about six seconds.
4. Press the Wall Button: Within 30 seconds of pressing the learn button, press your wall button. The opener will recognize it and begin syncing.
5. Test It Out: After pairing, open and close the garage door with the wall button to confirm everything is working.
If the button doesn’t work initially, don’t worry. Start over and make sure you followed each step closely.
Common Troubleshooting Tips
Sometimes, despite your best efforts, things might not work as expected. Here are some common troubleshooting tips for your Raynor wall button:
– Check the Power Supply: Ensure that the garage door opener is plugged in and has power. Sometimes, a simple power outage can throw your system off.
– Inspect the Wiring: If the wall button is unresponsive, inspect the wiring connections. Loose or corroded wires can prevent communication between the wall button and the opener.
– Replace Batteries: If your Raynor opener has a battery backup option or relies on batteries for some functions, make sure these are fresh and properly installed.
– Re-synchronize: If pairing seems off, repeat the synchronization steps. Disconnecting and redoing the process can resolve hidden issues.
Sometimes it’s the little things that prevent everything from working smoothly!
Comparing Wall Buttons to Remote Controls
While the wall button is a fantastic addition to your garage door system, you might be wondering how it stacks up against using a remote control. Both have their advantages and can even complement each other.
– Convenience: The wall button is often located right at the garage entrance, making it easily accessible when you return home. There’s no digging through your bag or searching under car seats.
– Range: Remote controls can open the door from a distance, which is handy if you want to open it before pulling in. If you live in a long driveway, the wall button might not be as practical.
– Security: A wall button may offer more security since it’s fixed and not easily lost. However, a remote can easily be kept in a secure spot in your vehicle.
In summary, both options serve their purpose well. It’s really about understanding your needs and which method you prefer for opening your garage door.
Additional Features of the Raynor Wall Button
Did you know that many Raynor wall buttons come with additional features? Depending on the model, you might find:
– Light Activation: Some buttons can turn on the garage lights. This feature is especially useful when coming home in the dark.
– Safety Controls: Look for wall buttons with built-in safety features to prevent accidents, especially if you have pets or small children.
– Wireless Options: Certain models are wireless, which can simplify installation since there’s no need to run cables through your walls.
Each feature enhances usability and security, making the Raynor wall button a worthwhile investment.
Using the Raynor wall button is a smart way to manage your garage door system, adding convenience and enhancing security. From installation to pairing, and even troubleshooting common issues, it’s clear that this tool is beneficial for everyday convenience. By understanding how to use and maintain your wall button, you’ll ensure it serves you well for years to come.
So, the next time you walk into your garage, you can confidently push that button, knowing you’re in control. It’s time to enjoy the simplicity that modern technology brings to our daily lives!
