Using the Skylink safety sensors is not as complicated as it sounds! These devices are designed to be user-friendly, ensuring both you and your family stay safe. In this article, we’ll break down everything you need to know about installing and using these sensors effectively—like grabbing a cup of coffee and chatting with a friend who knows a thing or two about garage door systems.
What Are Skylink Safety Sensors?
Skylink safety sensors are devices that detect obstacles in the path of your garage door. They come in pairs and usually consist of an emitter and a receiver. The emitter sends out a beam of infrared light, and if something interrupts that beam, like your car or a pet, the receiver picks it up and stops the door from closing. Imagine you’re at a concert—if the lights go out, the music stops. That’s the safety feature!
These sensors come with many Skylink garage door opener models, keeping your loved ones and belongings safe from unexpected accidents. Using these sensors is crucial not just for safety but also for convenience. With a simple glance at the setup, you can ensure everything is working as it should.
Installing Your Skylink Safety Sensors
Installing your Skylink safety sensors is a straightforward process. First, you’ll need a few tools: a level, a screwdriver, and possibly a ladder. Here’s how to get started in a few easy steps:
- Select Placement: Find the appropriate spot on both sides of your garage door. Ideally, the sensors should be 4 to 6 inches above the floor.
- Mount the Sensors: Use the screws and brackets provided to secure both the emitter and receiver. Make sure they’re aligned directly across from one another. A level can help here!
- Connect the Wires: Connect the wires from the sensors to the garage door opener. Make sure the connections are secure, as loose wires can lead to malfunctions.
- Test the sensors: Manually block the sensor beams with an object to ensure that the door stops properly when the beam is interrupted.
Once installed, these sensors will provide peace of mind every time you use your garage door.
Pairing the Sensors with Your Garage Door Opener
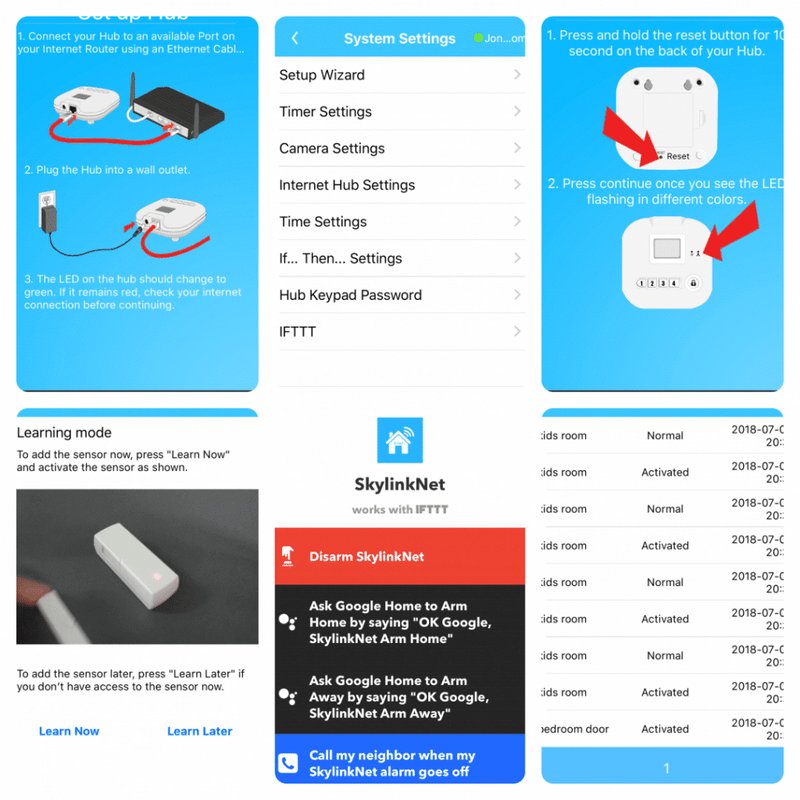
After installation, you’ll want to pair the Skylink safety sensors with your garage door opener. This ensures they communicate effectively. Here’s a step-by-step guide:
- Locate the Learn Button: On your garage door opener, find the “learn” or “set” button. It’s usually located on the back of the unit and may require a ladder to access.
- Press the Learn Button: Press and hold this button until the indicator light turns on, usually about 5 seconds.
- Activate Your Sensors: Quickly activate your sensors by blocking the beam. This signals to the opener that a new sensor is being paired.
- Confirm the Connection: The indicator light should blink, signaling successful pairing. If it stays on, repeat the steps.
Pairing is essential for seamless operation, and once it’s set up, you won’t have to worry about it much.
Troubleshooting Common Issues
Even the best systems can run into trouble sometimes. If you experience issues with your Skylink safety sensors, here are some possible fixes:
- Sensor Misalignment: If the garage door isn’t responding as it should, check that the emitter and receiver are aligned properly. They should face each other directly.
- Dirty Lenses: It’s easy for dust and dirt to build up on the sensors. Give the lenses a gentle wipe with a soft, clean cloth.
- Wiring Issues: Ensure the wires are tightly connected. Loose or frayed wires can lead to intermittent functioning.
- Check the Power Supply: Sometimes, a simple power issue may cause malfunctions. Make sure your garage door opener is plugged in and functioning.
By addressing these issues, you can typically get your sensors back to perfect working order.
Maintaining Your Skylink Sensors
Like most devices, it’s essential to maintain your Skylink safety sensors to ensure they function correctly for years to come. Here are some simple tips:
- Regular Cleaning: Wipe the sensor lenses monthly to keep them free from dust and dirt.
- Test Regularly: Monthly checks can help you catch any potential issues before they become serious. Block the beam and see if the door stops.
- Check Wiring: Periodically inspect the wiring for any signs of wear or damage. If you notice anything, consider replacing it.
Routine checks and maintenance can save you from bigger headaches down the road.
Comparing Skylink Sensors to Other Systems
You might be wondering how Skylink safety sensors stack up against other options. While there are universal safety sensors available, Skylink sensors are engineered specifically for Skylink openers, ensuring optimal compatibility and performance. Universal sensors may work, but they can sometimes be tricky to pair and might not offer the same level of reliability.
When weighing options, consider:
- Compatibility: Ensure the product works with your specific garage door opener brand.
- Installation Ease: Skylink sensors generally offer straightforward installation compared to some universal alternatives.
- Customer Support: With brand-specific products like Skylink, you usually get better support if you run into problems.
In the end, sticking with Skylink for Skylink openers is often the best choice.
Why Safety Sensors Matter
Safety sensors might seem like a small part of your garage door system, but their impact is significant. They protect not only your property but also your loved ones. The peace of mind you gain knowing your door won’t close on a passing pet or an unsuspecting child is worth every penny.
In a world filled with technology, it’s comforting to know such a simple device can make a big difference. Installing and maintaining your Skylink safety sensors is a small investment in safety and convenience, ensuring smooth operation of your garage door.
By following the steps outlined in this article, you can confidently use your Skylink safety sensor while reaping the benefits of a safer garage environment. Keeping your garage door functioning effectively and safely is not just about convenience—it’s all about protecting what matters most.
