Let’s break it down step by step. Whether you’re fixing an old model or programming a new one, understanding how to use the Craftsman circuit board is key. We’ll cover everything from identifying the components to troubleshooting common issues. So grab your coffee, and let’s dive into this together!
Understanding the Craftsman Circuit Board
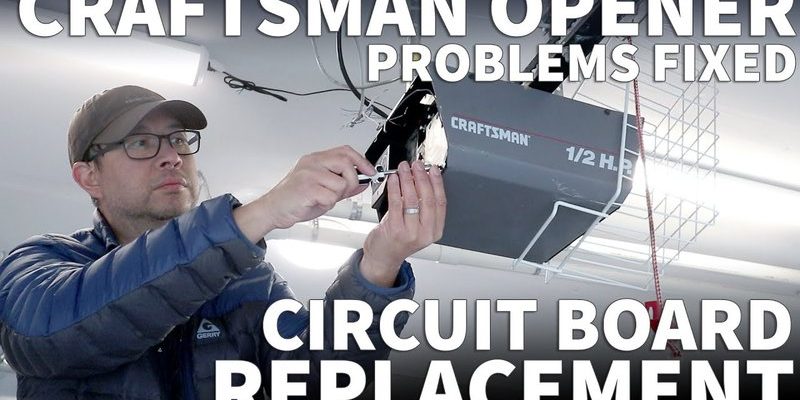
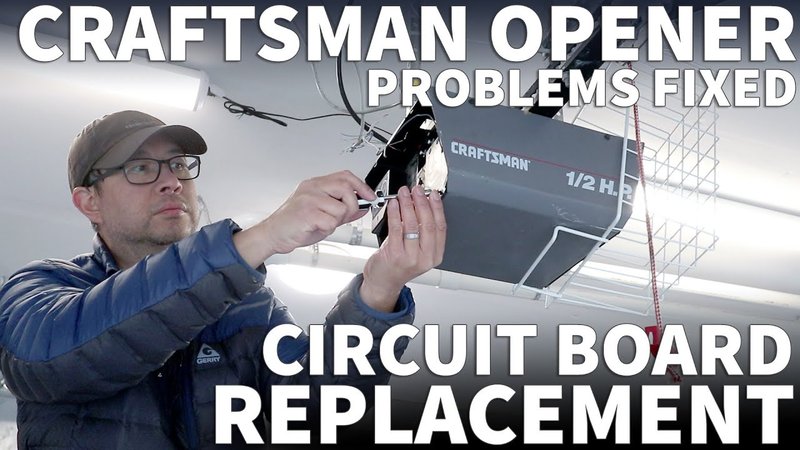
The Craftsman circuit board is essentially the brain of your garage door opener. Think of it as the control center that processes commands from your remote or wall switch. The board receives signals and executes them to ensure your garage door moves up or down as needed.
Inside the circuit board, you’ll find various components like capacitors, resistors, and connection points. These work together to direct the flow of electricity and manage the signals from the remote. Just like a conductor guides an orchestra, the circuit board directs all the movements and actions of your garage door opener.
If you’re looking to get a better grasp of how it functions, the basic operations can be likened to a light switch. When you flip the switch (or press the button on your remote), an electrical current is sent to the circuit board, which then tells the garage door motor to either open or close. It’s fascinating how such a small component can have a big impact!
Getting Familiar with the Components
To fully utilize the Craftsman circuit board, it’s vital to familiarize yourself with its components. Here’s a quick rundown of key parts you’ll encounter:
- Microcontroller: This is the tiny computer that interprets the signals from your remote and sends commands to the motor.
- Relay: The relay acts as a switch that powers the garage door motor on and off.
- LED Indicators: These lights provide feedback on the status of your garage door, like whether it’s open, closed, or experiencing a malfunction.
- Terminals: These are the connection points for wires coming from your power source and various sensors.
When you open up your garage door opener, these are the parts you’ll be looking at. Each component has a specific role that contributes to the overall function of the device. Often, understanding these parts makes troubleshooting much easier.
Setting Up Your Craftsman Circuit Board
Before you start using your Craftsman circuit board, ensure it’s properly set up. Here’s a step-by-step guide to help you get started:
1. Secure the Power Source: Make sure the garage door opener is unplugged before you start. Safety first!
2. Mount the Circuit Board: Locate the designated area where the circuit board fits within the opener’s housing. It usually sits snugly against the back panel.
3. Connect the Wires: Match each wire to its corresponding terminal on the board. This often includes the power wire, motor wire, and any sensors. Follow the manual closely to avoid mix-ups.
4. Attach the LED Indicators: If your setup includes LED lights, make sure they’re connected properly to provide you feedback once you power it on.
5. Test the System: Plug the opener back in. Your circuit board should begin responding to commands from your remote. If it does, great job!
Here’s the thing—if something doesn’t work, don’t panic. We’ll get to troubleshooting later.
Programming Your Craftsman Remote
Now that your Craftsman circuit board is set up, it’s time to program your remote. This process allows your remote to communicate with the circuit board, similar to how a phone connects to a wireless network. Here’s how to do it:
1. Locate the Learn Button: On many Craftsman garage door openers, there’s a “learn” button on the circuit board itself. This is crucial for programming.
2. Press the Learn Button: Give the learn button a quick press. You should see an LED indicator light up.
3. Give Your Remote a Signal: Within 30 seconds of pressing the learn button, press and hold the button on your remote that you want to use for opening the garage door. The indicator light may blink, indicating that the remote has been successfully paired with the circuit board.
4. Test It Out: After programming, try pressing the button on the remote. If it activates the garage door, congratulations, you did it!
If it doesn’t work, double-check the connections and reset the programming by holding the learn button for a few seconds to clear the memory.
Troubleshooting Common Problems
Even the best technology can sometimes hit a bump in the road. Let’s explore a few common issues you might face when using your Craftsman circuit board:
– Remote Won’t Work: If your remote doesn’t seem to connect, check the battery. A simple battery replacement could solve this issue. If that doesn’t work, try reprogramming the remote as outlined earlier.
– Door Stuck Open or Closed: Sometimes the circuit board can get a little confused. Ensure there aren’t obstructions blocking the door’s path. Also, double-check the wiring connections. A loose wire can cause the board to misinterpret signals.
– LED Error Codes: Pay attention to any blinking lights on the LED indicators. They typically convey error messages. Refer to your user manual for specific codes that can guide your troubleshooting efforts.
Remember, troubleshooting is all about being methodical. Check each component, one step at a time, just like you would when addressing a problem in your car or while baking.
Maintaining Your Craftsman Circuit Board
Regular maintenance can prolong the life of your Craftsman circuit board, ensuring it operates smoothly. Here are a few tips for keeping it in top shape:
– Keep It Clean: Dust and debris can cause issues. Occasionally wipe down the circuit board and surrounding areas with a damp cloth—just don’t let any moisture get into the electronics.
– Check Connections: Periodically inspect the wiring and connections. Loose or frayed wires can lead to performance issues.
– Keep It Dry: Ensure the circuit board is protected from moisture. If your garage gets damp, consider investing in a weatherproof enclosure.
Engaging in these simple maintenance practices can save you hassle (and money) in the long run. Just think of it like routine care for your car or bike—the more you look after it, the better it will serve you.
Understanding Alternatives and Upgrades
In some cases, you might be considering whether to stick with your Craftsman circuit board or explore alternatives. Universal remotes are a popular option since they can work with various brands of openers. However, they often require programming that can be more complicated than using a brand-specific remote.
Upgrading to a newer model might also be a good choice. Newer Craftsman models often come with added features, such as smart technology that allows you to control your garage door via smartphone apps.
When deciding, think about your specific needs and how often you use your garage door. Sometimes, a simple upgrade or switch can make your life a lot easier.
In conclusion, using the Craftsman circuit board can seem daunting at first, but with a little understanding and practice, you’ll be navigating it like a pro. Whether you’re just setting it up, programming your remote, or troubleshooting issues, remember to take it step by step. With this guide, you’re well-equipped to get the most out of your garage door opener. Happy tinkering!
Originally posted 2025-02-11 13:48:03.