Whether you’re trying to sync a new remote control, troubleshoot some issues, or reset the system, knowing how to work with the circuit board can make your life a lot easier. Genie has a few different models, and while there are some variations, the core functions remain the same. Let’s break down the essentials of using your Genie circuit board so you can get back to the important stuff – like heading out for that long overdue coffee with a friend.
Understanding the Genie Circuit Board
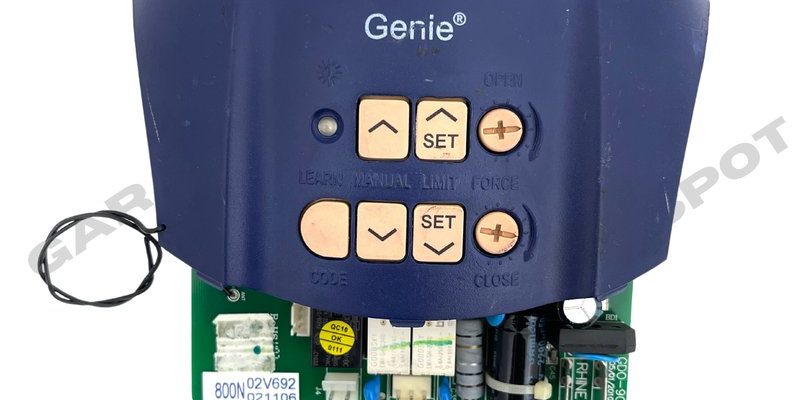
The circuit board in your Genie opener is crucial for its operation. It’s essentially where all the wiring comes together. Picture it like a control center, where signals from your remote, door sensors, and even the motor all intertwine. When you press the button on your remote, a signal travels through this board to tell the motor to lift or lower your garage door.
Most Genie garage door openers utilize either a Circuit Board Assembly (CBA) or a logic board. Each type has its specific features, but the general idea remains consistent. These boards handle everything from remote signal processing to safety features that ensure your door doesn’t shut on a car—or worse, a person.
Common Types of Genie Circuit Boards
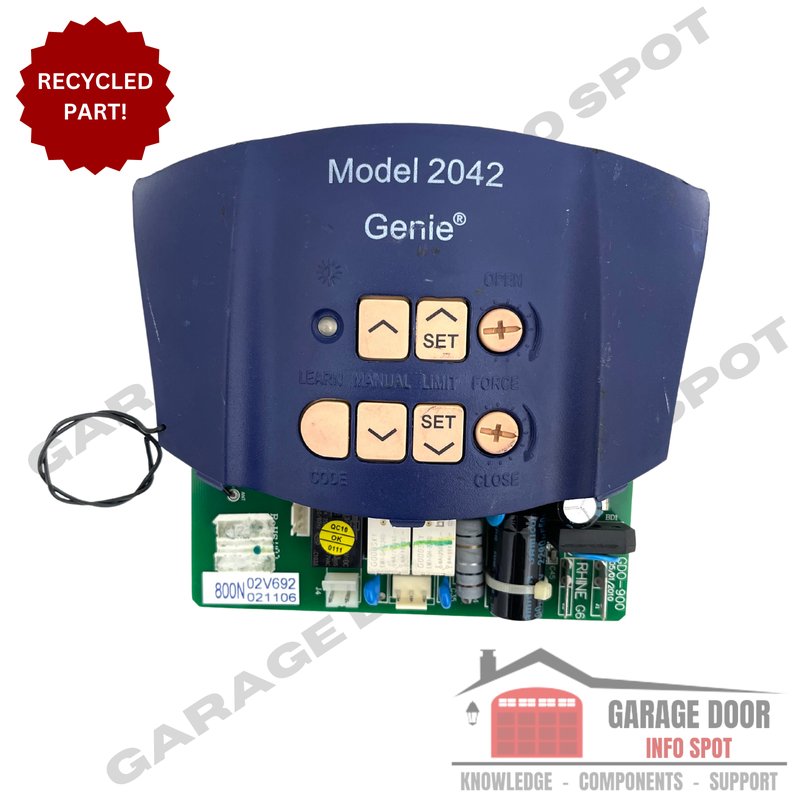
Genie has several models, such as the Genie Intellicode and the Genie Chain Drive. These boards can have different components based on the design and year of production. The Intellicode technology, for instance, offers enhanced security by changing the code each time you use the remote. This means that the circuit board must be equipped to handle various codes and ensure a proper response.
Chain Drive models, on the other hand, might feature a simpler circuit board because they emphasize mechanical strength over electronic features. Knowing which model you have helps when it comes time to troubleshoot or perform maintenance.
Pairing Your Genie Remote with the Circuit Board
If you’ve just bought a brand new remote or are trying to sync an old one, the pairing process is pretty straightforward. First, locate the learn button on your Genie circuit board—it’s typically on the back of the motor unit. This small, round button is your key to connecting new remotes.
Here’s how to do it:
- Press the learn button once. You’ll see a small light blink.
- Within 30 seconds, press and hold the button on your remote that you want to use.
- Release the button when the motor unit light blinks to confirm the pairing.
Honestly, it’s that simple! After that, give your new remote a test to ensure it’s working properly. If it’s not, you might need to troubleshoot the connection.
Troubleshooting Common Remote Issues
Sometimes, things don’t go as planned, and that’s okay. If your remote isn’t syncing, check these common issues:
- Dead battery: Ensure the battery in your remote is fresh. A low battery can signal weak connections.
- Distance: Make sure you’re within range when trying to sync.
- Interference: Other electronic devices nearby can interfere with the signal.
If you’ve tackled these and still face issues, it might be time to dig deeper into your circuit board’s workings.
Resetting Your Genie Circuit Board
Feeling frustrated? Sometimes a quick reset is all it takes. It’s like giving your computer a reboot when things go sideways. To reset your Genie circuit board, follow these steps:
- Locate the learn button on the circuit board.
- Press and hold the learn button until the motor unit light goes out (usually about 10 seconds).
- Release the button.
This reset will erase all pairings, so you’ll need to re-sync your remotes afterward. Think of it as a fresh start!
What to Do After a Reset
Once you’ve reset your system, it’s time to reconnect your remotes. Follow the pairing process we covered earlier.
You might also want to check any safety features, like the alignment of the photo-eye sensors on either side of the door. If they’re blocked or misaligned, your garage door may not operate properly.
Maintaining Your Genie Circuit Board
Prevention is key when it comes to electronic devices. Taking care of your Genie circuit board can save you a lot of headaches down the line. Here are a few maintenance tips:
- Regularly check connections: Loose wires can lead to malfunctions. Make sure everything’s snug!
- Keep it clean: Dust and debris can impact performance. Give it a gentle clean every few months.
- Update remote batteries: Keeping fresh batteries in your remotes will ensure you have a strong signal.
Following these steps helps extend the life of your opener and keeps everything running smoothly.
Replacing the Genie Circuit Board
If your Genie circuit board has finally met its match and is beyond repair, replacement might be necessary. You can find replacement boards at various online retailers or through Genie’s official website.
When replacing the circuit board, ensure you:
- Power off the unit completely before starting.
- Follow the instructions provided with your new board for wiring.
- Retest the system with the pairing method described earlier.
It may feel daunting, but remember; you’re just swapping out one brain for another in your garage door opener.
Final Thoughts on Genie Circuit Boards
Navigating a Genie circuit board might seem overwhelming at first, but with a little understanding and some hands-on experience, you’ll get the hang of it. Remember it’s just like any other technology; with practice, it becomes second nature.
By learning how to sync your remote, reset your board, and keep everything maintained, you’re ensuring that your garage door works seamlessly. Whether you’re troubleshooting or installing, take it one step at a time, and before you know it, you’ll be a pro at handling Genie circuit boards. Enjoy those smooth garage door openings!