But, if you’re new to these devices, the whole setup can feel a bit overwhelming. Think of it like navigating a new phone app for the first time—it takes a little time to get the hang of it. In this guide, we’re going to walk you through everything you need to know about using your Chamberlain Motor Unit. From the initial setup to troubleshooting common issues, we’ve got you covered.
Getting Familiar with Your Chamberlain Motor Unit
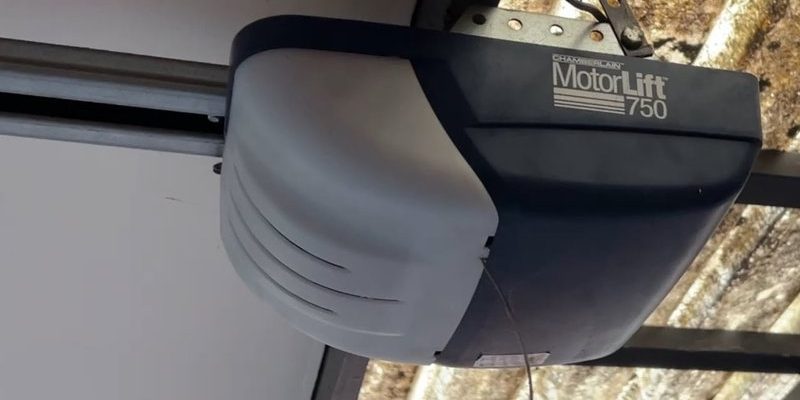
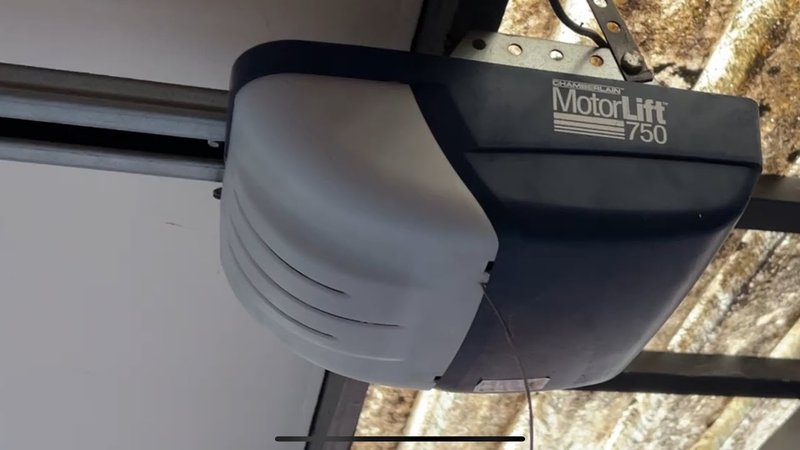
Before diving into the nitty-gritty, let’s take a moment to understand what a Chamberlain Motor Unit is. Simply put, this is the heart of your garage door opener system. It’s the motor that powers the door, making it open and close seamlessly. Depending on your model, it might have features like smart technology or battery backup, giving you flexibility and ease of use.
Most Chamberlain units come with a couple of remote controls, which can often be programmed for multiple doors. You might be thinking, “Why would I need that?” Well, if you have an attached garage or a separate one, it’s super convenient to manage them all with just a few buttons.
Let me explain further—your Chamberlain Motor Unit operates by using a series of simple but effective components. It communicates with your garage door through radio signals. The remote sends a signal to the motor, telling it to activate and move the door either up or down. Understanding this connection can help you troubleshoot if something goes wrong later.
Installing Your Chamberlain Motor Unit
Installing a Chamberlain Motor Unit isn’t as daunting as it sounds. Here’s how to do it step-by-step:
1. Read the Manual: I know, I know—manuals can be boring. But, trust me, they have all the crucial details tailored specifically for your model.
2. Gather Your Tools: Before starting, get some basic tools: a power drill, ladder, and some screws.
3. Mount the Motor: Typically, the motor should be mounted on the ceiling of your garage. Look for a spacious spot that’s free from obstructions.
4. Connect the Door Arm: This arm connects your garage door to the motor. Make sure it’s secured; a loose connection can cause issues later on.
5. Power It Up: Plug in your Chamberlain Motor Unit and ensure it has power. If it doesn’t seem to be working right away, check the power source.
Remember that every model may slightly vary, so it’s always a good idea to reference that manual.
Syncing Your Remote Control
Now that your unit is installed, let’s get your remote control synced up. This step can feel a little tricky, but it doesn’t have to be. Here’s how it works:
– Locate the Learn Button: On the motor unit, there’s a button often labeled “Learn” or “Program.” It’s usually near the antenna or back of the unit.
– Press the Learn Button: Push that button, and a light should begin to blink. This means the unit is ready to accept a new remote.
– Press the Remote Button: Within 30 seconds, press the button on your remote that you want to use. If done correctly, the light on the motor will flash, indicating the programming was a success.
– Test the Remote: Try pressing the button again to see if the door responds. If it doesn’t, you might need to repeat the steps.
Syncing your remote can sometimes fail if there’s interference. Here’s the thing—if your neighbor’s remote is similar, it could interfere with your syncing. If that happens, try moving the remote closer to the motor when learning.
Using the Chamberlain App for Smart Features
Many Chamberlain Motor Units come equipped with smart technology, allowing you to control your garage door from your smartphone. Here’s how to get started:
1. Download the App: Search for the *myQ* app on your device’s app store. It’s free and user-friendly.
2. Create an Account: After downloading, you’ll need to sign up or log in. This account connects your device to your garage door.
3. Link Your Motor Unit: Follow the app prompts. This usually involves pressing the Learn button again, similar to syncing your remote.
4. Customize Notifications: One of the best features is being able to receive alerts. Do you ever forget if you closed the door? Now you can check right from your phone!
Having this level of control can be a game-changer. Imagine being at work and getting a notification that the door’s open—you can close it right from your desk!
Troubleshooting Common Issues
Even the best systems can run into hiccups. Here are some common issues and how to address them:
– Remote Not Working?: Check the battery. It might be running low. If that doesn’t help, try re-syncing it with the motor.
– Door Doesn’t Open Fully: This could mean the limit settings need adjustment. You’ll find these on the motor unit, often labeled as up and down limits—adjust them according to the user manual.
– No Response to Remote or App: Ensure the unit is plugged in and that the circuit breaker is on. Additionally, check for obstructions around the garage door path.
– Strange Noises?: This could be due to loose rails or the door needing lubrication. Tighten any loose parts and apply lubricant to the moving components.
Troubleshooting can sometimes feel frustrating, but a little patience goes a long way. The key is systematically checking each component.
Maintenance Tips for Longevity
To keep your Chamberlain Motor Unit running smoothly, regular maintenance is key. Here are some simple tips to follow:
– Lubricate Moving Parts: Just like your car needs oil, your garage door needs lubrication too. Use silicone spray on rollers and hinges.
– Check the Tracks: Inspect the tracks for debris or any bends. Cleaning them can help your door run more reliably.
– Test the Safety Features: Your garage door should have safety reversing mechanisms. Test these every now and then by placing an object under the door when it’s closing.
– Inspect the Remote: Replace the batteries in the remote periodically to prevent sudden failures.
Spending a little time on maintenance can save you from more significant headaches down the line. Think of it like bringing your car in for regular check-ups so it runs like new.
In Conclusion
Using a Chamberlain Motor Unit is all about convenience, safety, and ease of access to your garage. With the right steps, you can install, sync, and troubleshoot your unit without breaking a sweat. Maintain it well to ensure long-lasting performance, and soon you’ll be a pro at navigating your garage door like it’s second nature.
So, whether you’re pressing a button on your remote or tapping your phone screen, you have the freedom to come and go with ease. Here’s to hassle-free garage access!