In this guide, we’re going to break down how to use a Liftmaster circuit board, so you feel empowered and informed. Whether you’re troubleshooting a problem or just learning how everything works, we’ll cover everything you need to know in a friendly, simple way. So let’s dive in and get you familiar with your garage door opener’s circuit board!
What Is a Liftmaster Circuit Board?
The Liftmaster circuit board is a small, but mighty, component inside your garage door opener. It manages signals from your remote control, garage door sensors, and the motor that lifts the door. Imagine it as the conductor of an orchestra, directing all the musicians to play in harmony. Without it, your remote would be useless, and your garage door would sit stubbornly closed.
Now, these circuit boards can vary in design based on the model of your Liftmaster opener. Most Liftmaster openers use either a diagnostic board or a basic control board, depending on functionality and features. This means some models will have extra options for troubleshooting, while others stick to the basics. Knowing which model you have is the first step in understanding how things work.
Common Issues with the Circuit Board
Even though the circuit board is robust, it can face some common issues. One of the most widespread problems is when the LED lights flash in a specific pattern, indicating an error. You might be wondering what that flashing means, right? Here’s the rundown: typically, different sequences signal different problems—like miscommunication between the remote and the opener.
Another issue could be a blown fuse or a burned-out circuit. This can often happen due to power surges or electrical issues. Similarly, if your door doesn’t respond to your remote, it could indicate that the circuit board isn’t receiving the command, which might stem from a dead battery in the remote itself. Regular maintenance and a little troubleshooting can prevent these headaches!
How to Access the Circuit Board
If you need to work on or inspect your Liftmaster circuit board, the first step is to turn off power to the unit for safety. Then, you’ll start by removing the outer cover of the garage door opener. Most models have screws on the sides or bottom that release the cover. Keep a small toolbox handy for this!
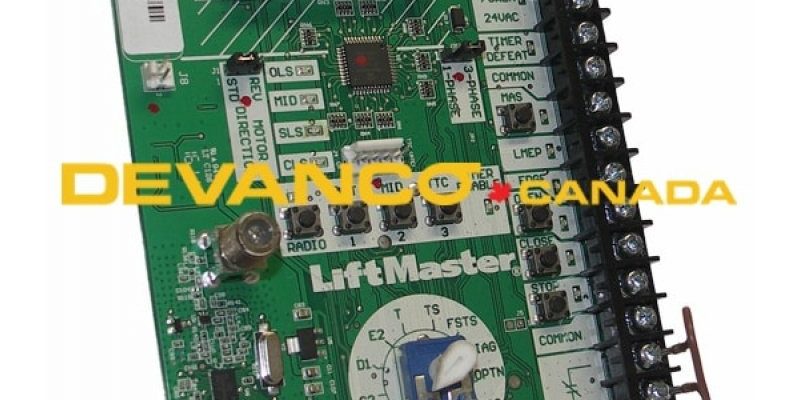
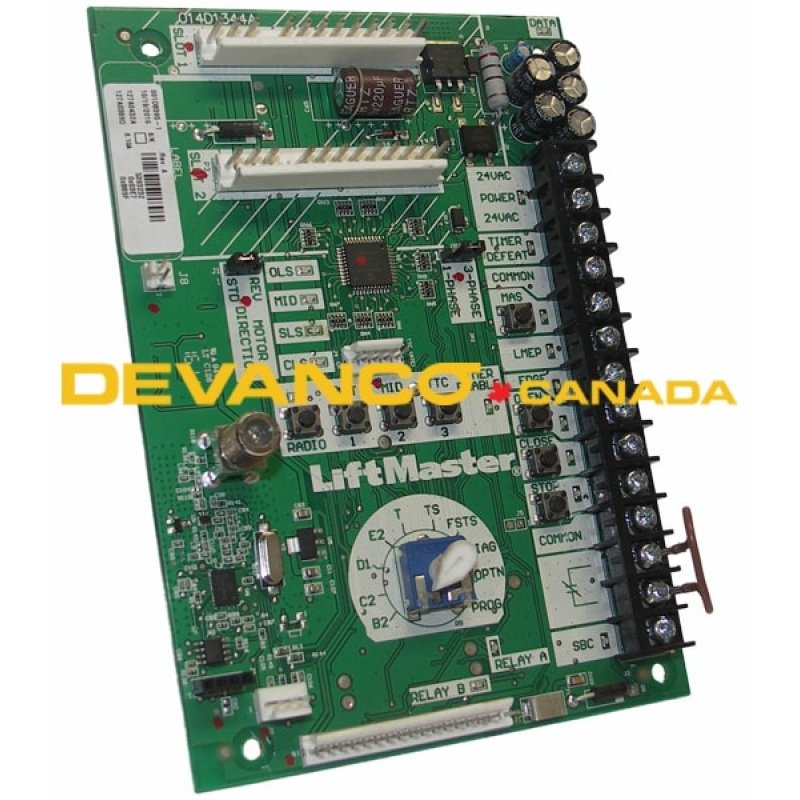
Once the cover is off, you’ll see a maze of wires and components. Carefully locate the circuit board; it’s usually a rectangular board with various electronic components. If you’re feeling unsure at any point, don’t hesitate to look up videos or manuals for your specific model. Patience is key here—treat it like a puzzle you’re piecing together.
Resetting the Circuit Board
Sometimes, resetting the circuit board can resolve issues. It’s a bit like hitting the refresh button on your computer. To reset, you’ll typically follow these quick steps:
- Disconnect the power from your Liftmaster opener.
- Wait about 10 seconds
- Reconnect the power, then press and hold the “Learn” button on the circuit board until the LED light turns on, then off.
- Reprogram your remote following the manufacturer’s guidelines.
Resetting clears previous settings, which can fix glitches and restore communication between the board and your remote.
Syncing Your Remote with the Circuit Board
After you’ve reset the circuit board, you might need to sync your remote again for it to work properly. While every model is a bit different, here’s a general process to follow:
1. Press and hold the “Learn” button on the circuit board until the light turns on.
2. Immediately press the button on your remote that you want to use.
3. Wait for the light on the board to blink or turn off, which indicates a successful sync.
Afterward, give it a test! If the garage door responds, you’re good to go. If not, you may need to check the battery in your remote or look for other issues.
Regular Maintenance for Your Circuit Board
To keep everything running smoothly, regular maintenance is key. Think of it as a wellness check for your garage door opener. Here’s what you can do to maintain your Liftmaster circuit board:
– Inspect the board: Look for signs of burning or corrosion. If something seems off, it might be time to replace parts or call a professional.
– Clean dust and debris: Use a soft brush or cloth to remove dirt—just be careful not to disturb the components.
– Check connections: Ensure all wires are securely connected. Loose connections can lead to malfunctions.
By staying on top of maintenance, you not only extend the lifespan of your opener but also save on potential repairs down the road.
When to Call for Help
While many issues can be solved with a little DIY spirit, certain problems deserve a professional touch. For instance, if you notice burning smells, unusual noises, or persistent error codes after troubleshooting, it’s best to call a garage door technician. They have the expertise and tools to diagnose and repair problems accurately, ensuring the safety of your system.
In short, understanding your Liftmaster circuit board empowers you to troubleshoot and maintain your garage door opener effectively. Regular check-ups, syncing your remote properly, and knowing when to call for help can all make a huge difference in keeping your garage door functioning smoothly.
By embracing these tips, you become the master of your Liftmaster system, turning confusion into confidence each time you press that button to open your garage door. Now, go ahead and tackle any issues like a pro!
Originally posted 2025-02-28 17:14:09.