These sensors are designed to stop the garage door from closing if something—or someone—interrupts its path. It’s a crucial feature that not only helps protect your car but also any kids or pets who might dart into the garage as the door starts to close. Understanding how to properly use and maintain these sensors will ensure your safety—and that of your family—making life a little easier and a lot safer.
Let’s break down how to use your Liftmaster safety sensor, starting from the basics and moving into troubleshooting tips that every homeowner should know. Whether you’re installing a brand-new sensor or just trying to get to the bottom of a pesky issue, I’ll walk you through it step-by-step.
What Are Liftmaster Safety Sensors?
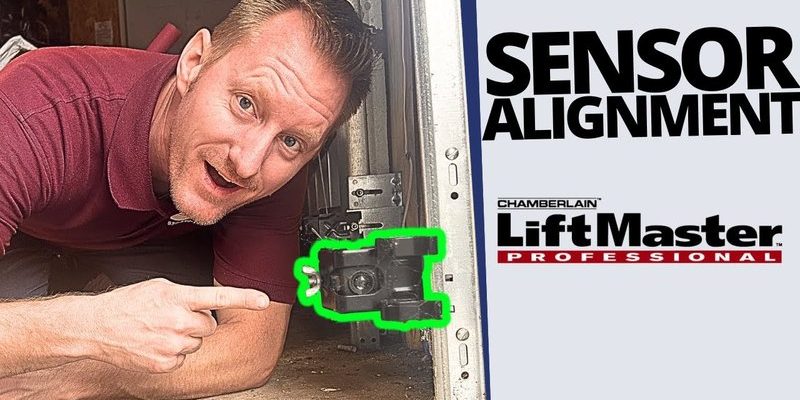
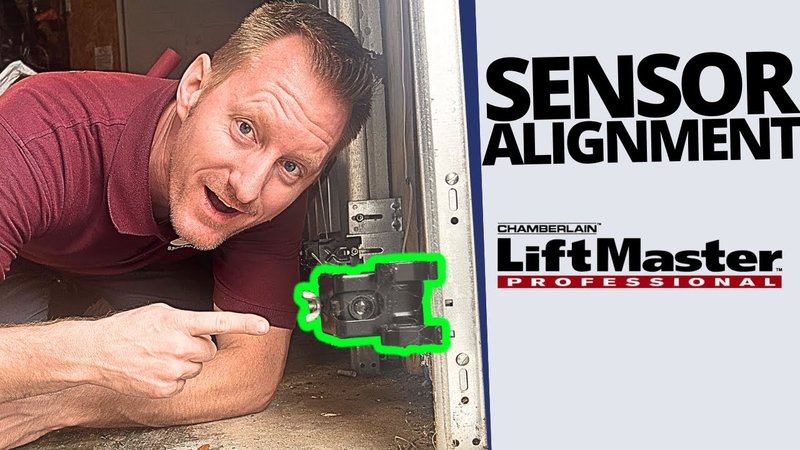
Liftmaster safety sensors are small devices located at the bottom of your garage door tracks. Imagine them as your garage’s version of a traffic cop. They work by emitting a beam of light between them; if that beam is interrupted, the door automatically stops closing. This prevents accidents, like crushing a bike or a pet, making it an essential safety feature.
But how do they work exactly? When you press the remote to close the door, the sensors communicate with each other. If nothing is blocking their line of sight, the door will proceed to close. If something—or someone—does get in the way, the sensors trigger a safety mechanism that reverses the door’s movement.
It’s a simple but powerful system, right? That’s why understanding how to keep them functioning properly is key to smooth and safe operations.
Installing Your Liftmaster Safety Sensors
Installing Liftmaster safety sensors isn’t rocket science, but it’s important to get it right. Here’s a straightforward way to do it:
1. Gather Your Tools: You’re going to need a screwdriver, a level, and maybe a helper. If your garage is a bit dark, having a flashlight can also be handy.
2. Locate Sensor Placement: Find a spot on either side of the garage door, about 6 inches off the ground. You want them high enough to avoid debris but low enough to sense anything that might wander into the door’s path.
3. Mount the Sensors: Secure each bracket with screws, ensuring they’re level. If one sensor is higher than the other, it could lead to issues.
4. Connect the Wiring: Find the wiring compartments on your garage door opener. Following the manufacturer’s instructions, connect the wires from the sensors to the corresponding terminals on the opener.
Remember to double-check your connections! A loose wire can lead to malfunctioning sensors.
How to Pair Your Liftmaster Sensors with the Garage Door Opener
Once your sensors are installed, you’ve got to ensure they’re paired correctly with your Liftmaster garage door opener. Think of it like introducing two friends. Here’s how to do it:
1. Power Everything On: Plug in your garage door opener and make sure it’s powered up.
2. Press the Learn Button: On your opener, look for a button labeled “Learn” or “Program.” Press and release it. This tells the opener to start searching for the sensors.
3. Activate the Sensors: Within 30 seconds of pressing the Learn button, block the sensor’s beam by moving an object (or your hand) between them. This should prompt the opener to recognize the sensors.
4. Check for Lights: The lights on the opener should flash or stay solid, showing that the sensors are paired successfully.
If things don’t work out, don’t panic. Check your connections again and repeat these steps. Sometimes a little patience is all that’s needed.
Troubleshooting Common Sensor Issues
If your garage door isn’t responding as expected, it could be a sign that the safety sensors are having trouble. Here are some common issues and solutions:
– No Response When Closing Door: If the door doesn’t close at all, ensure the sensor lights are lit. Double-check that nothing is blocking their path and that they are aligned properly. Misalignment can easily cause issues.
– Door Reversing Unexpectedly: If your door starts to close but then reverses, something might be in the way, or the sensors could be misaligned. Adjust their positioning and try again.
– Flashing Sensor Light: If the sensor’s indicator light is flashing, it may indicate misalignment. A quick fix is to manually adjust the sensors until the light turns steady.
Addressing these common issues will save you time and frustration, helping to keep your garage door functional.
Maintaining Your Liftmaster Safety Sensors
Keeping your safety sensors in top shape doesn’t take much effort, but it’s vital for safe operation. Here’s how to maintain them:
– Regular Cleaning: Dust and debris can block the sensor’s view. Use a soft cloth to clean them periodically—every couple of months should be fine.
– Check Alignment: Occasionally, even a slight bump can misalign the sensors. Take a moment to check their alignment during your cleaning sessions.
– Inspect Wiring: Be sure to check that no cables are frayed or damaged. If you spot any problems, replacing them is crucial to prevent further issues.
Taking these steps seriously leads to improved functionality and safety, reducing the chances of mishaps down the line.
Navigating the world of garage door openers and their safety features may seem complex at first, but knowing how to use your Liftmaster safety sensor makes it a lot easier. With a little bit of knowledge about installation, pairing, troubleshooting, and maintenance, you can feel confident handling your garage door.
So, the next time you hear that grinding noise of a garage door opening, just remember—you’ve got a smart safety feature keeping your family safe. By following the steps outlined, not only will you prolong the life of your sensors, but you’ll also ensure your garage is a safe space for everyone.