Using the LiftMaster wall button isn’t rocket science, but it helps to understand what it does and how to troubleshoot common issues. Whether you’re excited to finally ditch that old remote or just curious about optimizing your setup, let’s dive into everything you need to know about using the LiftMaster wall button effectively.
Understanding Your LiftMaster Wall Button
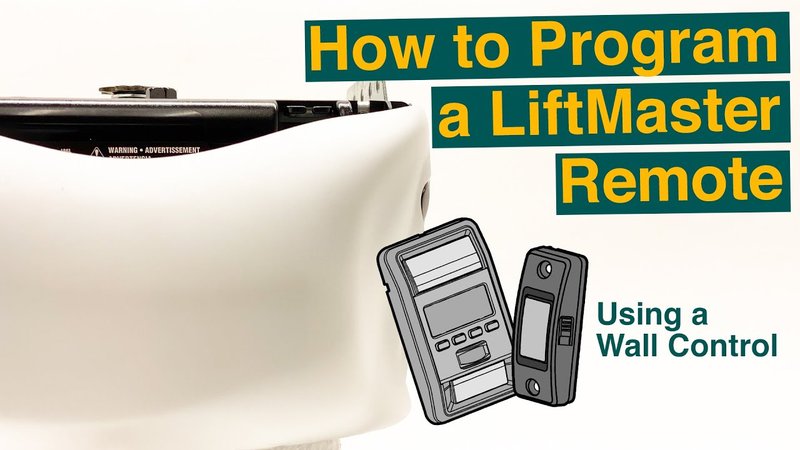
The LiftMaster wall button isn’t just a simple switch; it’s a gateway to convenience. When you press it, it sends a signal to your garage door opener to either open or close your garage door. Picture it as a remote control but directly connected to the door itself. This button usually comes with a few essential features, including a sleek design and bright indicator lights to show you when it’s working correctly.
The wall button might have one or more buttons, depending on the model. For example, you might encounter a single button for opening and closing or multiple buttons for controlling additional features, like lighting or security cameras. Knowing which button does what will make your experience smoother.
Like any gadget, the wall button is susceptible to common issues. If you’re ever faced with the button not working, the problem can often be traced back to power issues or connection problems with the garage door opener. Understanding these elements will prepare you when they arise.
How to Install Your LiftMaster Wall Button
Installing your LiftMaster wall button can feel like a daunting task, but it’s easier than it sounds. Grab your screwdriver and follow these steps:
1. Choose a Location: Pick a spot that’s easily accessible, usually around five feet from the ground. This keeps it out of reach of small children but still convenient for adults.
2. Prepare the Wiring: You’ll need to connect the wires from the wall button to the garage door opener unit. Be sure you have your wiring diagram handy, as this will help you with connections.
3. Mount the Button: Using the screws that come with the button, attach it to the wall. A level can come in handy for ensuring it’s straight.
4. Make the Connections: Connect the wires according to the manufacturer’s instructions. Typically, you’ll find two terminal screws on the back of the button labeled for easy identification.
5. Secure and Test: Once everything is connected and secured, turn the power back on and test the button. If it lights up and operates the door, congratulations! You’ve successfully installed your wall button.
Synchronizing Your LiftMaster Wall Button
Now that your wall button is in place, you might want to synchronize it with your garage door opener if it doesn’t respond right away. This process is usually straightforward:
1. Locate the Learn Button: Find the “Learn” button on your LiftMaster garage door opener motor. It’s typically a colored button located on the back or side.
2. Press the Learn Button: Press and release the Learn button. You’ll see a light blink. This means the unit is ready to accept new signals.
3. Activate the Wall Button: Within 30 seconds after pressing the Learn button, go to your wall button and press it. You should see the lights on the opener flash, indicating a successful sync.
4. Test the Functionality: Give the wall button another push to confirm everything is working as intended. If the door opens or closes, you’ve done it right!
It’s essential to handle this process calmly. If you miss the time window, just press the Learn button again and repeat the steps.
Troubleshooting Common Issues with the Wall Button
Even the best gadgets can have hiccups. If you find your LiftMaster wall button isn’t functioning as expected, here are some common issues and how to troubleshoot them:
– Check Power Supply: First, ensure that your garage door opener is plugged in and that the circuit breaker hasn’t tripped. A simple power reset might be all you need.
– Inspect the Wiring: If you notice any broken or frayed wires, they might need replacing. This could prevent the wall button from sending signals to the garage door opener.
– Battery Complications: Although wall buttons usually don’t require batteries, some models may have backup systems. Make sure they’re functional if applicable.
– Signal Interference: Sometimes, nearby electronics might interfere with the signal. Testing the button at different times of the day may help identify if this is the problem.
By addressing these concerns, you can save time and frustration.
Additional Features of the LiftMaster Wall Button
The LiftMaster wall button may offer features that enhance your overall garage experience. Let’s explore some of these nifty options.
– Light Control: Many LiftMaster wall buttons have a feature that allows you to control the garage lights. This means no more fumbling in the dark after a long day; just a press and voila! Instant light.
– Security Features: Some models come with a built-in lockout feature that prevents unauthorized access. This is particularly handy if you want to ensure your garage remains secure when you’re away.
– Smart Home Integration: If you’ve invested in smart home technology, certain LiftMaster models can sync with systems like Google Home or Alexa. This means you can control your garage door with voice commands. How cool is that?
– Multi-User Access: Have family or friends who need access? The wall button can be part of a multi-user system, where you can program multiple codes or accounts for different people.
Always check your specific model’s instruction manual to familiarize yourself with all available features.
Why the LiftMaster Wall Button Matters
Understanding how to use your LiftMaster wall button effectively can significantly enhance your garage experience. Imagine arriving home from work with a handful of groceries; the last thing you want is to juggle those bags while fiddling with a remote or pushing a button that doesn’t work.
Moreover, mastering this button’s functionalities can improve your system’s security and efficiency. Whether you’re remotely syncing with smart devices or simply controlling lights, knowing your wall button can take convenience to a new level.
In today’s fast-paced world, we rely heavily on technology for ease and efficiency. By understanding and utilizing all the functions of your LiftMaster wall button, you can ensure your garage door operates smoothly every single time.
In conclusion, the LiftMaster wall button is a straightforward yet powerful tool that brings comfort and security to your home. With simple installation, syncing, and troubleshooting, you can easily conquer any challenges you might face. So the next time the remote goes missing, you’ll know exactly how to get that garage door open without missing a beat. Happy opening!
