So, let’s dive into how you can make the most of your LiftMaster garage door opener. Most models come with a remote control or a wall-mounted keypad, both designed to offer convenience at your fingertips. In this guide, we’ll go through how to operate these remotes effectively, troubleshoot common issues, and even cover those little-known features that could enhance your experience. Grab a cup of coffee, and let’s get rolling!
Understanding Your LiftMaster Garage Door Opener
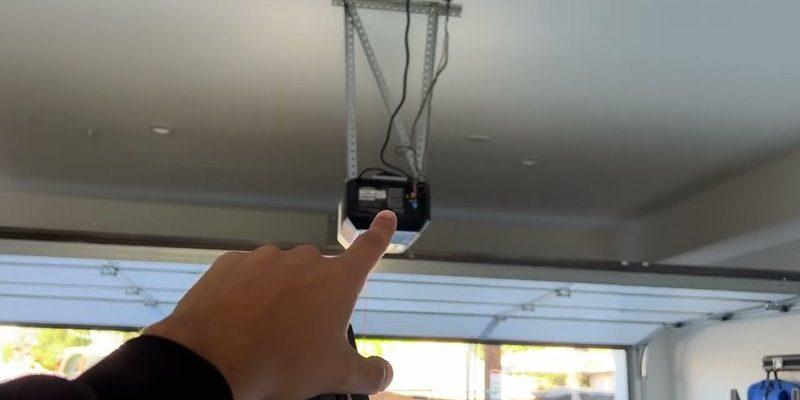
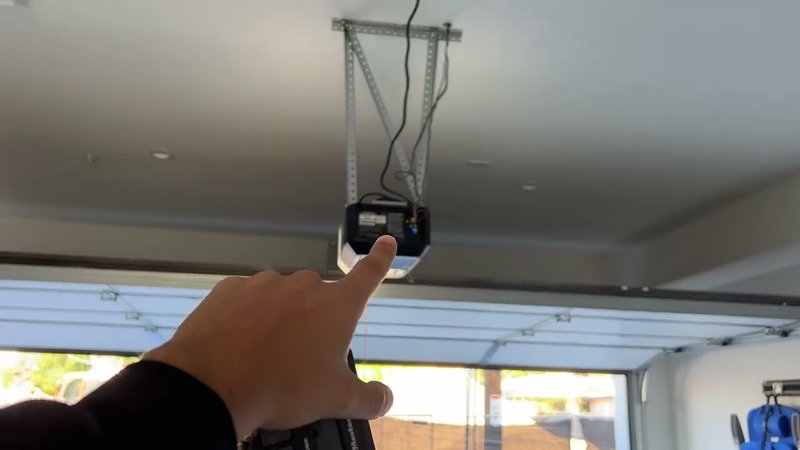
To use a LiftMaster garage door opener, it’s important to first understand how it works. The main unit is typically mounted on the ceiling of your garage. It coordinates the operation of the door, while the remote or keypad gives you the control. Most models use a small motor that connects to your garage door through a series of pulleys and cables. When you press a button on your remote, it sends a signal to the motor, telling it to either open or close the door.
These openers often come with safety features, such as sensors that detect if something is in the way when the door is closing. This means if your cat decides to dart under the door, it won’t get squished! You’ll find a variety of models ranging from basic garage door openers to more advanced ones with smart technology that allows you to operate them from your smartphone. Honestly, the technology has come a long way, and understanding what you have will help you utilize its full potential.
In all likelihood, your LiftMaster garage door opener will be one of two types: chain drive or belt drive. Chain drive models tend to be more affordable and work well for heavier doors, while belt drive openers offer a quieter operation, great for homes with bedrooms above the garage.
Setting Up Your LiftMaster Remote
Getting your LiftMaster remote to work is the first step in making your life easier. Here’s how you can set it up:
1. Locate the Learn Button: On the back or side of your garage door opener, there’s a button labeled “Learn.” Press this button until the indicator light turns on—this puts the opener in programming mode.
2. Press the Remote Button: While the light is on, press and hold the button on your remote that you want to program. Hold it for about 3 seconds or until you see the indicator light blink and turn off. Voilà! Your remote is now paired with the opener.
3. Test It Out: Press the button on your remote to see if the garage door responds. If it does, you’re all set! If not, repeat the process to ensure you hit the right buttons.
Sometimes, remote battery issues can crop up, which makes it seem like the garage door opener isn’t working. A quick battery change usually solves this. Here’s the thing: if your remote is unresponsive, make sure to check the battery first before diving into any advanced troubleshooting.
Using the Keypad for Entry
Aside from the remote, many LiftMaster models come with a wireless keypad option. This can be incredibly handy, especially if you often forget your remote or don’t want to take it with you each time. Here’s a quick guide to using your keypad:
1. Install the Keypad: If you haven’t done so yet, follow the instructions that come with your keypad to install it, usually just outside the garage door.
2. Program the Code: Similar to programming your remote, you’ll need to enter the programming mode. Press the “Learn” button on the opener, then enter your chosen code on the keypad. Finish by pressing the “Enter” button.
3. Test It: After programming, enter the code you set and hit “Enter” to see if the door opens or closes.
Having a keypad gives you quick access without needing to rummage through your pockets. Plus, it’s a great option if you want to give someone else access without needing to give them your remote.
Common Troubleshooting Tips
Even the best gadgets can misbehave sometimes. If you find your LiftMaster garage door opener isn’t working properly, here’s a handy troubleshooting guide to help you out:
– Check the Power: Ensure the opener is plugged in and that the outlet works. Sometimes, the simplest solution is the best one.
– Inspect Sensors: Check the safety sensors located at the bottom of the door tracks. If they’re misaligned or dirty, the door might not operate. Clean them and ensure they’re aligned properly.
– Remote Issues: If the remote isn’t working, try replacing the batteries. If it still doesn’t work, reprogram it following the steps mentioned earlier.
You might be wondering what to do if the door opens during a storm, or if you’ve forgotten your code. Don’t panic! Most LiftMaster models have a manual release option. Just pull down on the release cord, and you can operate the door manually.
Advanced Features of Your LiftMaster Opener
Many LiftMaster garage door openers boast advanced features that enhance their usability. For example, some models offer smart technology, allowing you to control your garage door from your smartphone. Here’s how to make use of these advanced features:
– Smartphone Control: Download the MyQ app and follow the instructions to sync your opener. This way, you can operate it from anywhere—even while at work or on vacation!
– Alerts and Notifications: Set up alerts to notify you when the garage door opens or closes. This can provide peace of mind, especially if you’ve left home and are unsure if you remembered to close the door.
– Time-Saving Features: Some models allow you to schedule when the door opens or closes. This is beneficial for families with set arrival or departure times.
These features can genuinely simplify life, especially if you frequently forget to check if the garage door is closed.
Maintaining Your LiftMaster Garage Door Opener
Like any piece of equipment, your LiftMaster garage door opener requires some regular maintenance to keep it running smoothly. Here’s how to ensure it stays in tip-top condition:
– Lubricate Moving Parts: Every few months, apply a light oil to the moving parts, such as the garage door hinges and rollers. This helps in reducing noise and ensures a smooth operation.
– Check the Door Balance: Disconnect the opener by pulling the release cord, then manually open the door halfway. If it doesn’t stay in place, the springs may need adjustment, and it’s best to call a pro for this.
– Inspect Cables and Hardware: Regularly look over the cables and hardware for wear and tear. If you see fraying or rust, consider getting replacements to avoid potential accidents.
Taking the time to maintain your LiftMaster garage door opener can extend its lifespan and keep those frustrating breakdowns at bay.
Wrap-Up: Enjoying the Convenience of Your Garage Door Opener
Using your LiftMaster garage door opener doesn’t have to be complicated, and once you get the hang of it, you’ll wonder how you ever lived without it. From using the remote and keypad to troubleshooting and maintaining your opener, each step unlocks a level of convenience that modern technology affords us.
Whether it’s the ease of entering your garage without lifting a finger or the peace of mind from smart features, the LiftMaster garage door opener is designed to make your life smoother. Remember to familiarize yourself with its capabilities, keep it maintained, and don’t hesitate to troubleshoot any hiccups you encounter along the way. Happy opening!