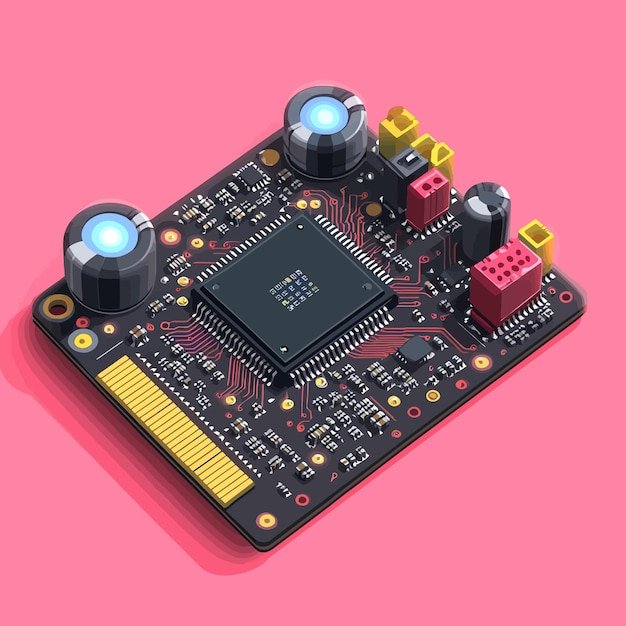
Understanding how to connect the Sears circuit board is essential because it directly impacts how your garage door operates. If you’re feeling frustrated with miscommunication between your remote and the opener, or if you’ve installed a new circuit board, knowing how to make those connections is key. Let’s break down the process step by step, so even a beginner can feel empowered to tackle it like a pro!
Gathering Your Tools and Safety Precautions
Before diving into the connection process, you need to make sure you have the right tools at your disposal. You don’t want to get halfway through and realize that you’re missing something crucial. Here’s what you might need:
- Screwdriver: A Phillips or flathead, depending on your opener’s screws.
- Wire Strippers: These will help you prepare your wires properly.
- Multimeter: To check voltage and ensure your connections are working.
- Safety Gloves: Always smart when dealing with electrical components.
Now that you have your tools, let’s talk safety. Before you open anything up, make sure to unplug the opener from its power source. This isn’t the time to play with live wires, as it can lead to accidents or damage. Think of this as putting on the proverbial seatbelt before taking a drive; it’s all about protecting yourself before you hit the road.
Identifying the Circuit Board
Identifying the correct circuit board is like knowing which room you need to enter in a house full of doors. Sears garage door openers typically feature a main circuit board that governs the entire unit’s operations. It’s usually located near the motor in the unit’s housing. If you’re unsure, check the user manual; it’s designed to guide you through the maze of wiring and components.
Once located, take a moment to inspect it. Look for any visible signs of damage such as burnt spots, broken connections, or loose wires. If you see anything funky, it might be worth replacing the board instead of simply connecting it. Everything in the board plays a role, much like elements in a recipe. One off-ingredient can change the whole dish.
Preparing the Wires for Connection
Now that you’ve found your circuit board, it’s time to deal with the wires. You want everything to be clean and tight—think of it like wrapping a present nicely, so it looks good and doesn’t fall apart. Use your wire strippers to remove about half an inch of insulation from the end of each wire. This exposes the copper, allowing for a strong connection.
Make sure the exposed wire is free of frayed ends. If they’re frayed, you may face connection problems later. It’s like trying to drink from a straw that has holes in it; it just won’t work as it should!
Connecting the Circuit Board Wires
With your wires prepped, let’s move on to the actual connection process. Here’s how to do it step by step:
1. Start by examining the circuit board for marked connection points. You’ll typically see labels like “Power,” “Motor,” or “Remote.”
2. Take the first wire, making sure it matches the labeled connection point. For example, the white wire usually connects to the “Power” terminal.
3. Open up the terminal screw using your screwdriver. Carefully insert the wire into the terminal hole and tighten the screw securely.
4. Repeat this for each wire until all connections are snugly in place.
Think of this process as assembling a puzzle; each piece needs to fit perfectly. Proper connections reduce the risk of malfunctioning and keep your opener operating smoothly.
Testing Your Connections
Once you’ve connected all the wires, it’s time for the moment of truth—testing the connections. Plug the opener back into its power source. If everything is in order, you should hear a small humming sound as it powers on.
Here’s a quick tip: If you have a multimeter, you can check the voltage at each terminal to ensure everything is working as expected. If no sounds or lights come on, it might indicate a problem, so double-check your connections. Remember, like a good detective, you have to investigate if things don’t add up!
Troubleshooting Common Issues
Sometimes, even after everything seems connected perfectly, issues can arise. If your garage door isn’t responding, try these common troubleshooting steps:
- Check Power Source: Ensure the opener is plugged in and the circuit breaker hasn’t tripped.
- Inspect Remote Batteries: A weak battery can prevent the remote from sending signals. Replace them while you’re at it.
- Look for Interference: Other devices or structures could interfere with your remote signals. Move your car or any electronic devices away and test again.
Don’t forget—patience is key. Sometimes it takes a few tries before you find the hiccup.
Final Thoughts on Connecting Your Sears Circuit Board
Learning how to connect your Sears circuit board isn’t just about solving a problem; it’s about feeling more comfortable tackling household tasks. With the right tools and steps outlined here, you can successfully make these connections—whether for repairs or routine maintenance. It’s all about understanding your equipment better, which can save you time and money in the long run.
So, take a deep breath, roll up your sleeves, and dive in. Setting up that circuit board is just another small step in making your garage door opener run smoothly again. After all, there’s no better feeling than knowing you handled it on your own!
