In this guide, we’ll walk you through the steps needed to get that control panel up and running. We’ll cover everything from syncing it with the remote to troubleshooting common hiccups along the way. Don’t worry if you’re not tech-savvy; I’ll explain everything in a clear and friendly way, just like I would over coffee. Let’s dive into the world of Raynor and make those garage doors work like a charm!
Understanding Your Raynor Control Panel
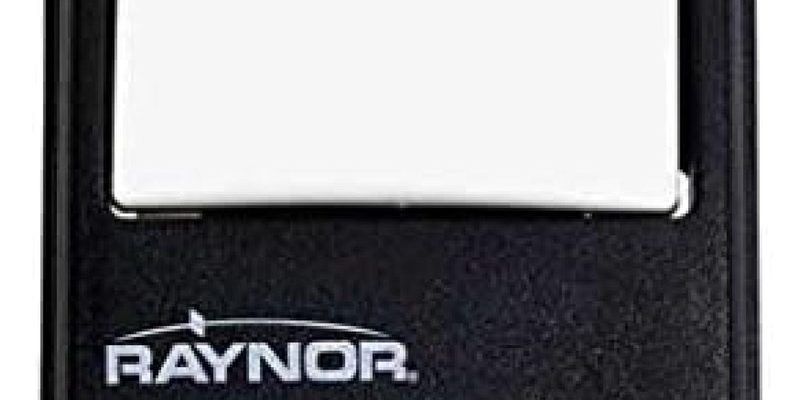
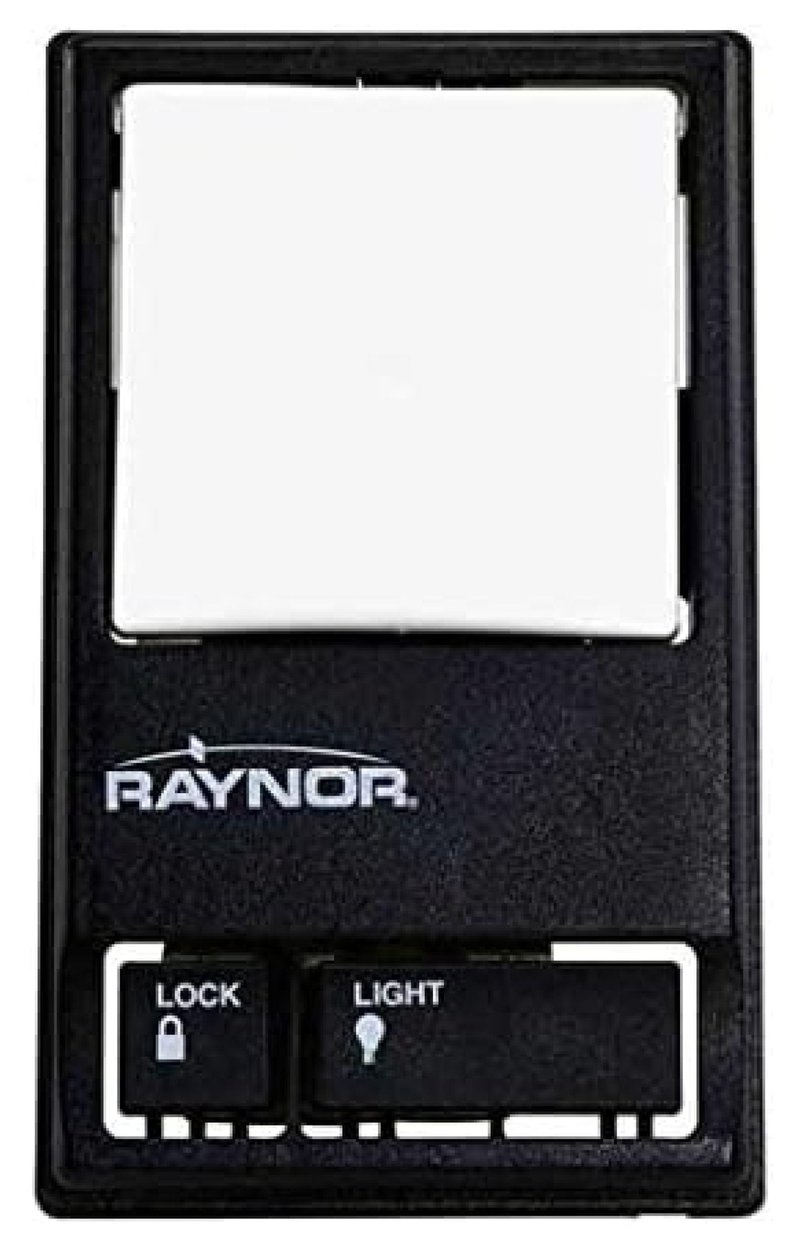
Before we jump into the connection process, it’s important to understand what the Raynor control panel does. It acts as the central hub for managing your garage door opener. With features like a digital display and various buttons, the control panel allows you to open and close the door, program remote controls, and even monitor battery levels.
Think of this panel as the remote control for your garage door; it enables you to operate it with ease. Familiarizing yourself with the layout and functions of the control panel will make the connection process much easier. If you spot labels or icons that you’re unsure about, don’t hesitate to look up the user manual for further explanations on what each button does.
Gathering Tools and Preparing for Connection
Before getting started, let’s make sure you have everything you need for a smooth connection. While it might seem tempting to dive right in, preparation is key. Here’s a quick checklist of what you’ll want to have on hand:
- Your Raynor control panel
- Remote control (if applicable)
- Small screwdriver (usually Phillips)
- Fresh batteries for both the control panel and remote
- A reliable source of light (if working in a dim garage)
Next, take a moment to ensure that all power to your garage door opener is off. This is crucial for safety during the setup process. You wouldn’t want to accidentally activate the door while you’re working!
Connecting the Control Panel to the Garage Door Opener
Now, let’s get to the heart of the matter: connecting the Raynor control panel to the garage door opener. The process might vary slightly depending on your specific Raynor model, but the overall steps remain similar. Here’s how to do it:
1. Locate the Connecting Wires: Open the garage door opener unit to expose the connecting terminals. You’ll usually find them clearly labeled.
2. Attach the Wires: Connect the corresponding wires from the control panel to the terminal on the opener. Typically, you would connect the wires according to color—red to red, white to white. Ensure the connections are tight and secure.
3. Fasten the Control Panel: Use a small screwdriver to attach the control panel to the wall or mounting plate. Make sure it’s at a convenient height for easy access.
4. Turn the Power Back On: Turn on the power to your garage door opener and test everything. The control panel should light up, and you should hear a click when you press any button.
Remember, here’s the thing: if the lights on the control panel don’t illuminate, double-check your wiring connections. Making sure everything is properly secured is crucial for functionality.
Syncing Your Remote Control with the Raynor Control Panel
So, how do you get your remote control to communicate with your newly installed Raynor control panel? Syncing is easier than you might think! Here’s a step-by-step guide:
1. Press the Learn Button: On the garage door opener, locate the ‘Learn’ button. This is usually found near the antenna wire. Press and release it, and you’ll see a small light blinking.
2. Press the Remote Button: Within 30 seconds of pressing the learn button, press any button on your remote control you wish to sync. The blinking light on the opener will stop, indicating a successful sync.
3. Test the Remote: Try opening and closing your garage door with the remote. If it works, fantastic! If not, you might need to repeat the steps or check the battery in the remote.
Remember, syncing can sometimes be a bit finicky, so patience is essential. If you find that it’s still not working, don’t hesitate to look into troubleshooting tips.
Troubleshooting Common Connection Issues
Even after following all the steps, you might encounter some hiccups. Don’t worry; troubleshooting is part of the process! Here are some common issues and how to tackle them:
– Control Panel Won’t Light Up: If your control panel stays dark after connecting, double-check the power supply and ensure that your wires are tightly connected. Also, replace the batteries if necessary.
– Remote Not Pairing: Sometimes, the remote just won’t sync with the panel. Ensure you’re within range and retry the syncing process. If the remote is older, consider changing its batteries as well.
– Inconsistent Response: If your garage door only opens sometimes, it could be due to interference. Ensure there are no obstructions between the remote and the opener, and try relocating the opener’s antenna if needed.
In troubleshooting, always remember, approach with a mindset that problems can be solved. It’s like a puzzle; sometimes, a small piece is just misplaced.
Maintaining Your Raynor Control Panel
Once you have everything connected and working, you’ll want to keep your control panel in top shape. Maintenance is crucial for extending the life of your garage door system. Here’s how to go about it:
– Regularly Inspect Connections: Periodically check all wire connections. Ensure there are no loose wires or wear and tear. Tighten them if necessary to maintain steady communication between the control panel and the opener.
– Change Batteries Often: Just like with any electronic device, replacing the batteries every year—especially in the remote—can prevent unexpected breakdowns.
– Clean the Control Panel: Dust and dirt can accumulate around buttons. Use a soft, dry cloth to gently wipe down the panel. Avoid using any harsh chemicals that might damage the electronic components.
By dedicating a little time to maintenance, you can help ensure your Raynor control panel and garage door opener continue to function smoothly.
Connecting your Raynor control panel doesn’t have to be daunting. By following the steps outlined above, you’ll be building a functional relationship between your control panel and garage door opener in no time. Just remember, preparation is essential, and troubleshooting is a natural part of the process.
So whether you’re opening the garage door for the car or keeping your storage space organized, you’ve got the knowledge to put the pieces together. Now you can confidently manage your Raynor system and impress folks with your savvy tech skills—like a pro!