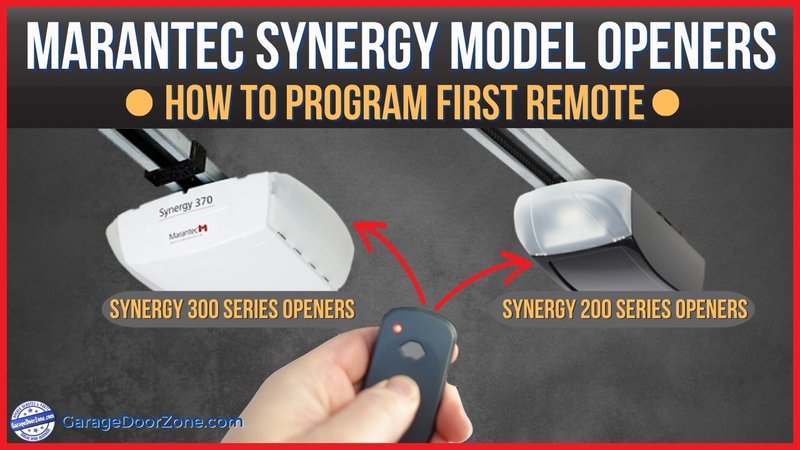
For those new to this world, Marantec is a well-known brand for garage door openers, and their circuit boards play a crucial role in the operation of your garage door. Understanding how to connect these boards can save you time and money—no need for pricey technician visits or full-unit replacements. Ready to roll up your sleeves? Let’s get into the step-by-step process.
Understanding the Marantec Circuit Board
Before we jump into the connection process, it’s essential to grasp what the circuit board does. Essentially, the circuit board serves as the brain of your garage door opener. It receives signals from your remote control when you press the button and translates that into actions, like opening or closing the door.
Components of the Circuit Board:
– Transmitter Module: This communicates with your remote.
– Receiver: The part that understands the signals sent from the remote.
– Power Supply: Provides the necessary power for the entire system.
– Connectors: These link the circuit board to other elements, like sensors and motors.
Understanding these components will help you troubleshoot issues down the line, making the task at hand more manageable.
Gather Essential Tools and Materials
To connect your Marantec circuit board, you’ll need a few basic tools and materials. It’s like prepping your kitchen before a big recipe—you want everything within reach!
Here’s what you’ll typically need:
- Screwdriver (usually Phillips or flathead, depending on your opener model)
- Wire strippers or cutters
- A multi-meter (for checking connections)
- Safety gloves (better safe than sorry)
- Replacement wires if the old ones appear frayed or damaged
Having everything on hand will help avoid unnecessary trips to the hardware store, which can be a real mood killer in the middle of a project.
Preparing for the Connection
Now that you’ve got your tools handy, it’s time to prepare for the connection. Remember, safety first! Disconnect the power to your garage door opener before you do anything; you don’t want any electricity surprises.
Once that’s sorted, take a close look at your existing setup. Make note of where wires are connected. You can take photographs or draw a little diagram if that helps. It’s like leaving breadcrumbs to find your way back if things go awry later.
Also, check the condition of the wires while you’re at it. If you see any wear, fraying, or corrosion, replace them. This small step will save you headaches in the long run.
Connecting the Circuit Board
When you’re ready to connect, start by positioning your new circuit board correctly within the garage door opener unit. Typically, Marantec boards have designated slots for different wires.
1. Second Reference: Look for labeling—most circuit boards indicate where each wire should go, such as “motor,” “battery,” or “remote.”
2. Twist and insert wires: Strip a bit of insulation from the wire. Then, insert it into the designated slot and twist it securely to ensure a firm connection.
3. Use connector blocks if available: Some boards come with connector blocks that allow for easier attachment.
Connecting correctly is crucial, as improper connections can lead to malfunction or even damage to the board.
Syncing Your Remote Control
Now that the connection is in place, it’s time to sync your remote control with the new circuit board. Here’s where some people may feel a bit lost, but don’t worry—this process isn’t rocket science.
1. Locate the ‘Learn’ button: On most Marantec boards, there’s a button usually labeled “learn” or “program.”
2. Press the button: This will activate the learning mode.
3. Activate the remote: Press any button on your remote within 30 seconds. You should see an LED light blink or hear a sound indicating successful pairing.
And just like that, you’ve created a communication link between the remote and the circuit board.
Testing the Connection
Okay, you’ve done the work—now it’s time to test it out. Reconnect power to the garage door opener and grab your remote. Press the button and see if the door opens or closes smoothly.
Consider the following during testing:
- Check for smooth movement: If the door hesitates or makes unusual noises, there might be a connection issue.
- Look for error lights: Many models will show warning lights if something is wrong.
- Double-check your remote control battery: It could simply be that your battery needs replacing.
If everything works well, congrats! You’ve just successfully connected a Marantec circuit board!
Troubleshooting Common Issues
Even with the best intentions, sometimes things don’t go as planned. If you encounter problems, here’s a quick troubleshooting checklist to help you on your way:
1. Remote not functioning? Check the battery and ensure it’s fresh.
2. No response from the opener? Double-check all connections—loose wiring can be a sneaky problem.
3. Intermittent failures? Look for faulty components. Using a multi-meter to test connections can be useful.
Always remember, diagnosing problems can sometimes be tricky, but with patience, you’ll usually find the issue fairly quickly.
Connecting the Marantec circuit board doesn’t have to be a daunting task. By breaking it down into manageable steps, you can tackle it easily, just like piecing together a jigsaw puzzle. Not only does this give you a deeper understanding of how your garage door opener works, but it also empowers you to address repairs in the future.
You’ve learned how to prepare, connect, sync, and even troubleshoot your garage door opener’s circuit board. So, the next time your garage door doesn’t respond, you can confidently deal with it. So roll up your sleeves, gather your tools, and dive into this rewarding project—a well-functioning garage door is just a connection away!
