In this guide, I’ll walk you through the steps to connect the overhead door wall button. Whether you’re a handy DIYer or someone who’s never held a screwdriver, you’ll find this straightforward. We’ll touch on common brands, understand how these buttons work, and troubleshoot issues together. So, grab your favorite drink and let’s dive in!
What is an Overhead Door Wall Button?
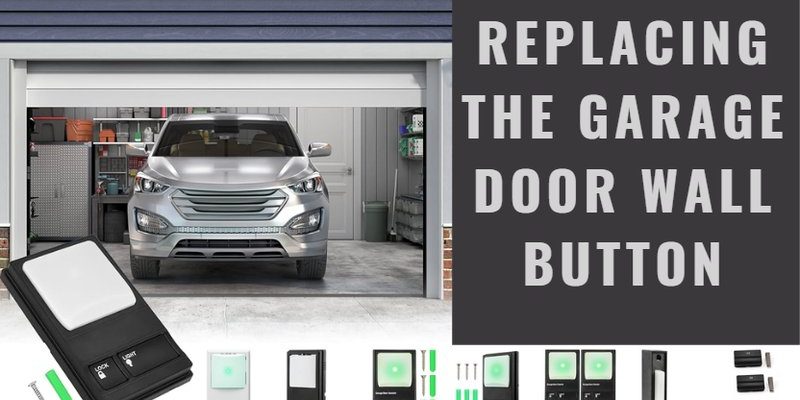
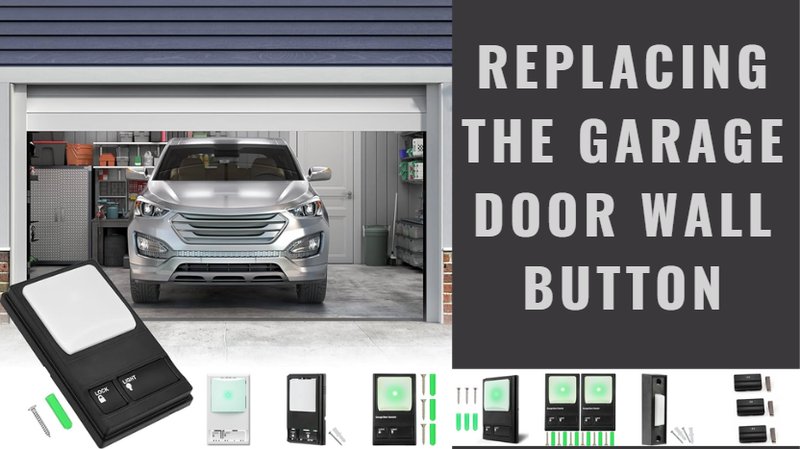
You might be wondering what an overhead door wall button actually is. Simply put, it’s a push button mounted on the wall of your garage that allows you to open and close your garage door without a remote. Think of it as a direct line to your door. Instead of fumbling for your remote or if the battery runs out, just a simple push does the trick.
Typically, these buttons work on a simple wiring connection to your garage door opener. They send signals to your opener to tell it what to do (open or close the door). It’s reliable and often more convenient than using a remote, especially when you’re coming in and out frequently. If you’re connecting one for the first time, let’s get you set up!
Gathering the Necessary Tools
Before you begin, it’s crucial to have everything you need on hand. Here’s a quick list of tools and materials that will make your job much easier:
- Screwdriver – usually a Phillips head for attaching the button to the wall.
- Wire Strippers – for preparing the wires when connecting them.
- Drill – if you need to make holes in the wall for screws.
- Level – to ensure your button is installed straight.
- Electrical Tape – for securing connections and providing insulation.
Having the right tools ready will save you time and prevent frustration. Honestly, there’s nothing worse than getting halfway through a project only to realize you’re missing something key. So check this list, gather your tools, and you’ll be all set!
Understanding the Wiring Diagram
Now that you’re geared up, it’s essential to understand how the wiring works. Most overhead door wall buttons operate with two or three wires. Here’s the breakdown:
– Common Terminal (Com): This is usually the white wire. It’s the “return” path for the electricity and connects to the garage door opener.
– Open Terminal (Open): Often this wire is red or yellow. It’s the signal that tells the opener to open the garage door.
– Close Terminal (Close): This wire activates the closing function of the door, typically in blue or green.
If you’re staring at a wiring diagram, don’t be intimidated. Picture connecting the wall button like matching colors in a game—each wire goes to its corresponding spot. If you’re unsure, many manufacturers provide simple diagrams in the manual that comes with your opener, too.
Wiring Your Overhead Door Wall Button
Time to make the connection! Here’s how you can wire the overhead door wall button:
1. Turn Off Power: For safety since you’re working with electricity, it’s vital to first turn off the power to your garage door opener. This could save you from a shocking surprise!
2. Connect the Wires:
– Strip about half an inch of insulation off the ends of your wires using your wire strippers.
– Connect each wire to the corresponding terminal. For example, attach the white wire to the common terminal, the red (or yellow) wire to the open terminal, and the blue (or green) wire to the close terminal.
– Use electrical tape to secure each connection and provide insulation.
3. Attach the Button to the Wall: Once all wires are securely connected, position your button where it feels comfortable for use. Use your screwdriver to secure it in place.
4. Turn the Power Back On: After you’re finished connecting, turn the power back on to your garage door opener.
Testing Your New Wall Button Connection
Now that everything is wired up, it’s time to test your connection! Here’s how you ensure that everything is working properly:
1. Press the Button: Simply push your installed wall button. If it’s connected correctly, your garage door should open or close smoothly.
2. Watch for Delays or Malfunctions: If it doesn’t respond, go back and double-check your connections. Look for loose wires or see if you might have mixed up terminals.
3. Listen for Clicks: When you hit the button, listen for a click from the opener. A lack of sound could indicate that the wall button isn’t wired correctly, or the opener itself could have issues.
Remember, if your wall button works perfectly—great! If not, don’t panic. Often it’s just a simple wiring issue that can be fixed by retracing your steps.
Troubleshooting Common Issues
Sometimes, even with the best-laid plans, things might go wrong. Here are a few common issues you might encounter while connecting your overhead door wall button and how to solve them:
– No Response from Door: If pressing the button doesn’t work, first check if the power to the opener is on. Then inspect the wiring connections for any loose wires.
– Button Sticking or Failing: If the button feels sticky or doesn’t click, it might be faulty. Consider replacing it with a new one, as they’re relatively inexpensive.
– Garage Door Moves Erratically: If the door opens or closes erratically, there could be an issue with the opener, or the wall button might be malfunctioning. Check the connections and consider consulting your opener’s manual for help.
By staying calm and methodical, you can troubleshoot these challenges. The best part? You’ll learn more about your garage door system in the process!
Alternative Controls for Your Garage Door
If the overhead door wall button isn’t your style, there are several other options for controlling your garage door. Here are a couple of popular alternatives to consider:
– Remote Controls: These are typically handheld, which makes them portable. However, battery life can be an issue, and they can be lost easily.
– Smartphone Apps: Many modern garage door openers now come with apps. You can open and close your garage door right from your smartphone. This offers a great convenience but does rely on a reliable internet connection.
– Keypad Entry: This allows you to enter a code to open your garage door. It’s secure, and you won’t have to worry about losing a remote, but it does require remembering the code.
Whatever option you choose, each has its pros and cons. The wall button is often the simplest and most reliable choice, especially in emergencies.
Final Thoughts
Connecting your overhead door wall button doesn’t have to be daunting. With the right tools, a bit of patience, and a methodical approach, you’ll have that button up and running smoothly. Remember to take your time, refer back to this guide if needed, and enjoy the convenience of having that quick access to your garage.
Ultimately, understanding how to connect and troubleshoot your wall button also gives you confidence in tackling other DIY projects around the home. Plus, you’ll become a garage door expert in no time! Happy connecting!