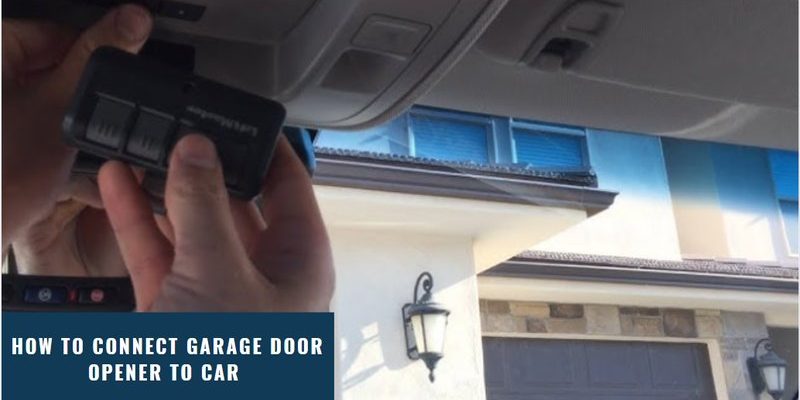
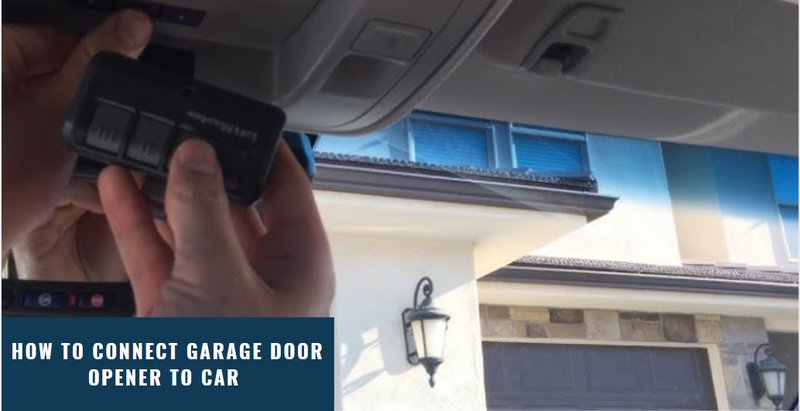
Think of connecting your overhead door remote like syncing your phone to your Bluetooth speakers. You need to let both devices talk to each other, and sometimes you just need to adjust the settings a bit. So grab your remote, and let’s get started on making your garage door open and close with the press of a button!
Understanding Your Overhead Door Remote
Before we dive into the connection process, it’s essential to understand a bit about your overhead door remote. Most remotes operate using radio frequencies to communicate with the garage door opener. When you press a button on the remote, it sends a specific code that tells the opener to either open or close the door. Each remote is designed to work with specific models of garage door openers, so it’s crucial to have the right one.
You might have a single-button remote for basic operations or a multi-button remote that allows you to control multiple doors or features like lights. Some modern remotes even offer smart technology, letting you connect with your smartphone. Understanding your remote’s capabilities ensures you know what features to utilize and which models are compatible with your existing setup.
Gathering Your Tools and Materials
Before you begin the connection process, make sure you have everything you need. Here’s a quick checklist to get you started:
- Your overhead door remote
- The garage door opener (installed, of course!)
- A step stool (if your opener is mounted high)
- Fresh batteries for your remote, if needed
Once you’re equipped with these items, you’ll be ready to tackle connecting your remote. Honestly, not having fresh batteries can lead to unnecessary frustration, so check that first. A little preparation goes a long way in ensuring everything works smoothly without any unexpected hiccups.
How to Program Your Overhead Door Remote
Programming your overhead door remote usually involves a series of steps. Don’t worry; I’ll break it down for you.
1. Locate the learn button on your garage door opener. This button is usually found on the back or side of the unit, and it may be labeled as “Learn” or “Program.” It’s often a small, round button.
2. Press the learn button. You might have a 30-second window before it times out, so be quick! A light on the opener will typically blink, indicating it’s in programming mode.
3. Press the button on your remote. At this point, you should press the button you want to use to open your garage door. You might hear a click or see a light flash, confirming that the remote has been successfully paired with the opener.
4. Test the connection. Go ahead and press the button on your remote to see if the garage door responds. If it opens or closes as intended, congratulations, you’ve connected your remote successfully!
If it doesn’t work, don’t panic. Sometimes, it just takes a little tweaking. Let’s address some troubleshooting steps next.
Troubleshooting Common Connection Issues
If you’re having trouble connecting your overhead door remote, there are a few common hiccups to consider. Here are some troubleshooting tips to help you get things sorted out:
– Check the batteries: Make sure your remote has fresh batteries installed. A dead battery is the most straightforward reason a remote wouldn’t connect.
– Verify compatibility: Ensure your remote is compatible with your garage door opener model. If it’s not, it simply won’t work.
– Press the learn button again: Sometimes, you might need to re-enter programming mode by pressing the learn button once more.
– Clear old codes: If you’re connecting a new remote, you might need to clear older codes from the system. Find the instructions in your garage door manual for steps on how to do this.
Let’s face it, tech can be a little fickle sometimes. If you’ve tried everything and still run into issues, consider consulting the manual or reaching out to customer support for guidance.
Exploring Alternatives: Universal vs. Brand Remotes
If you’re still struggling with your overhead door remote, you might be thinking about alternatives. Universal remotes are one option worth considering. They’re designed to work with various brands and models of garage door openers, making them a versatile choice.
However, there are a couple of downsides to think about. While universals can be more convenient, they may not support all of the specific features of your original remote, like multiple door controls or smart tech capabilities.
If you prefer sticking with the brand remote, it’s often guaranteed to function with your specific opener and ensure all features work properly. Plus, replacement brand remotes are typically easy to find and affordable. It’s all about what fits your needs best!
Maintaining Your Remote for Longevity
Once you’ve successfully connected your overhead door remote, there are a few practices you can adopt to ensure its longevity. Keeping it in good shape helps avoid issues down the line. Here’s what to keep in mind:
– Regularly check and replace batteries. It’s wise to change the batteries annually, even if it seems like they’re still working fine. This can help prevent surprise outages.
– Protect from moisture. If your remote gets damp or wet, it can stop functioning. Keep it in a dry, safe place, or consider a waterproof case if you often use it in rainy weather.
– Limit exposure to extreme temperatures. Extreme cold or heat may affect performance over time. Store the remote in a climate-controlled environment whenever possible.
By following these tips, you can extend the life of your remote and keep your garage door operating smoothly.
Connecting your overhead door remote doesn’t have to be a chore—it can be an easy task once you know the steps. From understanding your remote to troubleshooting common issues, you now have a clear roadmap for a smooth connection. And let’s not forget the convenience it brings; with just a press of a button, you can effortlessly come and go as needed.
So, whether you’ve just installed a new opener or reconnected an old remote, you’ve got all the tools you need to ensure it works flawlessly. Embrace the ease that comes with a working remote! Keep these tips in mind, and enjoy the little moments that come with hassle-free garage access.