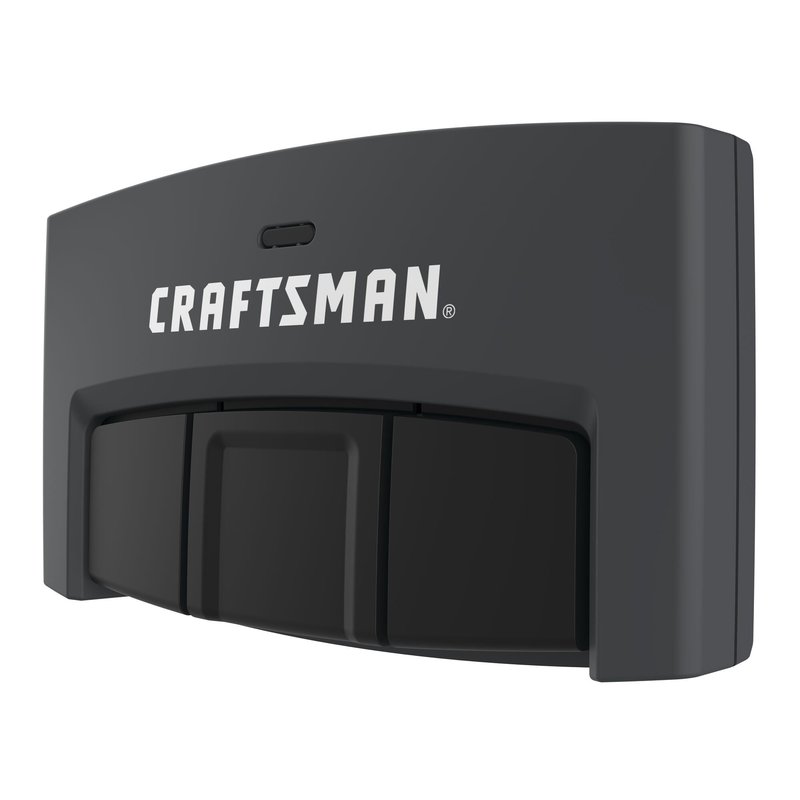
Craftsman, a trusted name in tools and equipment, offers reliable garage door openers. Their remotes make life just a little simpler—like having a friendly assistant at your side. But when it comes time to pair that remote with your opener, some folks might pause, wondering, “What do I do next?” No need to worry! Let’s tackle this step-by-step.
Understanding Your Craftsman Remote
Before we dive into the connection process, it’s vital to understand the type of Craftsman remote you have. Craftsman remotes generally come in two varieties: single-button remotes and multi-button remotes.
– Single-button remotes are straightforward; they only operate one door.
– Multi-button remotes allow you to operate multiple doors or gates, all from one device.
With this understanding, you’ll be better equipped to follow the connection process.
Here’s the thing: knowing your remote type not only influences how you’ll connect it but also adds clarity when troubleshooting any connection issues down the line.
Gathering What You Need
Before you start the connection process, it’s smart to have everything you’ll need at hand. Here’s a quick checklist:
- Your Craftsman remote
- The Craftsman garage door opener
- A sturdy ladder (if needed)
- A step stool or a helper to hold the remote at an appropriate height
- Batteries (if the remote isn’t already powered)
Don’t let the excitement of connecting your remote turn into frustration because you have to search for supplies halfway through! Taking a moment to prepare can set the stage for a smooth experience.
You might be wondering, “Do I need to have my garage door open?” Well, not necessarily! You’ll just want to ensure your opener is plugged in and functional.
Locating the Learn/Smart Button
The next step to connect your Craftsman remote is to locate the Learn button on your garage door opener. This button is your golden ticket to syncing your remote.
Typically, the Learn button can be found on the back or side of the opener motor. The button is often colored—look for yellow, orange, or green, depending on your model. It may be helpful to grab a flashlight if the space is dim.
Once you locate it, take a moment to familiarize yourself with its surroundings. If there are other buttons or wires nearby, don’t let them confuse you; focus on that Learn button.
Preparing Your Remote
Now that you’ve found the Learn button, it’s time to prepare your Craftsman remote for connection. If your remote has a battery compartment, open it up and make sure the battery is fresh.
Every now and then, a simple battery change can save a lot of headaches! Insert the battery correctly, ensuring the positive and negative sides match the markings inside the compartment.
After that, press and hold the button on your remote that you want to program. You could consider this like holding a microphone to announce your presence; this button will signal to the opener that you’d like to connect.
Connecting the Remote with the Opener
Now comes the thrilling part: connecting your remote to the garage door opener! With your remote button pressed and ready, head back to the opener.
Here’s a simple step-by-step:
1. Press the Learn Button: Press and hold the Learn button on the opener until you see an indicator light blink and then turn solid. This usually happens in just a few seconds, so keep an eye out!
2. Release the Learn Button: Once the light is solid, release the Learn button. The light should remain on, signaling that it’s ready to accept a connection.
3. Press the Remote Button: Within 30 seconds of pushing the Learn button, release the button on your remote. You might notice a click or hear the motor respond, indicating a successful sync.
If things go as planned, your opener light will blink or turn off, showing that the connection worked!
Testing Your Connection
With everything in place, it’s time to give your new setup a try!
– Stand a few feet away from the garage door for safety.
– Press the programmed button on your Craftsman remote, and watch the magic happen!
If the door opens, congratulations! You’ve successfully connected your remote. But if it doesn’t respond, don’t lose hope just yet.
You might need to repeat the process, ensuring you’re hitting the Learn button and remote button correctly. Make sure you’re within range, as being too far away can affect the signal.
Troubleshooting Common Issues
If you hit a bump in the road during setup, you’re not alone. Here are a few common issues people face with Craftsman remotes and how to troubleshoot them:
– Nothing Happens When I Press the Remote: Start by checking the battery in the remote. Replace it if needed. Also, ensure you’re pressing the correct button for the right door if you have a multi-button remote.
– The Garage Door Doesn’t Open/Close Completely: This could indicate a programming issue or an obstruction in the garage door’s path. Inspect the tracks and sensors to ensure they’re clear.
– The Remote Won’t Program: If you can’t establish a connection, try resetting the opener by unplugging it for a minute and then following the programming steps again.
Troubleshooting can feel tedious, but it’s often just a few simple adjustments away from a solution!
Final Thoughts on Connecting Your Craftsman Remote
Connecting your Craftsman remote to the garage door opener opens up a world of convenience. Once you’ve mastered this process, you’ll handle it like a pro!
As you enjoy the ease of pressing a button to open your garage, remember that persistence is key. If you ran into trouble during setup, don’t hesitate to try again or explore additional resources.
Ultimately, this small step can make a big difference in how you experience coming home—no more juggling keys or wrestling with locks. Just a simple click, and you’re in. Happy connecting!
